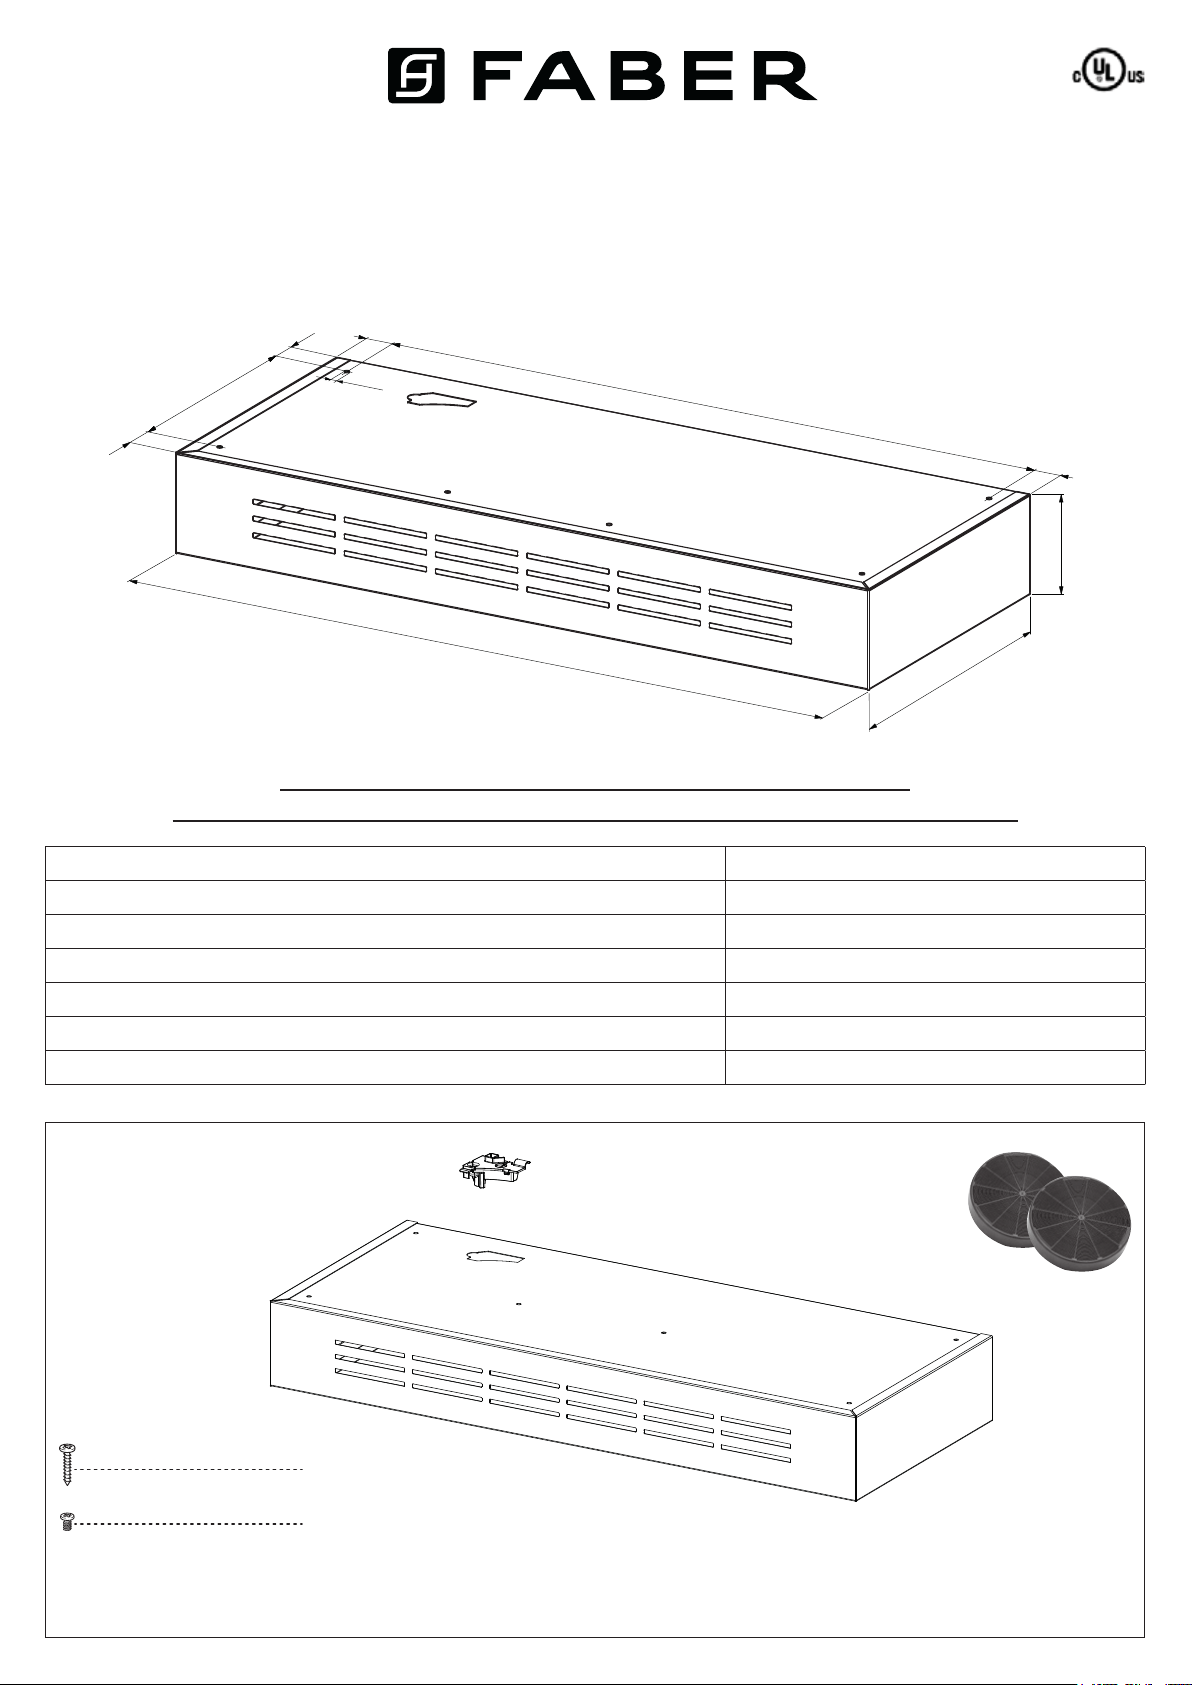
Recirculation Kit
Installation Instructions
DUCTLESS VENT GRATE KIT INSTALLATION INSTRUCTIONS
KIT CAN BE USED WITH THE FOLLOWING HOODS
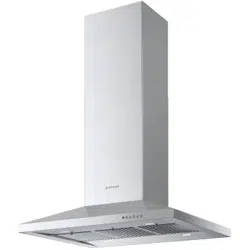
HOOD
MAGN24SS - MAGNUM 24
MAGN30SS - MAGNUM 30
MAGN36SS - MAGNUM 36
PELL30SS - PELLICANO 30
PELL36SS - PELLICANO 36
PROM30SS - PRO MAGNUM 30
PROM36SS - PRO MAGNUM 36
KIT
DUCTGRT24
DUCTGRT30
DUCTGRT36
DUCTGRT30
DUCTGRT36
DUCTGRT30
DUCTGRT36
Kit raccordo filtrante - 100803
Contents: duct grate, 8 install screws,
charcoal filters
PAGE 1
DUCTLESS VENT GRATE KIT INSTALLATION INSTRUCTIONS
TROUSSE DE GRILLE D’ÉVENT POUR INSTALLATION
SANS CONDUIT - INSTRUCTIONS POUR L’INSTALLATION
1 3/8"
9 7/16"
3/16"
1 1/8"
1 1/8"
1 1/8"
12 "
27 9/16" / 33 9/16"
24” / 30" / 36"
4"
KIT CAN BE USED WITH THE FOLLOWING HOODS
LA TROUSSE PEUT ÊTRE UTILISÉE AVEC LES HOTTES SUIVANTES
HOOD / HOTTE KIT / TROUSSE
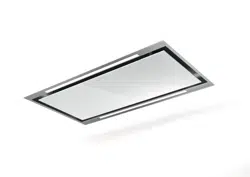
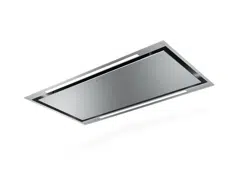
MAES3010SS600-B DUCTGRT30
MAES3018SS600-B DUCTGRT30
OSTR30SS400 DUCTGRT30
MAES3610SS600-B DUCTGRT36
MAES3618SS600-B DUCTGRT36
OSTR36SS400 DUCTGRT36
C (6x) 3,5 mm x 16 mm
D (6x) 2,9 mm x 6,5 mm
Contents: duct grate, 12 install screws, charcoal lters, power supply block.
Contenu: grille de conduit, 12 vis d’installation, ltres à charbon, bloc d’alimentation.
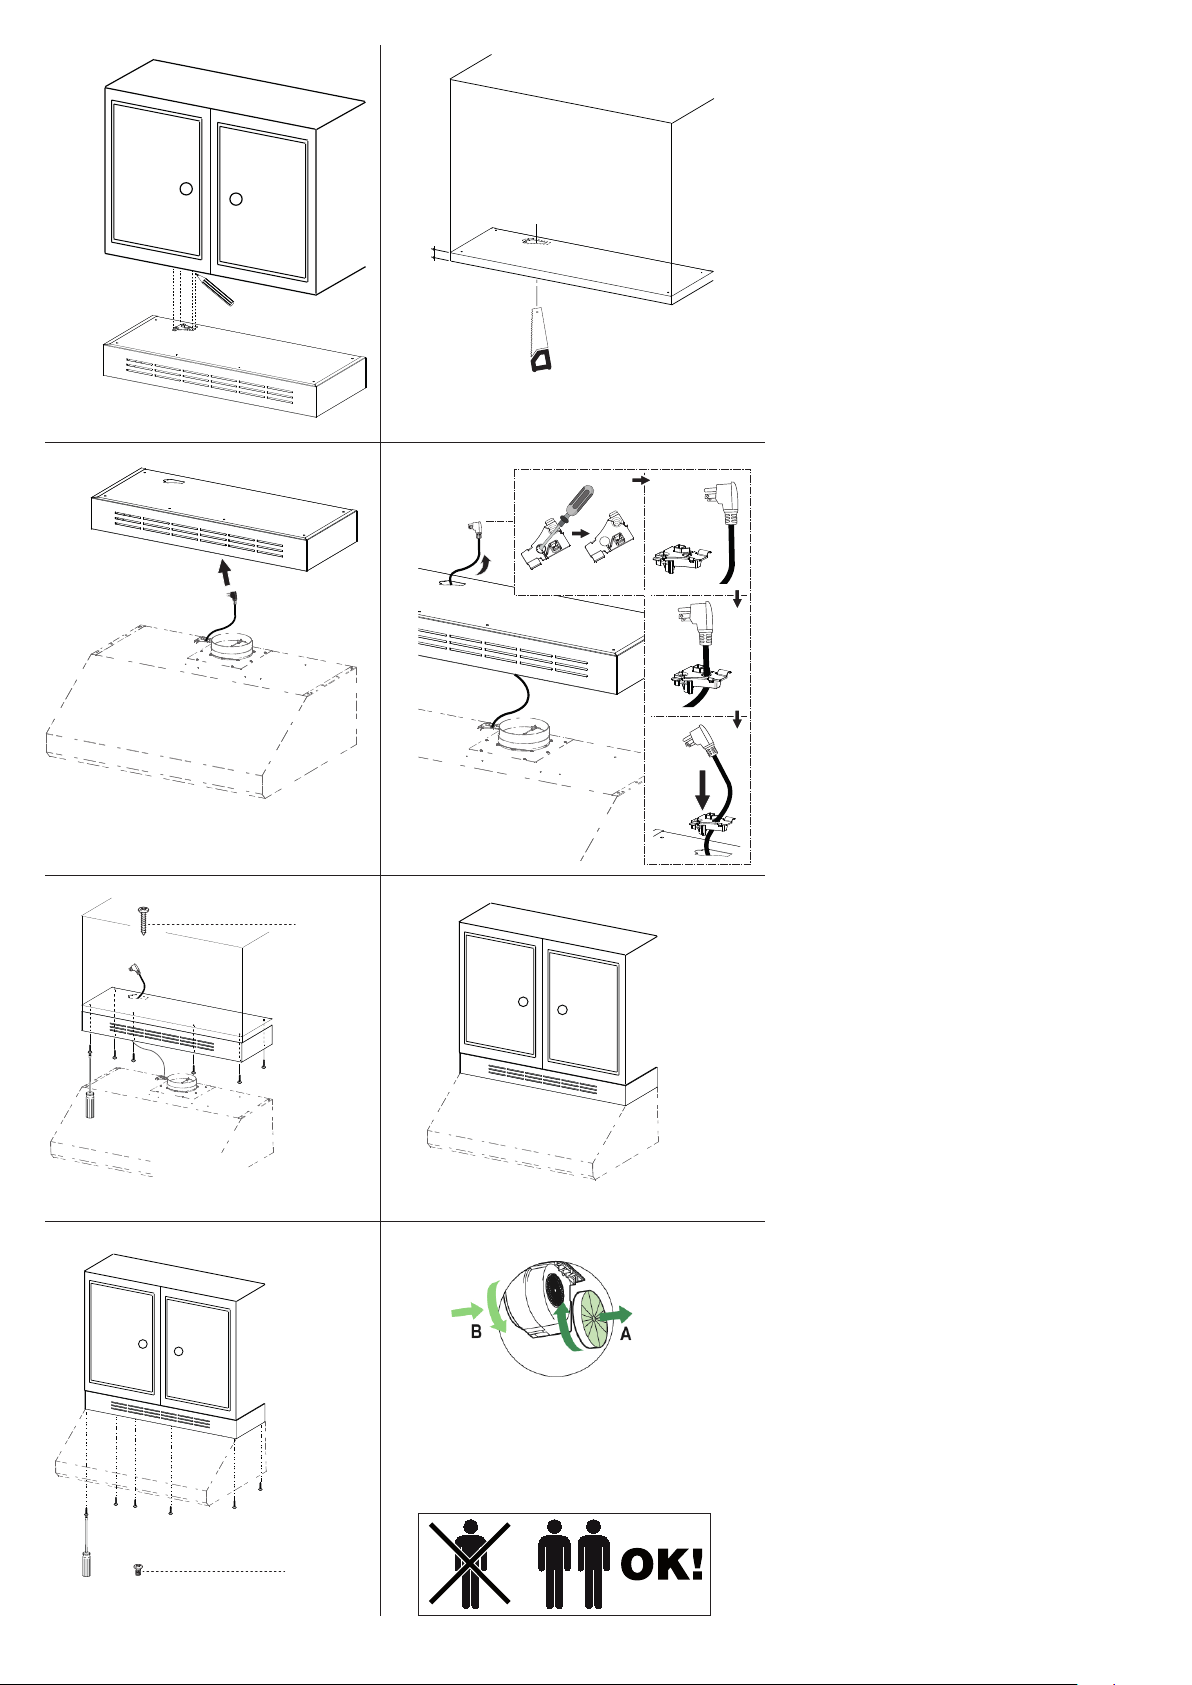
1
2
Min.
3/4"
1) Hold ductless kit up to cabinet and mark
knock out for electrical connection.
2) Drill a hole for electrical cable (bigger
than the power supply block).
3, 4) Take the power cable from the hood
and pass it through the slot on the top of the
box. Take the power cable block provided
whit the Kit and as shown in image 4 use
a screwdriver to knockout the hole for the
power cable. Then pass the power cable
through the Power Supply Block. Then for
the nish, insert the Power Supply Block by
pressing it into the slot on the top of the box.
5, 6) Attach ductless kit to cabinet with 6
screws (C 3,5x16mm), aligning the front
edge of the kit to the front of the cabinet.
7) Install rangehood to the bottom of the
ductless kit. Install hood into the wall as
shown in the hood install instructions, and
adjust the hood to be ush with the ductless
kit. Attach the hood to the ductless kit with 6
screws (D 2,9x6,5mm).
8) Install charcoal lters on either side of the
hood blower. Reinstall the lters.
----------------------------------------------------------
1) Placez la trousse sans conduit sous l’ar-
moire et tracez le repère de l’orice à dé-
foncer pour les branchements électriques.
2) Réalisez un trou pour le passage du
câble électrique (doit être plus grand que le
bloc d’alimentation électrique).
3, 4) Prenez le câble électrique de la hotte
et faites-le passer dans l’ouverture sur le
dessus du boîtier. Prenez le câble du bloc
d’alimentation fourni avec la trousse et,
de la façon illustrée sur l’image 4, utilisez
un tournevis pour défoncer l’orice pour le
passage du câble d’alimentation. Faites
passer le câble d’alimentation dans le bloc
d’alimentation électrique. Enn, posez le
bloc d’alimentation en le pressant dans
l’ouverture sur le dessus du boîtier.
5, 6) Fixez la trousse sans conduit à l’ar-
moire à l’aide de 6 vis (C 3,5 x 16mm), en
alignant l’avant de la trousse avec l’avant
de l’armoire.
7) Installez la hotte au bas de la trousse
sans conduit. Posez la hotte au mur de la
façon illustrée dans les instructions d’ins-
tallation de la hotte. Réglez la hotte pour
qu’elle soit alignée avec la trousse sans
conduit. Fixez la hotte à la trousse sans
conduit à l’aide de 6 vis (D 2,9 x 6,5mm).
8) Posez les ltres à charbon des deux cô-
tés du ventilateur de la hotte. Remettez les
ltres en place.
3
4
5
C (6x) 3,5 mm x 16 mm
6
7
D (6x) 2,9 mm x 6,5 mm
8
991.0427.621_04 - 181119 - D00003970_02