
Loading ...
Loading ...
Loading ...
12
WARNING
Do not allow familiarity with this product to make you careless. Remember that a careless
|
WARNING
Do not use any attachments or accessories not recommended by the manufacturer of this product.
=
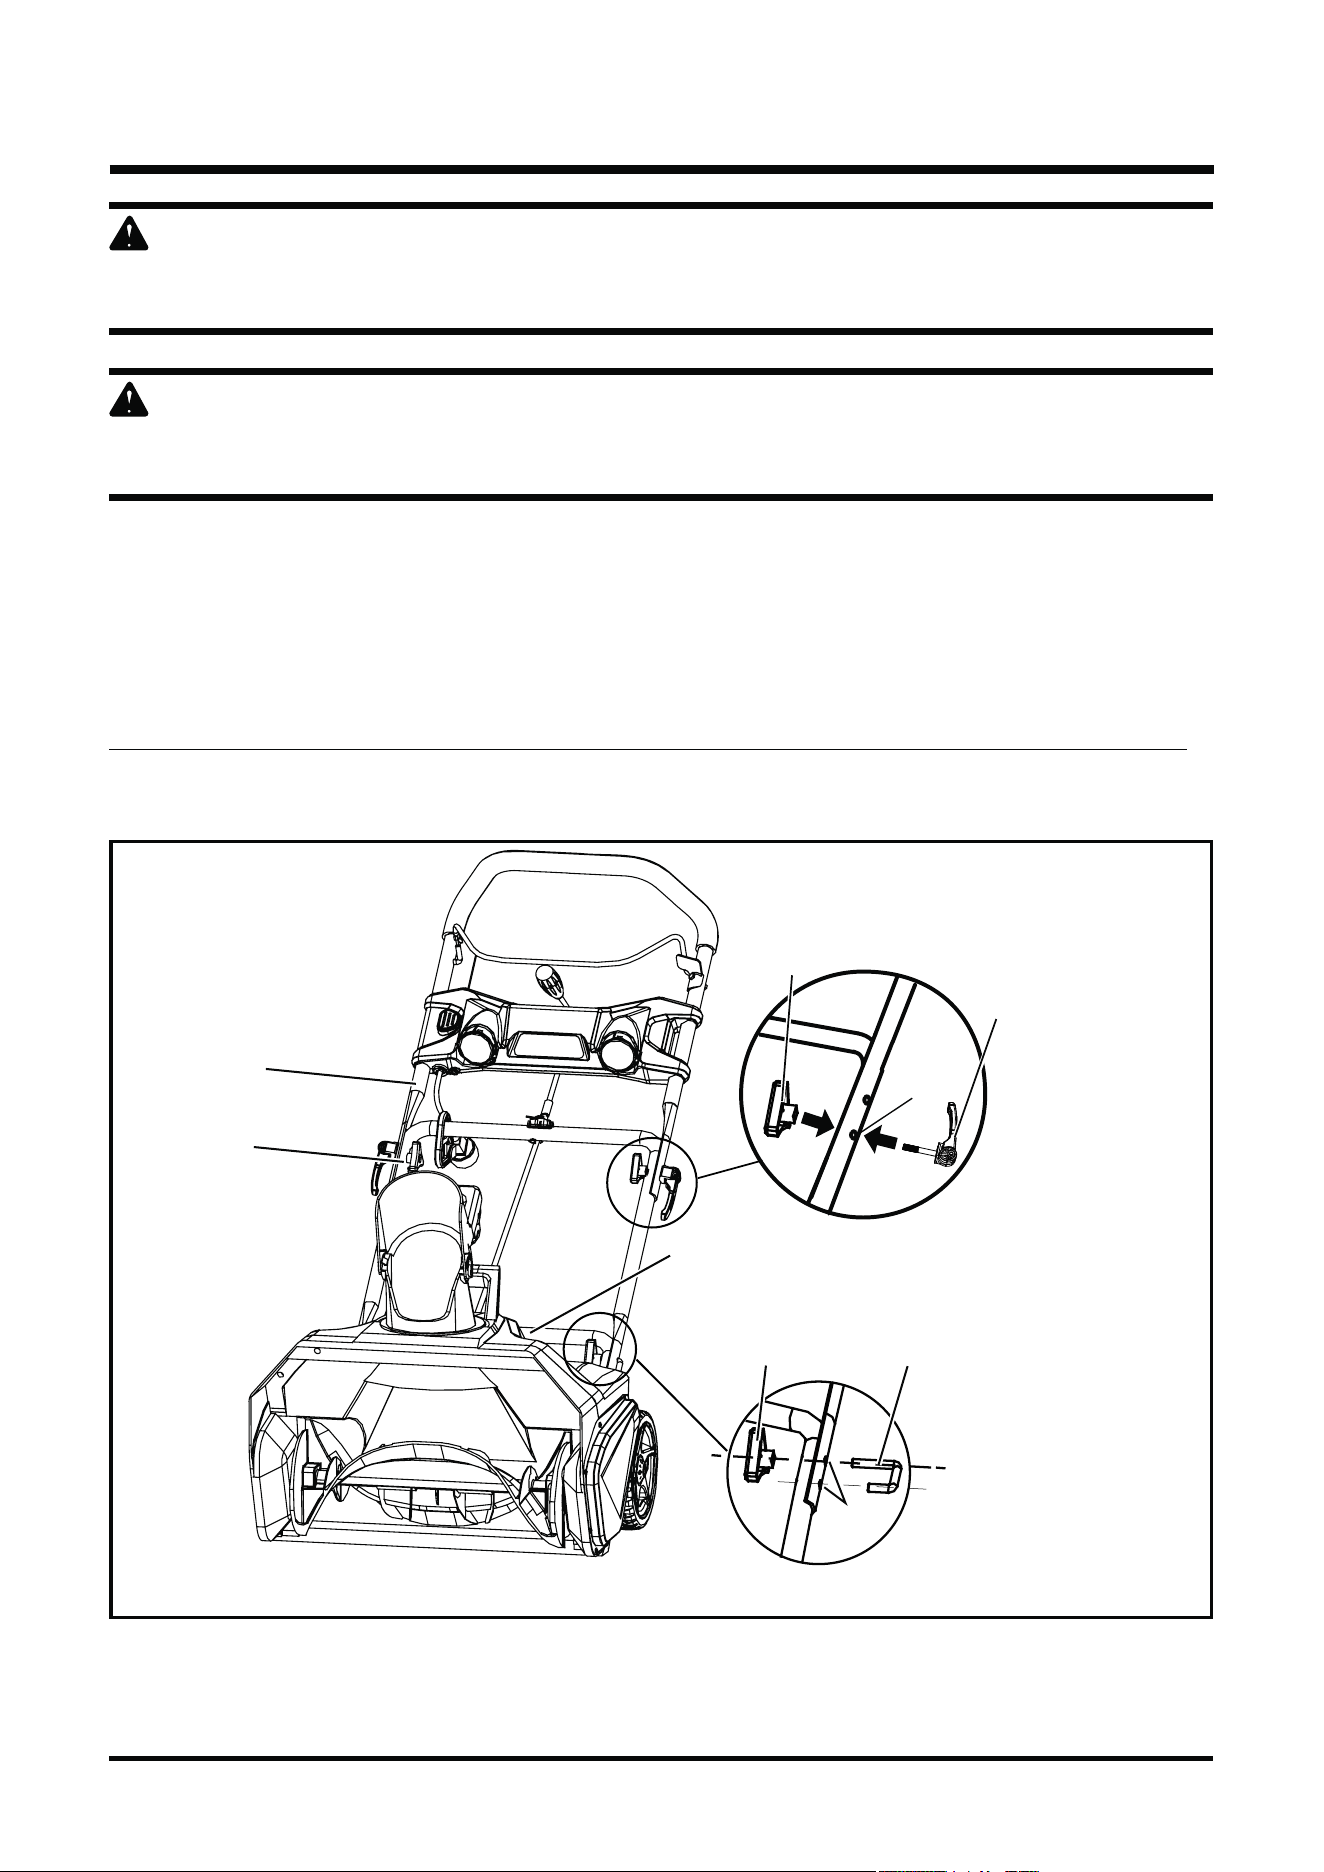
ASSEMBLING THE HANDLE!$#
Align the holes (4) on the middle handle (2) and the lower handle (3). Insert the bolts (5), and
use the handle knobs (6) to tighten them.
Align the hole (7) on the middle handle (2) and the upper handle (1). Insert the cam locks (8)
and tighten them with the handle knobs (9) provided. Once tightened, close the cam locks to
secure them in place.
%&'()*++
+,+
ASSEMBLY INSTRUCTIONS
Fig. 3
5
3
6
7
8
9
1
2
4
Loading ...
Loading ...
Loading ...