Loading ...
Loading ...
Loading ...
12 Philips · NeoPix Prime 2
4 Use home screen
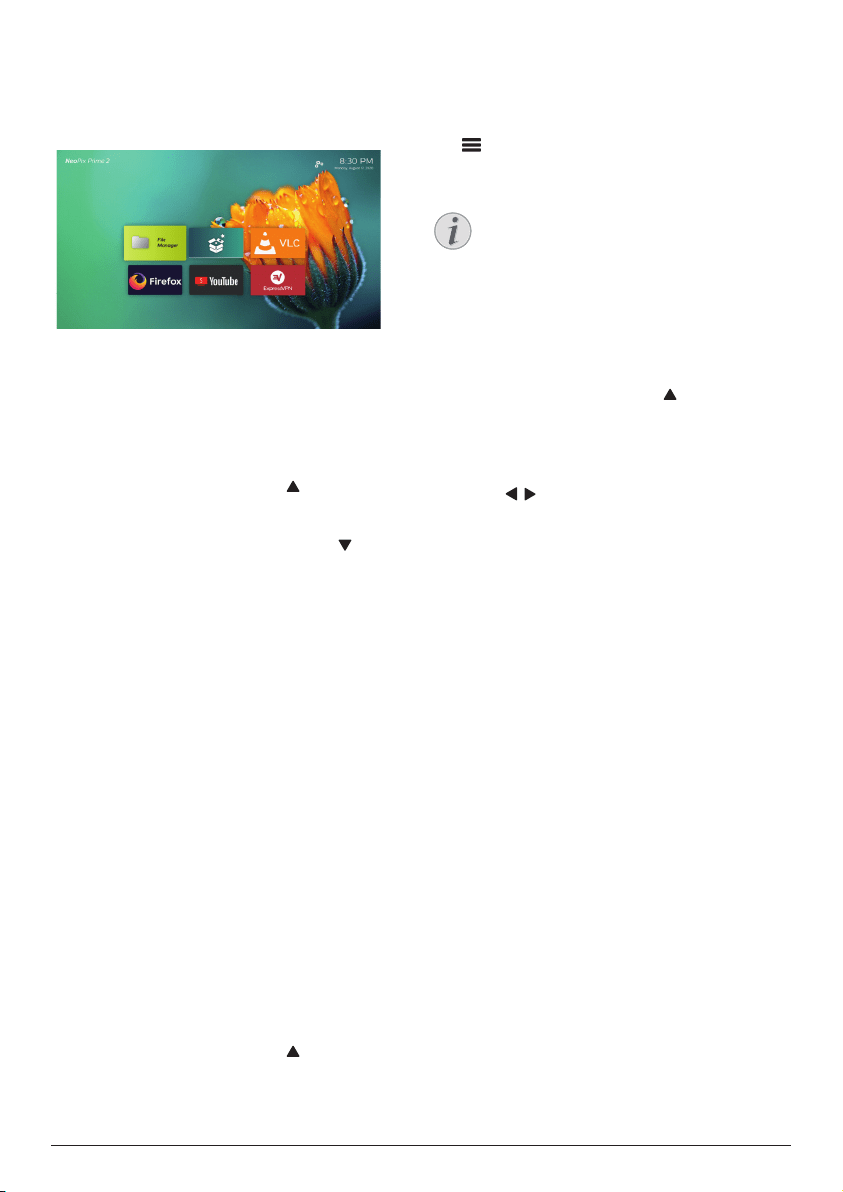
The home screen provides easy access to a
wide range of Internet applications, setup and
other useful features on the projector.
Shortcut options
The projector has shortcut options which are
located on the upper right of the home screen.
Access the shortcut options via either of the
following ways.
• On the home screen, press once or
more on the remote control to display the
shortcut options.
To exit the shortcut options, press once
or more on the remote control.
• Enable the on-screen pointer and position
it in the area above the app list on the
home screen. The shortcut options appear.
To exit shortcut options, position the
on-screen pointer in the area below the
shortcut options.
Easy setup
Select the setup icon from the app list on the
home screen to access the following settings:
• Select language and time zone
• Activate on-screen pointer
• Set up WiFi network
Refer to the "Basic setup" section for similar
and detailed setup operation.
Access online services
Some pre-loaded Internet applications are
available on the home screen.
• Before access to the applications, make
sure the projector is connected to Internet.
On the home screen, press once or more
to display the shortcut options then use the
Navigation buttons to select WiFi.
• Use the Navigation buttons and OK on
the remote control to select and open an
application.
• To uninstall applications on the home
screen, select an application, then press
on the remote control to access the
Uninstall option.
Notice
New applications (apps) will be
automatically installed on the projector
with firmware update (see Update
software, page 20).
Customize home screen
wallpaper
1 On the home screen, press once or
more on the remote control to display the
shortcut options.
2 Use the Navigation button on the remote
control to select Change Wallpape, then
press / to o select a pre-saved picture as
background on the home screen. Press OK
to confirm.
Screen navigation and
keyboard input
The projector provides several alternative
methods for you to navigate across the
projection screen and input text.
Use the AirMote control
Before you can use this feature, make sure that
the remote control is paired with the projector
for AirMote control (see Step 2: activate on-
screen pointer, page 11).
Use wired keyboard/mouse
• Simply connect the USB-A plug of your
wired mouse or keyboard to the USB port
on the projector.
• Use the keys on the keyboard for screen
navigation, selection and text input, just like
the keyboard operation with a computer.
• Use the buttons on the mouse for
navigation and selection.
Loading ...
Loading ...
Loading ...