Loading ...
Loading ...
Loading ...
46
Shooting Features
B Lowering the Flash
Push the flash down gently to lower the flash until it clicks into place when not in use (A 5).
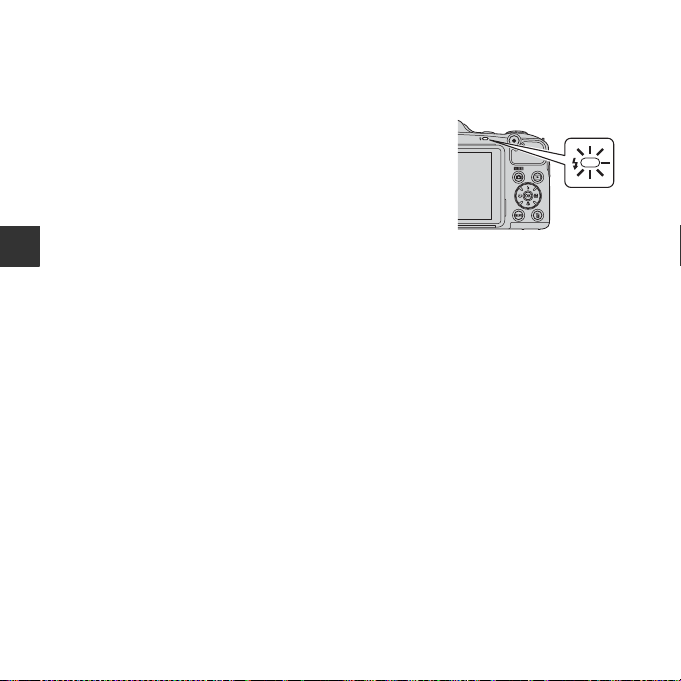
C The Flash Lamp
The status of the flash can be confirmed by pressing the shutter-
release button halfway.
• On: The flash fires when you press the shutter-release button all
the way down.
• Flashing: The flash is charging. The camera cannot shoot images.
• Off: The flash does not fire when an image is taken.
If the battery level is low, the monitor turns off while the flash is
charging.
C The Flash Mode Setting
• The setting may not be available with some shooting modes.
• The setting applied in A (auto) mode is saved in the camera’s memory even after the camera is
turned off.
C Red-eye Reduction
Pre-flashes are fired repeatedly at low intensity before the main flash, reducing the red-eye effect.
Additionally, if the camera detects red eye while saving an image, the affected area is processed to
reduce red-eye before the image is saved.
Note the following when shooting:
• Because pre-flashes are fired, there is a slight lag between when the shutter-release button is
pressed and when the shutter is released.
• More time than usual is required to save images.
• Red-eye reduction may not produce the desired results in all situations.
• In some cases, red-eye reduction may be applied to areas of an image unnecessarily. In these
cases, select another flash mode and take the image again.
Loading ...
Loading ...
Loading ...