Loading ...
Loading ...
Loading ...
English
19
Preparations
IMPORTANT!
– Make sure to complete the
preparation procedures before operating
the system.
Step 1: Using Remote Control
IMPORTANT!
– Before using the remote control,
remove the insulation plastic tab as
shown in the picture below.
– If the remote control does not
function correctly or the operating range
is reduced, replace the battery with a
new (CR2025) battery.
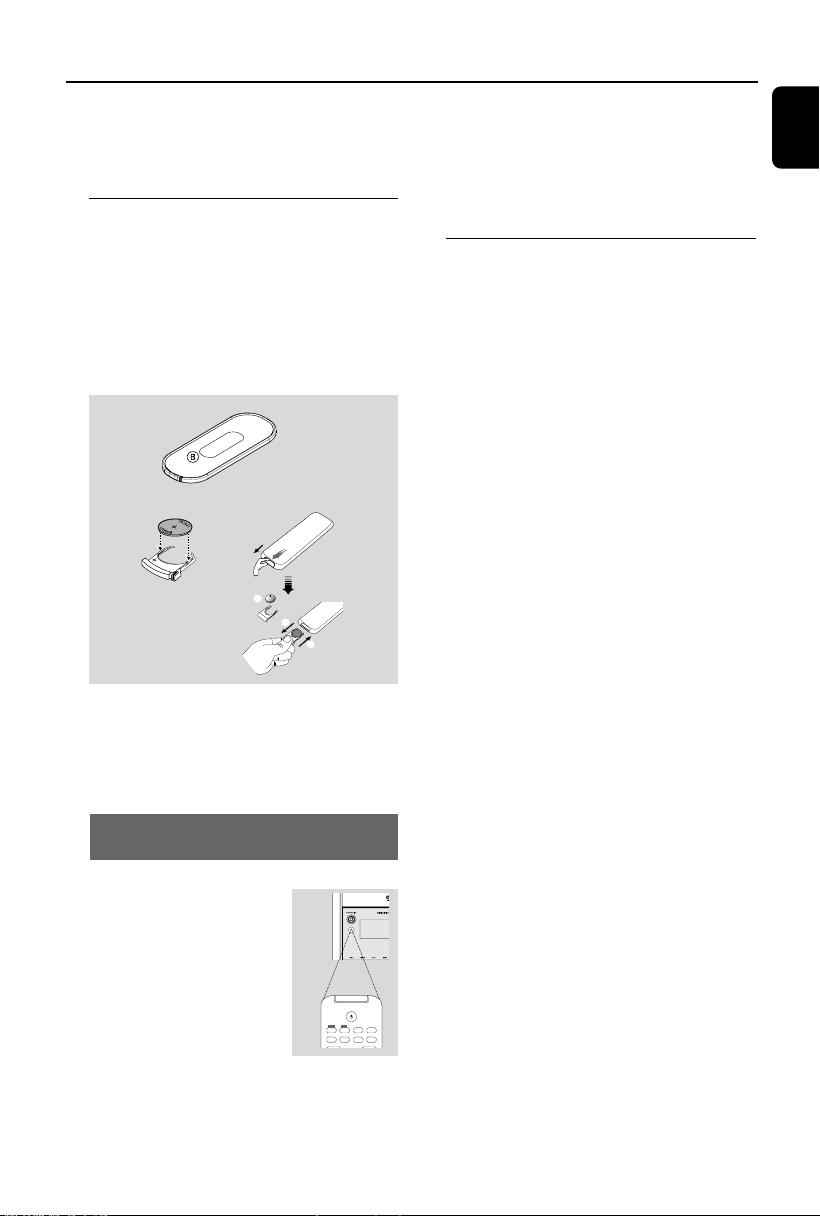
1
2
3
CR2025
1 Push to open the battery tray.
2 Replace a new battery according to the
indicated polarity.
3 Push the battery tray back to close it.
Using the Remote Control to operate
the Player
1 Aim the Remote Control
directly at the remote sensor
(IR) on the front panel.
2 Select the source you wish to
control by pressing one of the
source select buttons on the
remote.
3 Then select the desired function
(for example, ÉÅ, ¡ or ™).
CAUTION!
– Remove the battery if it is exhausted
or if the Remote Control is not being
used for a long time.
– Batteries contain chemical substances,
so they should be disposed of properly.
Step 2: Setting the clock
1 Go to Standby mode.
2 Press and hold CLOCK SET on the front
panel.
➜ “SET CLOCK” is displayed briefly. Then, the
hour digits flash on the display screen.
3 Press SEARCH 22/33 ( ¡/™ on the
remote) to set the hours.
4 Press CLOCK SET again.
➜ The minute digits flash on the display screen.
5 Press SEARCH 22/33 ( ¡/™ on the
remote) to set the minutes.
6 Press CLOCK SET to confirm the clock
setting.
Notes:
– This system only supports 24-hour mode.
– The clock setting will be erased when the system
is disconnected from the power supply.
– The system will exit clock setting mode if no
button is pressed within 30 seconds.
SYSTEM MENU
SUBTITLE REPEAT A-B SHUFFLE
SLOWDISPLAY
OSD
DISC MENU
DISC AUX
pg 001-039_FWD831_-Eng 6/18/07, 5:51 PM19
Loading ...
Loading ...
Loading ...