Loading ...
Loading ...
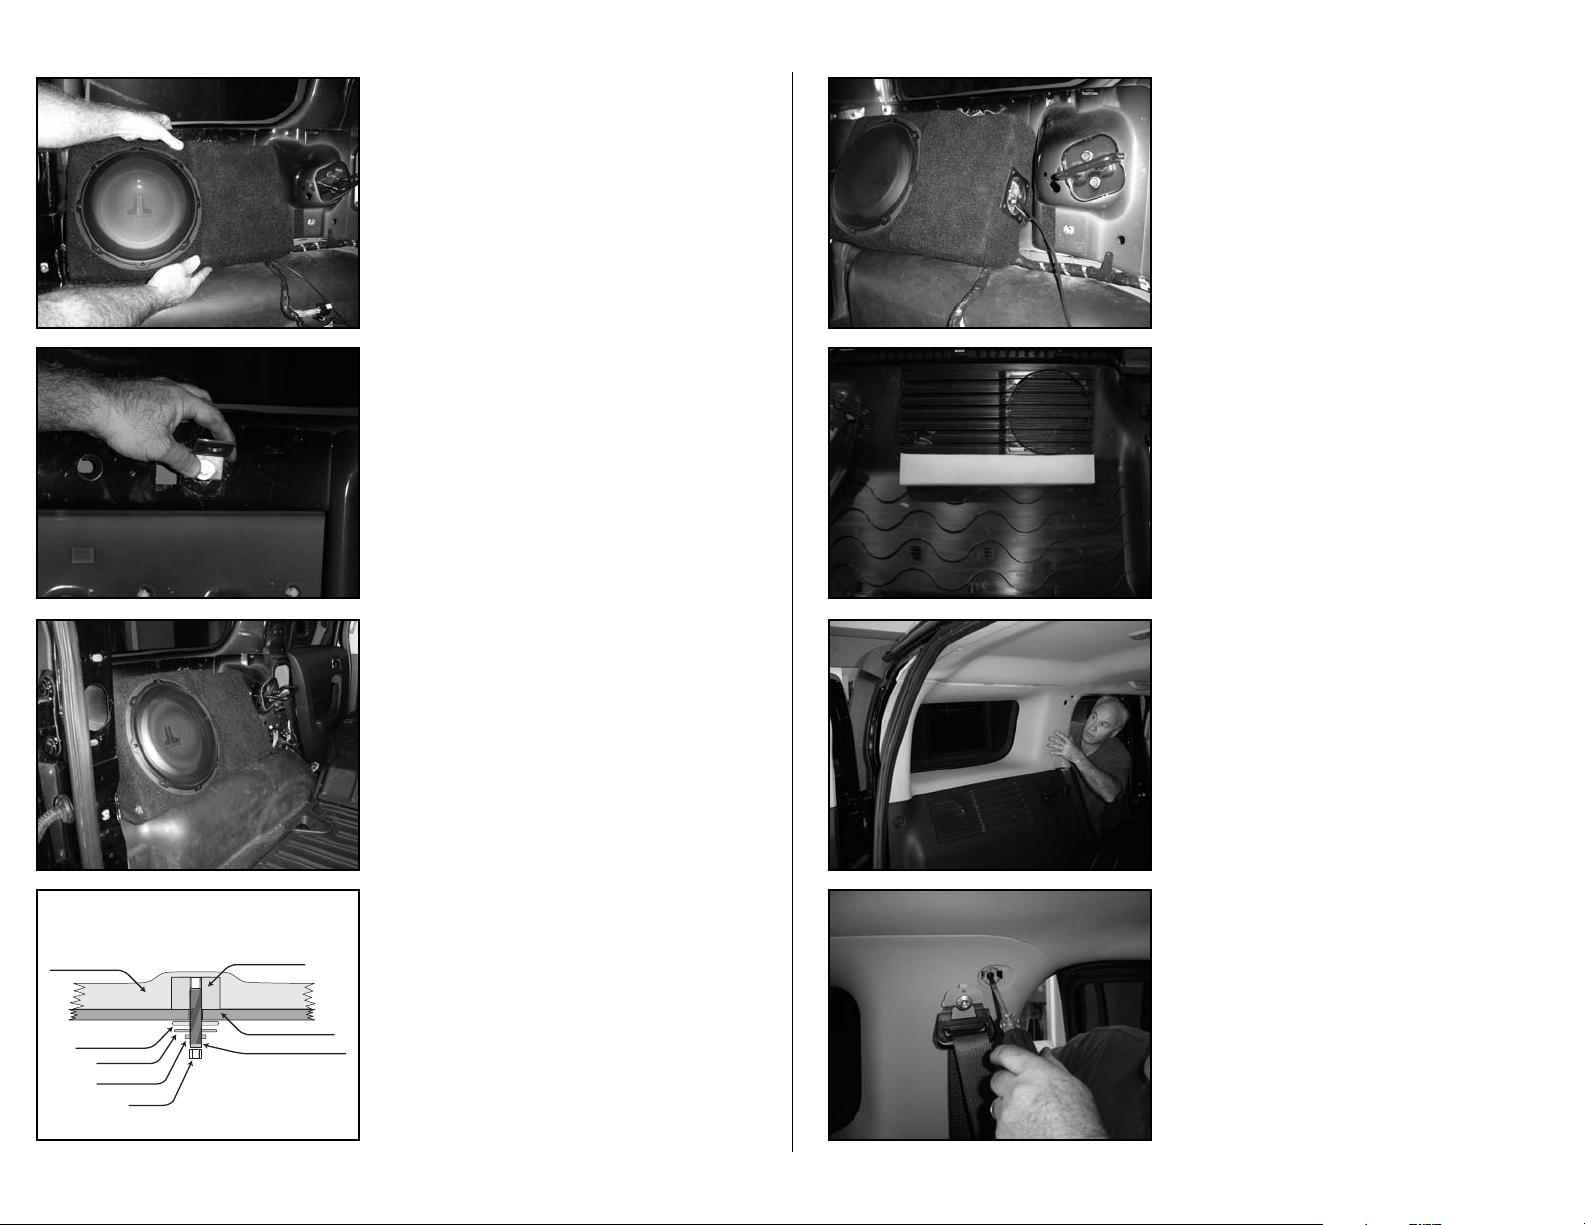
STEP 17
Apply the supplied double sided tape to the supplied foam
bar. Apply the foam bar to the back side of the lower cargo
panel that was removed in STEP 8. The foam needs to be
placed below the factory grille opening.
Secure this lower panel back into place.
STEP 19
With a Phillip® screw driver, remount the screw that removed
in STEP 6. Apply factory cover
With a T-50 torx bit and ratchet, secure the seat belt loop.
Apply factory cover.
STEP 18
Secure the upper panel back into place.
Continued on Next Page
SB-GM-HUMRH3/10W1v2_ 011215
STEP 15
From the outside driver's side rear wheel well; place the sup-
plied fender washer, flat washer, lock washer and then hex
nut onto the protruding socket cup set screw. Secure tightly
with a 14mm socket, long extension and ratchet.
Note: For added protection it is recommended that
you apply a bead of silicone between the vehicle and
the fender washer. After the bolt assembly is tightly
secured, it is also recommended that vehicle under-
coating material is applied to the exposed assembly.
STEP 14
Loosen the socket cup set screw to expose 1-inch. Place the
Stealthbox® into place, carefully guiding the socket cup set
screw through the drilled hole.
Using a supplied bolt and washer, secure the L-bracket to the
top of the enclosure.
(Disregard the woofer grille)
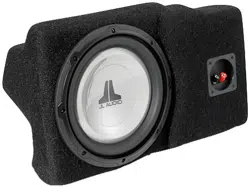
STEP 13
Using a factory bolt that was removed in STEP 9. Mount the
supplied L-bracket to the upper right threaded mounting
hole. One of the same holes that was used to mount the
factory woofer system to the vehicle.
The L-bracket needs be mounted with the protruding angle
to the top.
STEP 12
Position the Stealthbox® into place and press firmly down.
This is to make an impression onto the wax square.
Remove the Stealthbox®.
With a 1/2" drill bit or Step Bit/Unibit® and drill. Drill at the
impression on the wax square, through the floor to the
outside.
Remove the wax square.
(Disregard the woofer grille)
STEP 16
Run speaker wire from the amplifier location to the
Stealthbox® and attach to the terminal.
Check woofer for proper operation.
(Disregard the woofer grille)
Page 3 • JL Audio, Inc 2006
STEALTHBOX WALL
THREADED INSERT
VEHICLE SHEET METAL
FENDER WASHER
SOCKET CUP SET SCREW
LOCK WASHER
FLAT WASHER
HEX NUT
Loading ...