Loading ...
Loading ...
Loading ...
131
Advanced Guide
Basic Guide
Camera Basics
Auto Mode /
Hybrid Auto Mode
Other Shooting Modes
Playback Mode
Wireless Features
Setting Menu
Accessories
Appendix
Index
P Mode
Tv, Av, M, C1, and C2 Mode
Before Use
● Connections require that a memory card be in the camera.
● You can also change the camera nickname on the screen in
step 2 (=
153).
● To disable NFC connections, choose MENU (=
35) > [ 4] tab
> [Wireless settings] > [Wi-Fi Settings] > [NFC] > [Off].
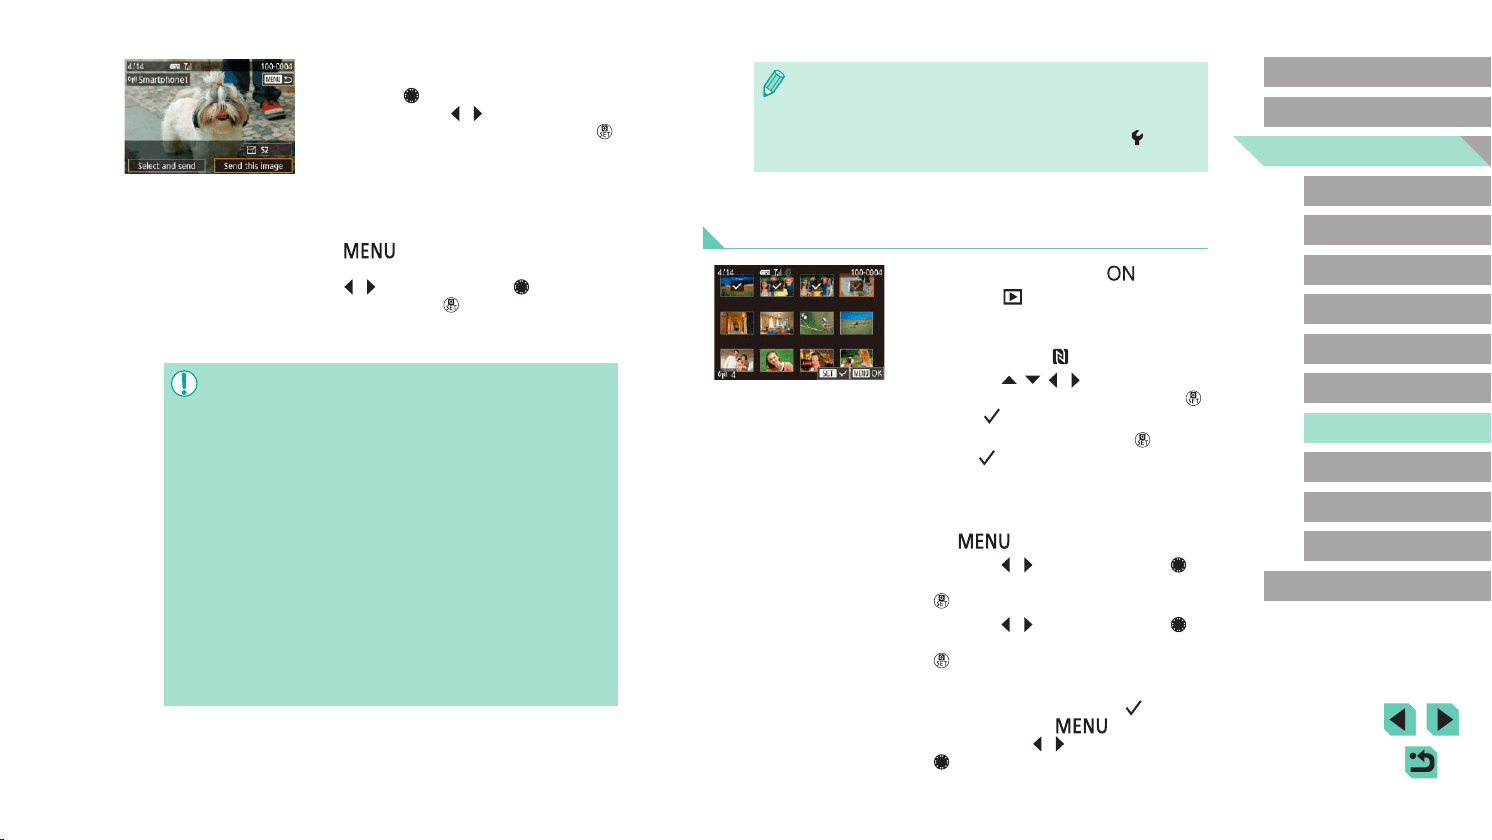
Connecting via NFC When Camera Is in Playback
Mode
● Move the power switch to [ ].
● Press the [
] button.
● Touch the smartphone with Camera
Connect installed (=
130) against the
camera’s N-Mark ( ).
● Press the [
][ ][ ][ ] buttons to choose
an image to send, and then press the [ ]
button. [ ] is displayed.
● To cancel selection, press the [
] button
again. [ ] is no longer displayed.
● Repeat this process to choose additional
images.
● After you nish choosing images, press
the [
] button.
● Press the [
][ ] buttons or turn the [ ]
dial to choose [OK], and then press the
[ ] button.
● Press the [
][ ] buttons or turn the [ ]
dial to choose [Send], and then press the
[ ] button.
● The images are now sent.
● To end the connection, clear [
] from all
images, press the [ ] button, and
then press the [ ][ ] buttons or turn the
[ ] dial to choose [OK].
4
Send an image.
● Turn the [ ] dial to choose an image to
send, press the [ ][ ] buttons to choose
[Send this image], and then press the [ ]
button.
● [Transfer completed] is displayed after
the image is sent, and the image transfer
screen is displayed again.
● To end the connection, press the
[
] button, choose [OK] on the
conrmation screen (either press the
[ ][ ] buttons or turn the [ ] dial), and
then press the [ ] button. You can
also use the smartphone to end the
connection.
● When using NFC, keep the following points in mind.
- Avoid strong impact between the camera and smartphone. This
may damage the devices.
- Depending on the smartphone, the devices may not recognize
each other immediately. In this case, try holding the devices
together in slightly different positions. If connection is not
established, keep the devices together until the camera screen
is updated.
- Do not place other objects between the camera and
smartphone. Also, note that camera or smartphone covers or
similar accessories may block communication.
● For remote live view shooting, choose [All images] in step 3.
● All images in the camera can be viewed from the connected
smartphone when you choose [All images] in step 3. To restrict
camera images that can be viewed from the smartphone, choose
a different option in step 3 (=
152). Once you have registered a
smartphone, you can change privacy settings for it on the camera
(=
152).
Loading ...
Loading ...
Loading ...