Loading ...
Loading ...
Loading ...
28
en Operation
Note: Not suitable for processing nuts or
hard cheese, e.g. Parmesan.
Tip: Shred soft cheese with the coarse side
only.
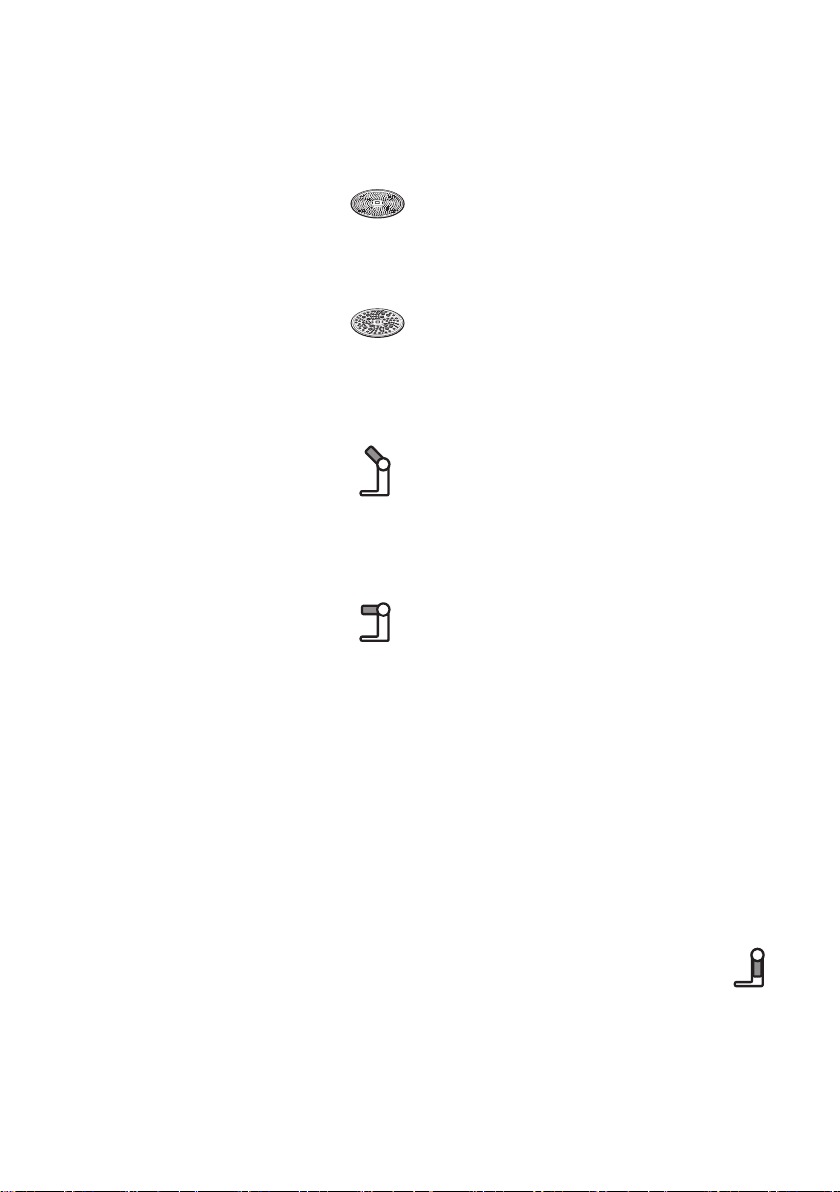
Fine grating disc
for shredding food finely, e.g. nuts
or hard cheese such as Parmesan.
Note: Not suitable for processing soft
cheese and cheese slices.
Grating disc – coarse
for grating raw potatoes, e.g. for
potato pancakes or dumplings.
Working with the continuous-feed
shredder
Fig. F:
Press the Release button and
move the swivel arm to
position 2.
Insert the bowl:
Tilt the bowl forwards and then set it
down. Turn anti-clockwise until it locks
into place.
Press the Release button and
move the swivel arm to
position 3.
Remove drive cover from the
drive of the continuous-feed shredder
(Fig. F-5a).
Hold disc holder at the lower end, ensur-
ing that the two tips are face up.
Carefully place the required slicing or
shredding disc onto the tips of the disc
holder (Fig. F-6a).
In the case of reversible discs, ensure
that the required side is face up.
Grip disc holder at the upper end and
insert into the housing (Fig. F-6b).
Attach the cover (note mark) and turn all
the way in a clockwise direction.
Place continuous-feed shredder on the
drive and rotate all the way in a clockwise
direction, as illustrated in Fig. F-8.
Turn rotary switch to recommended
setting.
Put food to be processed in the feed tube
and push down with the pusher.
Warning!
Prevent the cut ingredients from building up
in the outlet opening.
Tip: To ensure even cutting results, process
thin ingredients in bunches.
Note: If the food to be processed sticks in
the continuous-feed shredder, switch food
processor off, pull out mains plug, wait until
the drive comes to a standstill, remove
cover from the continuous-feed shredder
and empty feed tube.
After using the appliance
Switch off the appliance with the rotary
switch.
Rotate the continuous-feed shredder in
an anti-clockwise direction and remove.
Rotate the lid in an anti-clockwise direc-
tion and remove.
Remove disc holder with disc. To do this,
press finger from below against the drive
shaft (Fig. G).
Clean parts.
Blender
Observe the application examples in
table M
W Risk of injury from sharp blades /
rotating drive!
Never place fingers in the attached blender!
Do not remove / attach the blender until the
drive is at a standstill! Operate the assem-
bled blender only and with the lid attached.
Do not operate blender when empty.
W Risk of scalding!
If processing hot liquids, steam escapes
through the funnel in the lid.
Working with the blender
Fig. H:
Press the release button and
move the swivel arm to
position 4.
Remove the blender drive cover.
Attach blender jug (mark on the handle
on mark on the base unit) and turn all the
way in an anti-clockwise direction.
Loading ...
Loading ...
Loading ...