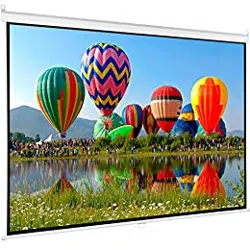
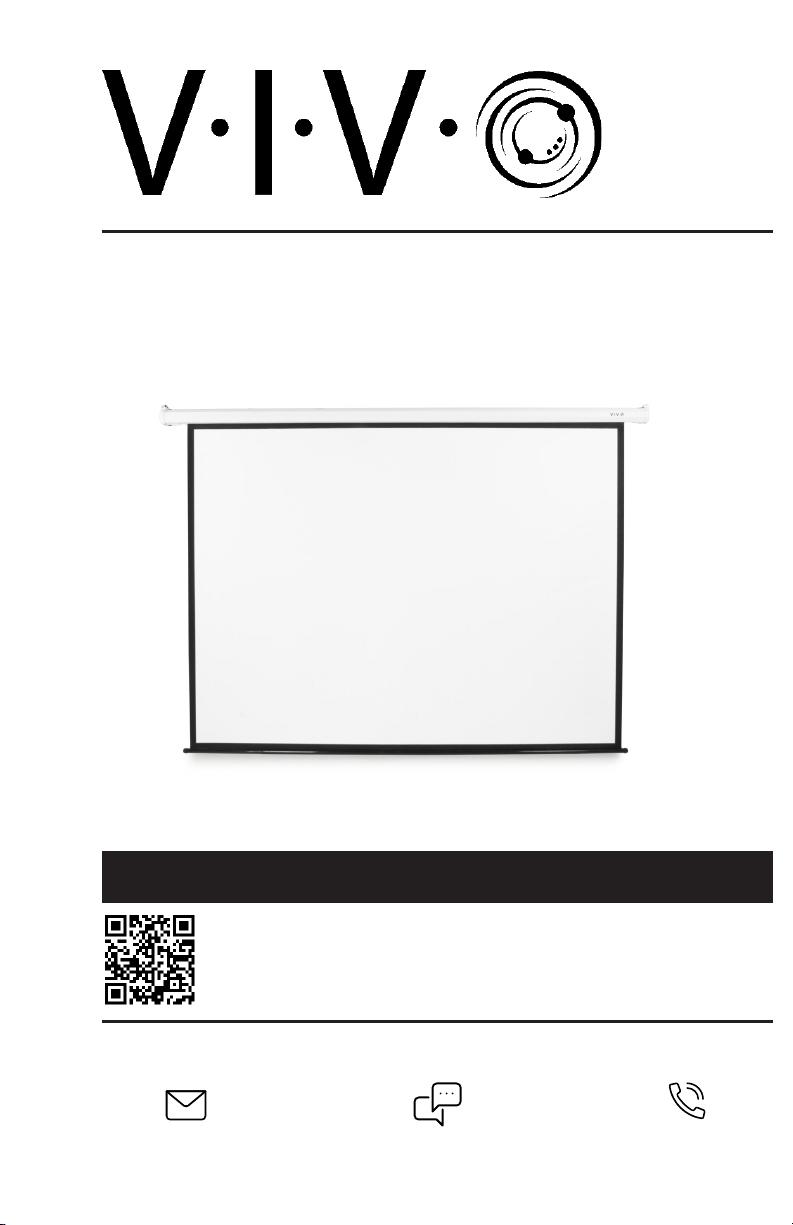
100” Electric Projector Screen 4:3
Scan the QR code with your mobile device or follow the link
for helpful videos and specifications related to this product.
Instruction Manual
https://vivo-us.com/products/ps-e-100e
SKU: PS-E-100E
Chat live with an agent!
GET IN TOUCH | Monday-Friday from 7:00am-7:00pm CST
2
WARNING!
If you do not understand these directions, or if you have any doubts about the safety of the
installation, please call a qualified technician. Check carefully to make sure there are no missing or
defective parts. Improper installation may cause damage or serious injury. Do not use this product
for any purpose that is not explicitly specified in this manual. Do not exceed weight capacity.
We cannot be liable for damage or injury caused by improper mounting, incorrect assembly or
inappropriate use.
WARNING: FOLLOW INSTRUCTIONS TO PREVENT PRODUCT DAMAGE AND/OR PERSONAL INJURY:
• DO NOT FOLD SCREEN
• DO NOT USE FINGERS OR HARD OBJECTS TO TOUCH SCREEN SURFACE
• DO NOT SPLASH LIQUIDS OR CHEMICALS ON SCREEN SURFACE
• KEEP SCREEEN AWAY FROM HOT OBJECTS OR FIRE
ELECTRICAL SAFETY INSTRUCTIONS
THIS PRODUCT IS POWERED BY ELECTRICITY. IN ORDER TO AVOID BURNS, FIRE AND ELECTRIC
SHOCK, PLEASE READ THE FOLLOWING INSTRUCTIONS CAREFULLY.
• DO NOT CLEAN PRODUCT WHILE POWER IS CONNECTED.
• DO NOT DISASSEMBLE OR REPLACE COMPONENTS WHILE POWER IS CONNECTED.
• NEVER OPERATE THE SYSTEM WITH A DAMAGED CORD OR PLUG. PLEASE CONTACT YOUR
SELLER TO REPLACE DAMAGED PARTS.
• NEVER OPERATE SYSTEM IN DAMP ENVIRONMENTS OR IF ANY ELECTRICAL COMPONENTS HAVE
MADE CONTACT WITH LIQUIDS.
• ALTERATIONS OF THE GIVEN POWER UNIT ARE NOT ALLOWED.
• OUTDOOR USE IS PROHIBITED

3
Remote Control
Electric Projection Screen Unit
Remote Control Wall Mount Caddy
ASSEMBLY STEPS
PACKAGE CONTENTS
NOTE: Hooks not included
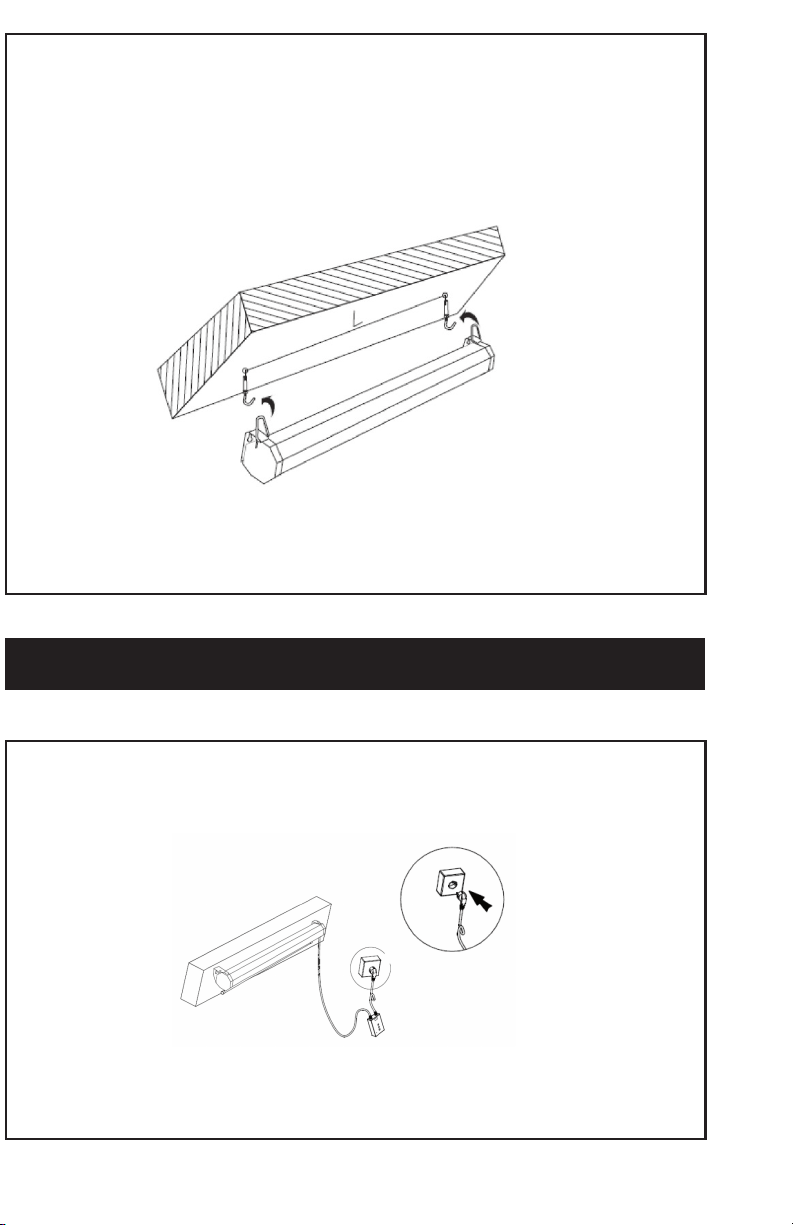
STEP 1
OPTION A: Wall Installation
Insert screws in wall directly for wood studs. If anchors are needed, press anchors into holes first and
insert screws into anchors. Screw heads should be spaced about 1/4” from the wall.
STEP 2
Drill holes in wall or ceiling to match the distance
between mounting holes or hooks on the
screen. Using a level for drilling holes in wall is
recommended.
NOTE: Use a 3/32" drill bit for wood stud wall
installation, 1/4" bit for concrete wall installation,
or a 3/8" bit for ceiling installation.
Carefully line up mounting holes on
projector screen with screw heads, and hang
in place making sure slots are fully seated
over screw heads.
4
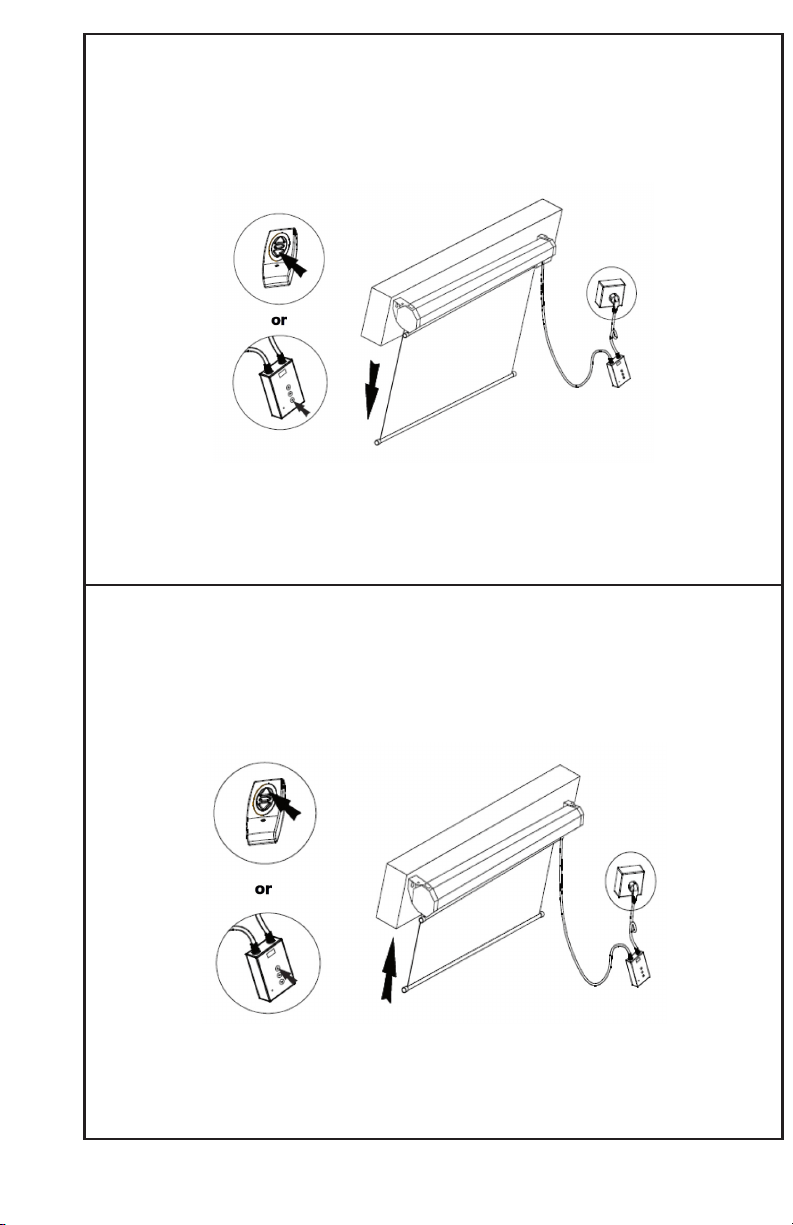
STEP 1
Plug the power cable into a standard AC wall outlet.
STEP 3
OPTION B: Ceiling Installation
Insert hooks (not included) into drilled holes, and tighten nuts with a wrench until hooks fit securely
in place. Carefully hang projector screen on hooks using the pre-installed metal rings.
OPERATION STEPS
5
STEP 2
TO LOWER THE SCREEN:
Press the down arrow button on the remote or wall unit. When the screen has reached the desired
height, press the center stop button.
TO RAISE THE SCREEN:
Press the up arrow button on the remote or wall unit. When the screen has reached the desired height
or fully retracted, press the center stop button.
6
PROGRAMMING
STEP 1
Hold the stop button on the wall control unit for 5 seconds, and two beeps will
sound.
STEP 2
Press any button on the remote to pair the screen with the remote.
STEP 3
Repeat the process for each screen. All programmed screens within range will then
respond to the same remote.
RESETTING
STEP 1
To clear screen remote memory, press and hold the stop button on the wall control
unit until two beeps sound, and continue holding until an additional three beeps
sound.
STEP 2
Press and hold the button again until two beeps sound, and then press any button
on the remote you would like paired with the screen.
NOTE: To increase screen life and avoid damage, be sure to retract the screen when not in use.
7
TROUBLESHOOTING
REMOTE DOES NOT RESPOND
1. Check if battery is low, and replace if necessary. The remote uses a 23A 12V battery.
2. If changing the battery does not work, reset the wall control unit. Press and hold
the stop button. Two beeps will sound aer 5 seconds; continue holding until three
beeps sound. Press and hold the button again until two beeps sound, and then press
any button on the remote to pair with the wall control.
THE SCREEN DOES NOT RESPOND
1. Make sure the power cable is plugged in, and that the indicator light on the wall
control unit is turned on.
2. Check your circuit breaker to make sure the wall outlet is getting power.
3. If using a power strip or battery backup, make sure the power/reset switch is on.
LAST UPDATED: 03/05/2020
Open Monday - Friday 7:00am - 7:00pm CST,
our dedicated support team can oer immediate assistance with rapid response times. If any
parts are received damaged or defective, please contact us. We are happy to replace parts to
ensure you have a fully functioning product.
FOR MORE VIVO PRODUCTS, CHECK OUT OUR WEBSITE AT: www.vivo-us.com
AVG. RESPONSE TIME (within oice hrs): 1HR 8M
- 23% within < 15m
- 38% within < 30m
- 61% within < 1hr
- 83% within < 2hr
- 92% within < 3hr
Love your new VIVO setup and want to share?
Tag us in your photo! @vivo_us
AVG. RESOLUTION TIME (within oice hrs): < 15 M
www.vivo-us.com
Chat live with an agent!
AVG. RESOLUTION TIME (within oice hrs): 5M 4S
309-278-5303