Installation Guide
Guide d’Installation
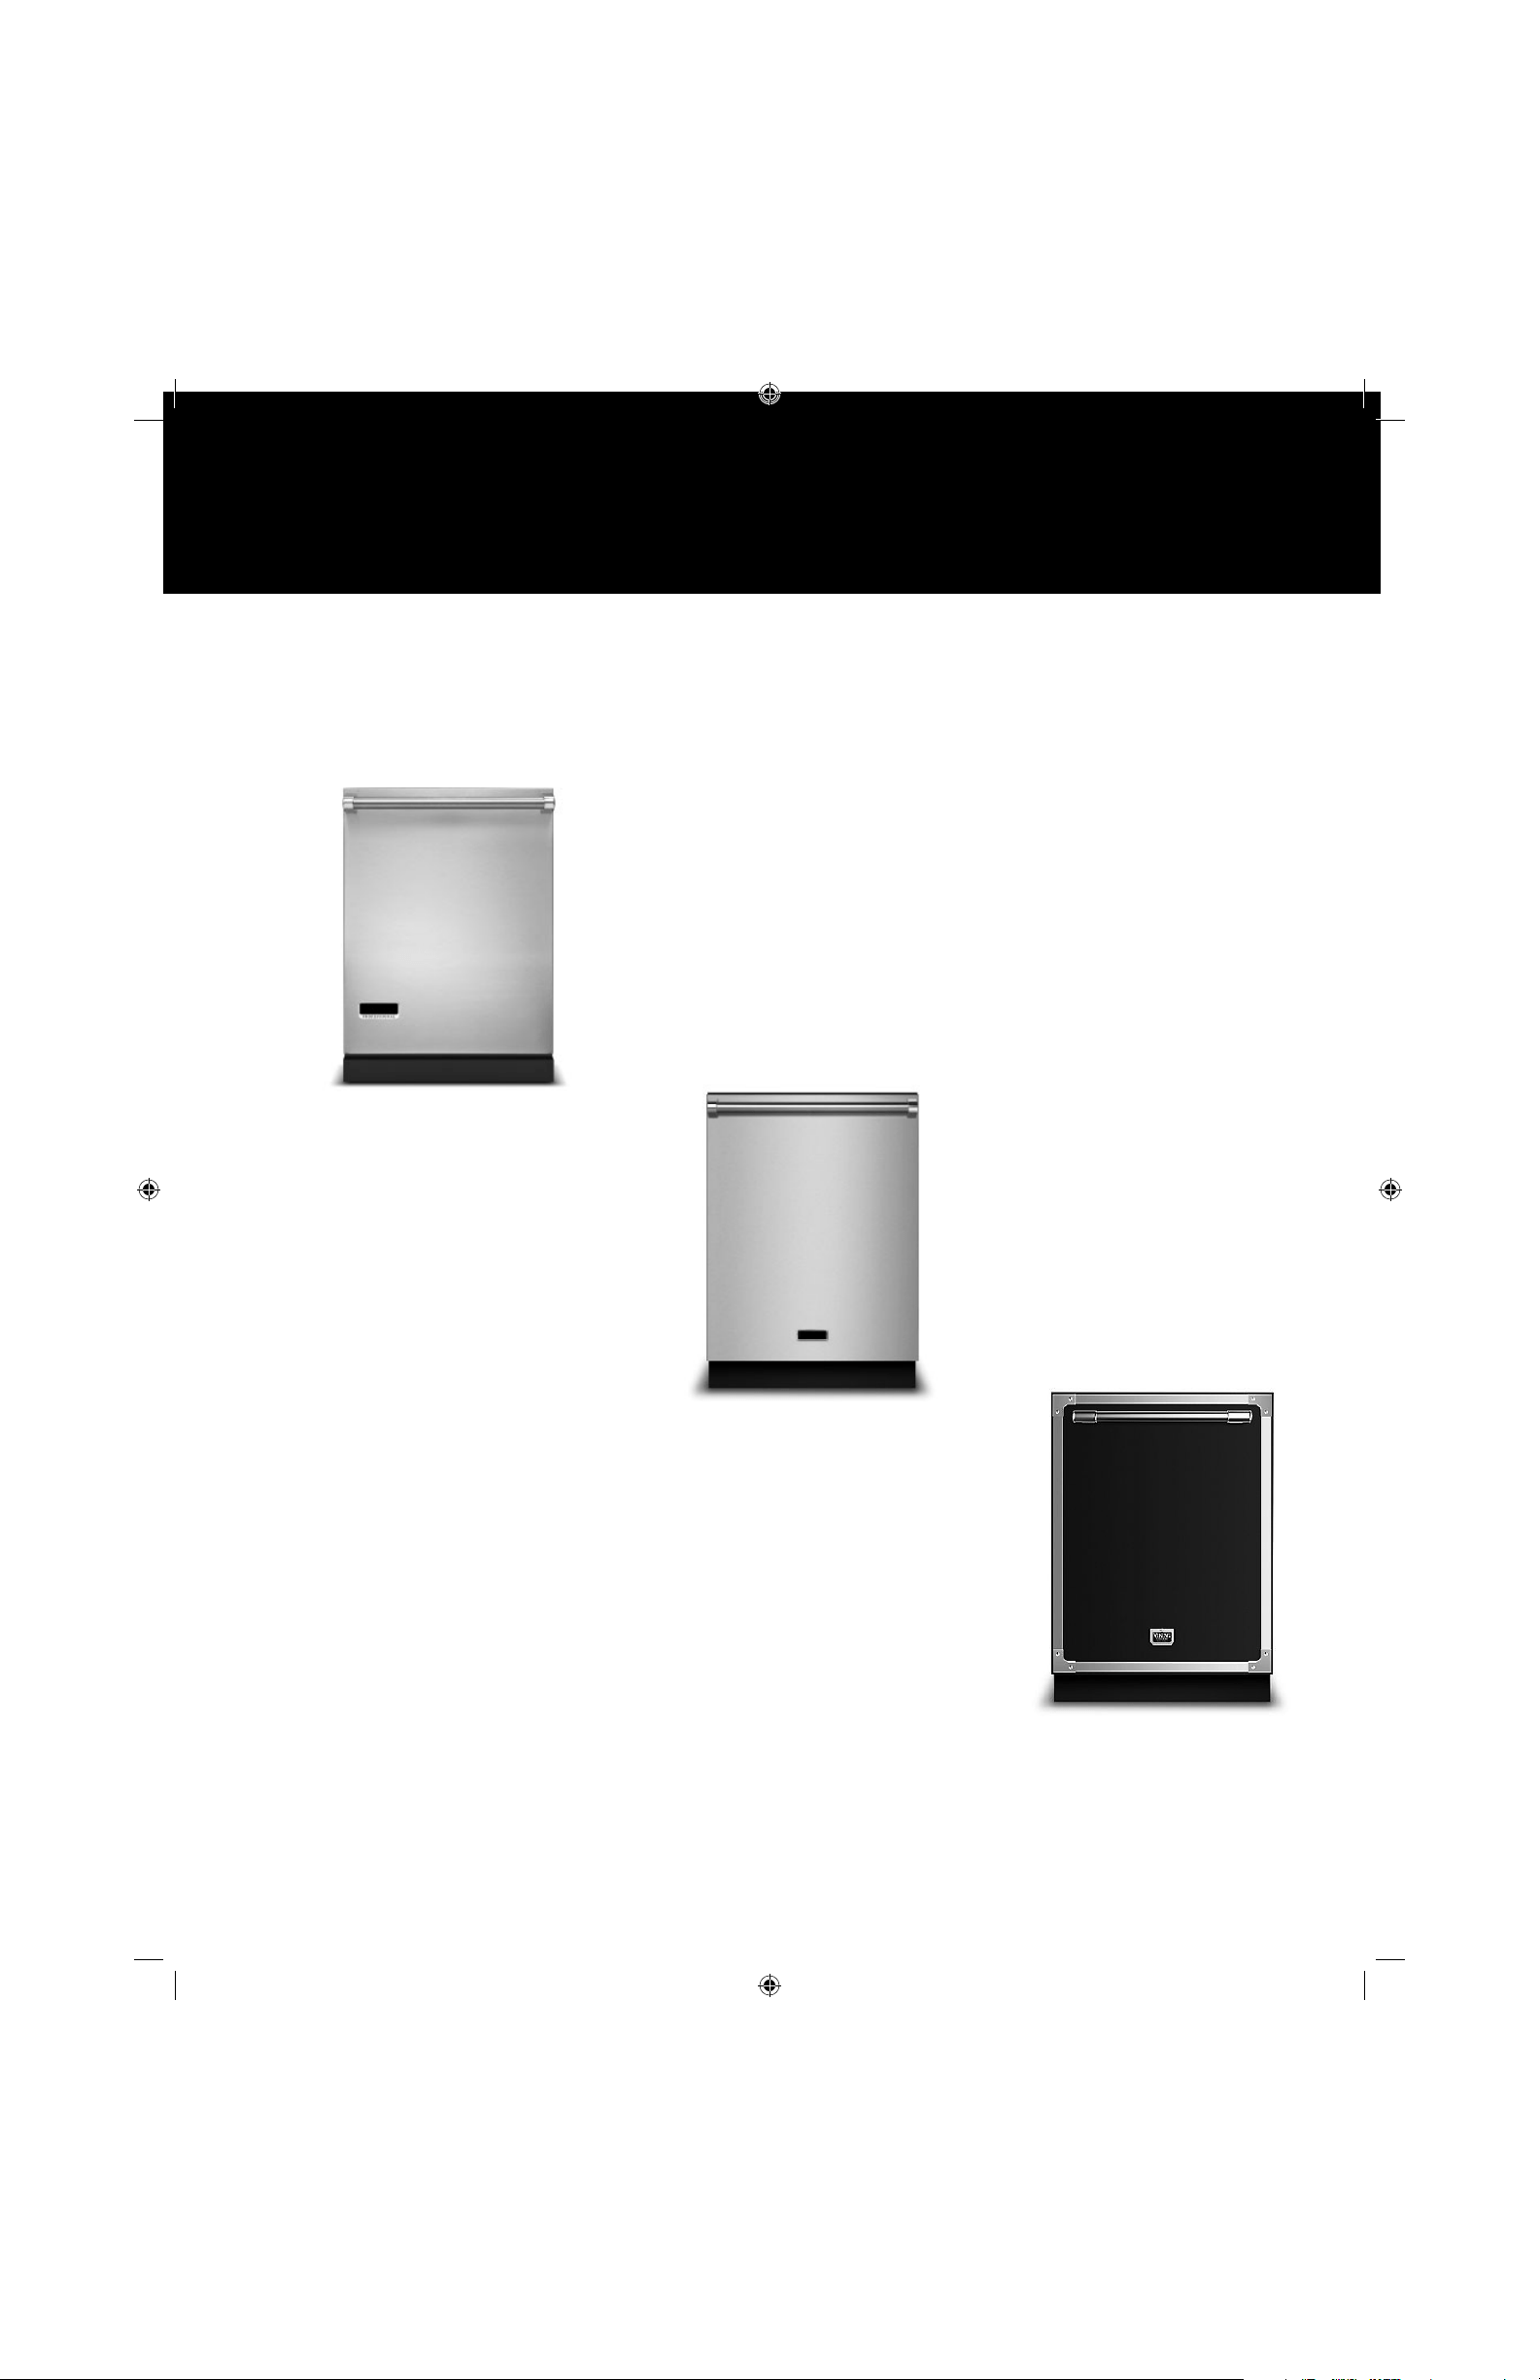
Dishwasher Door Panel Kits
Ensembles de Panneaux de Porte Lave-vaisselle
PDDP524 / RVDP324/TVDDP524/MPDDP542
2
Installation
Step 1
x2
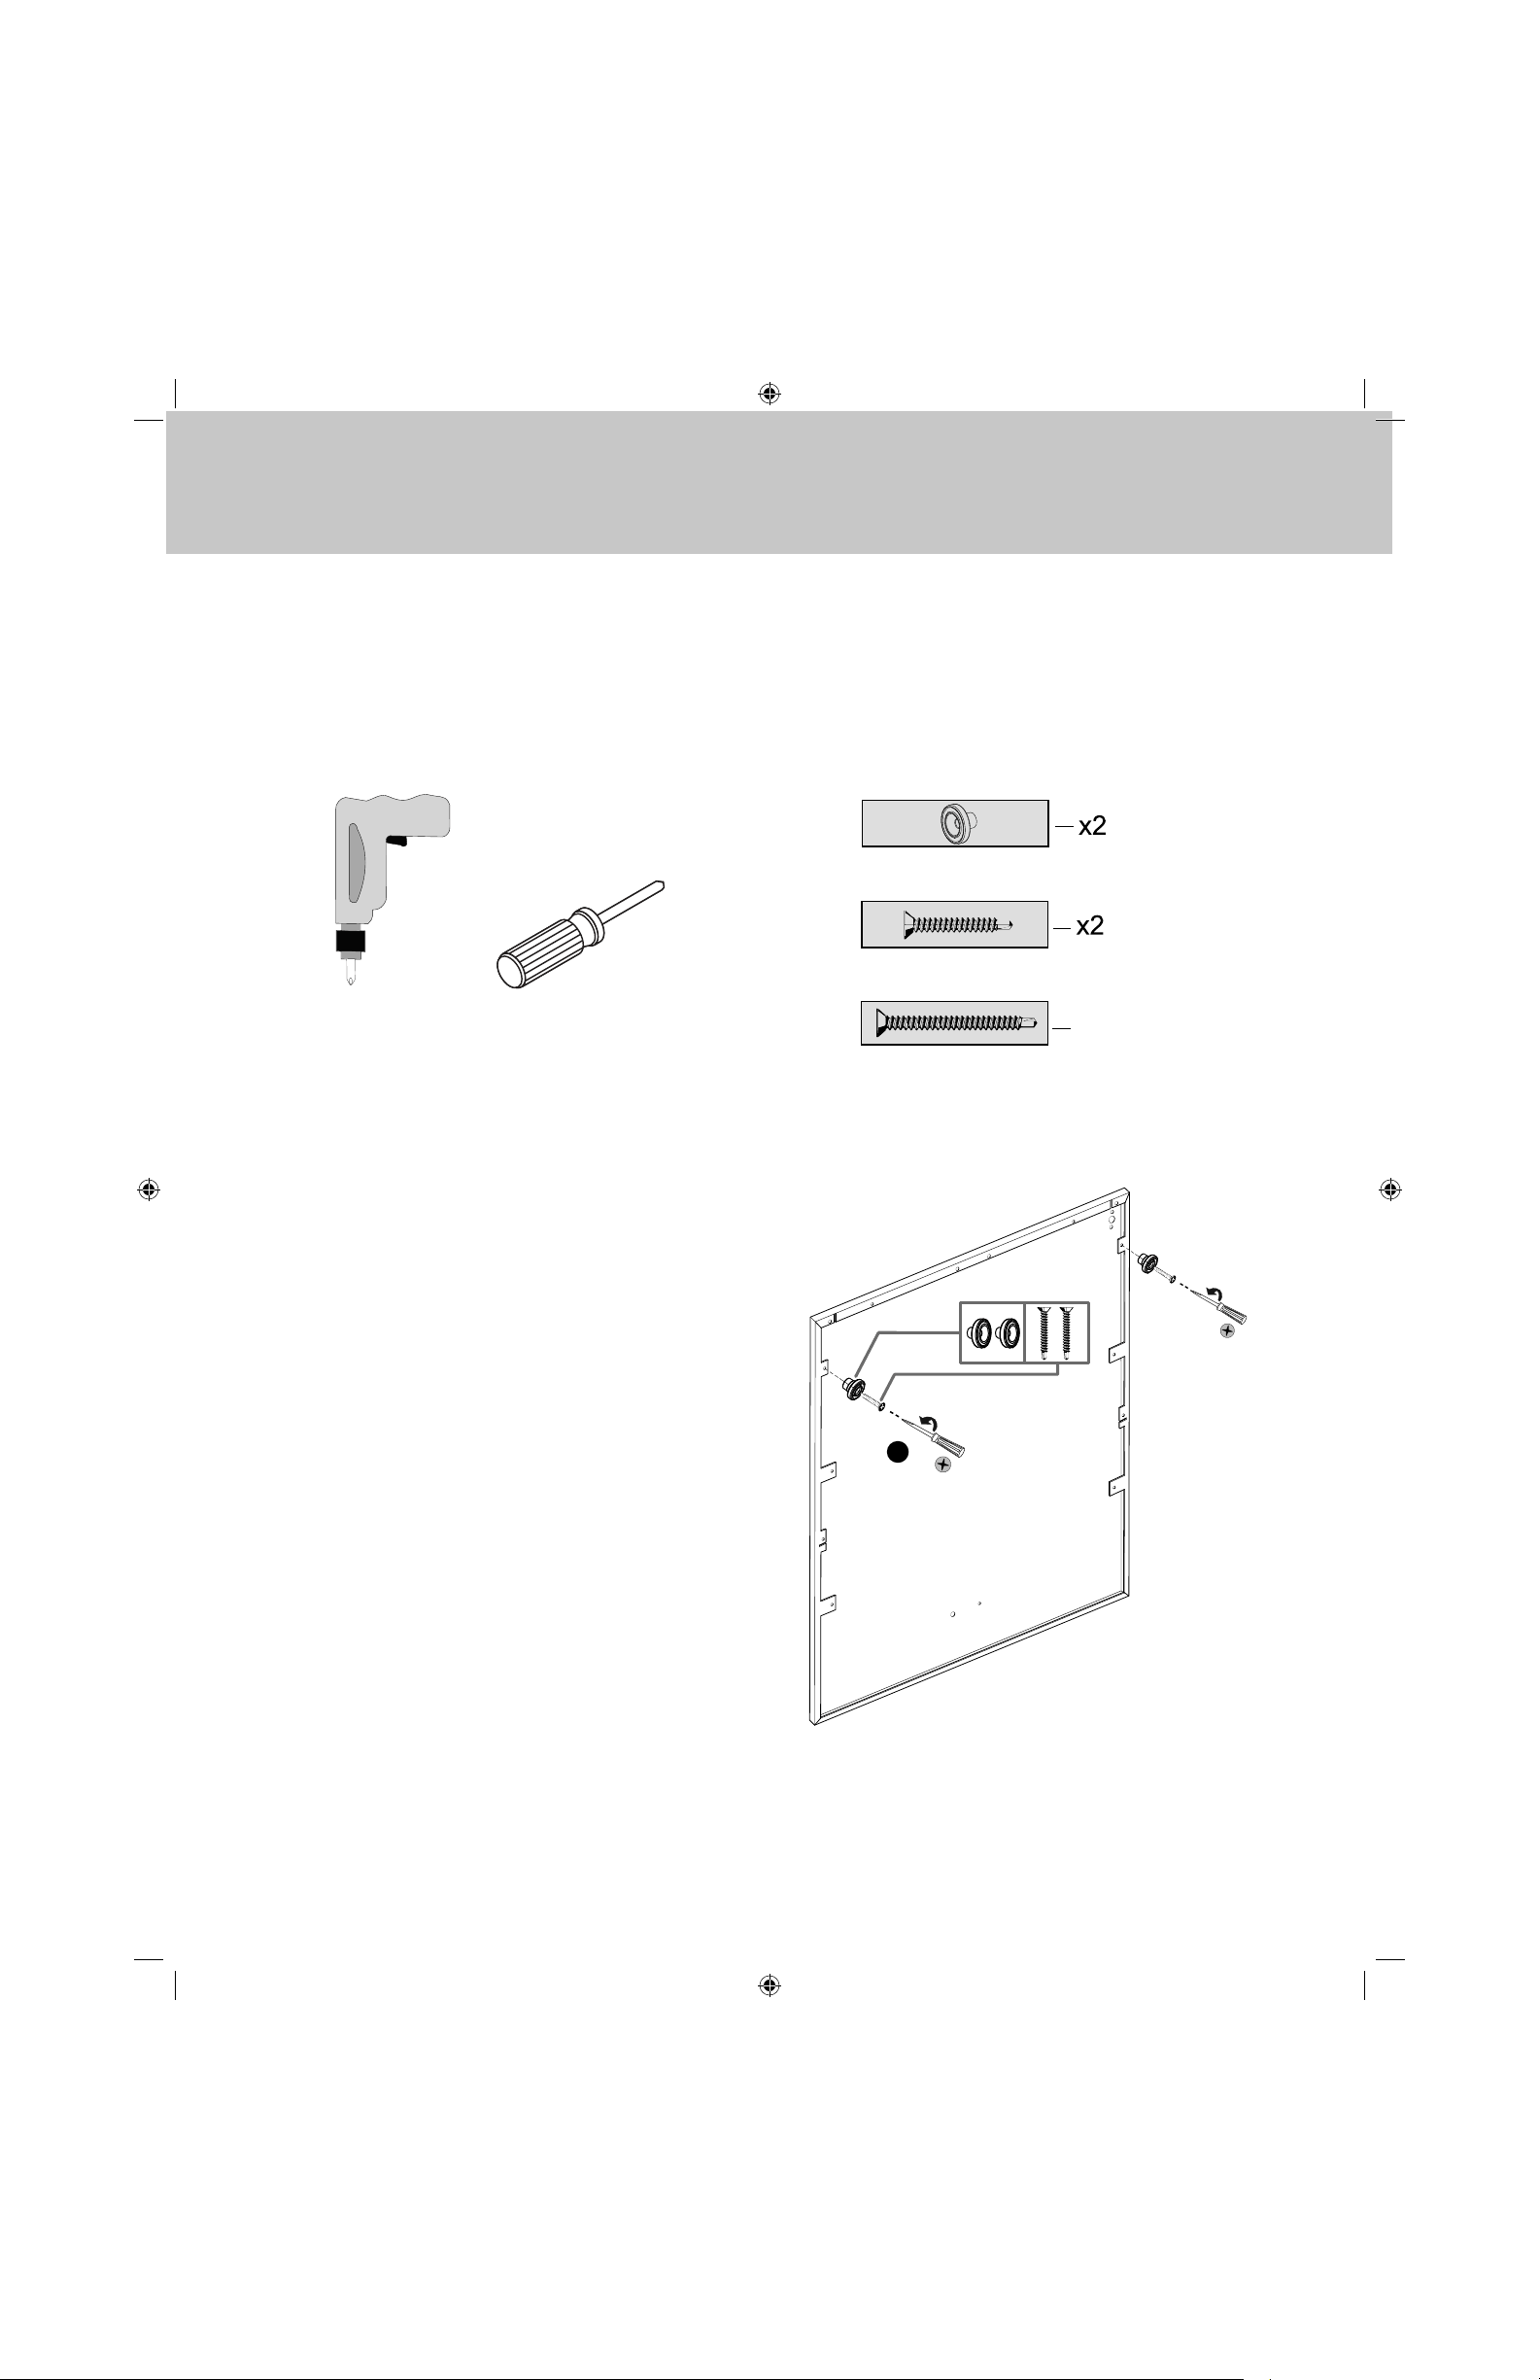
The unit comes with everything needed to make installing the door panel easy.
(2) Custom Door Plugs
(2) Plug Screws
(2) Door Screws
Phillips Head
Screwdriver
Drill
w/ Phillips Driver
Tools Needed:
Provided Parts:
n-
w-
x-
n-
w-
x-
n. w.
1
Install the custom door plugs to the back of the
door panel using the (2) plug screws
3
Step 2
Installation
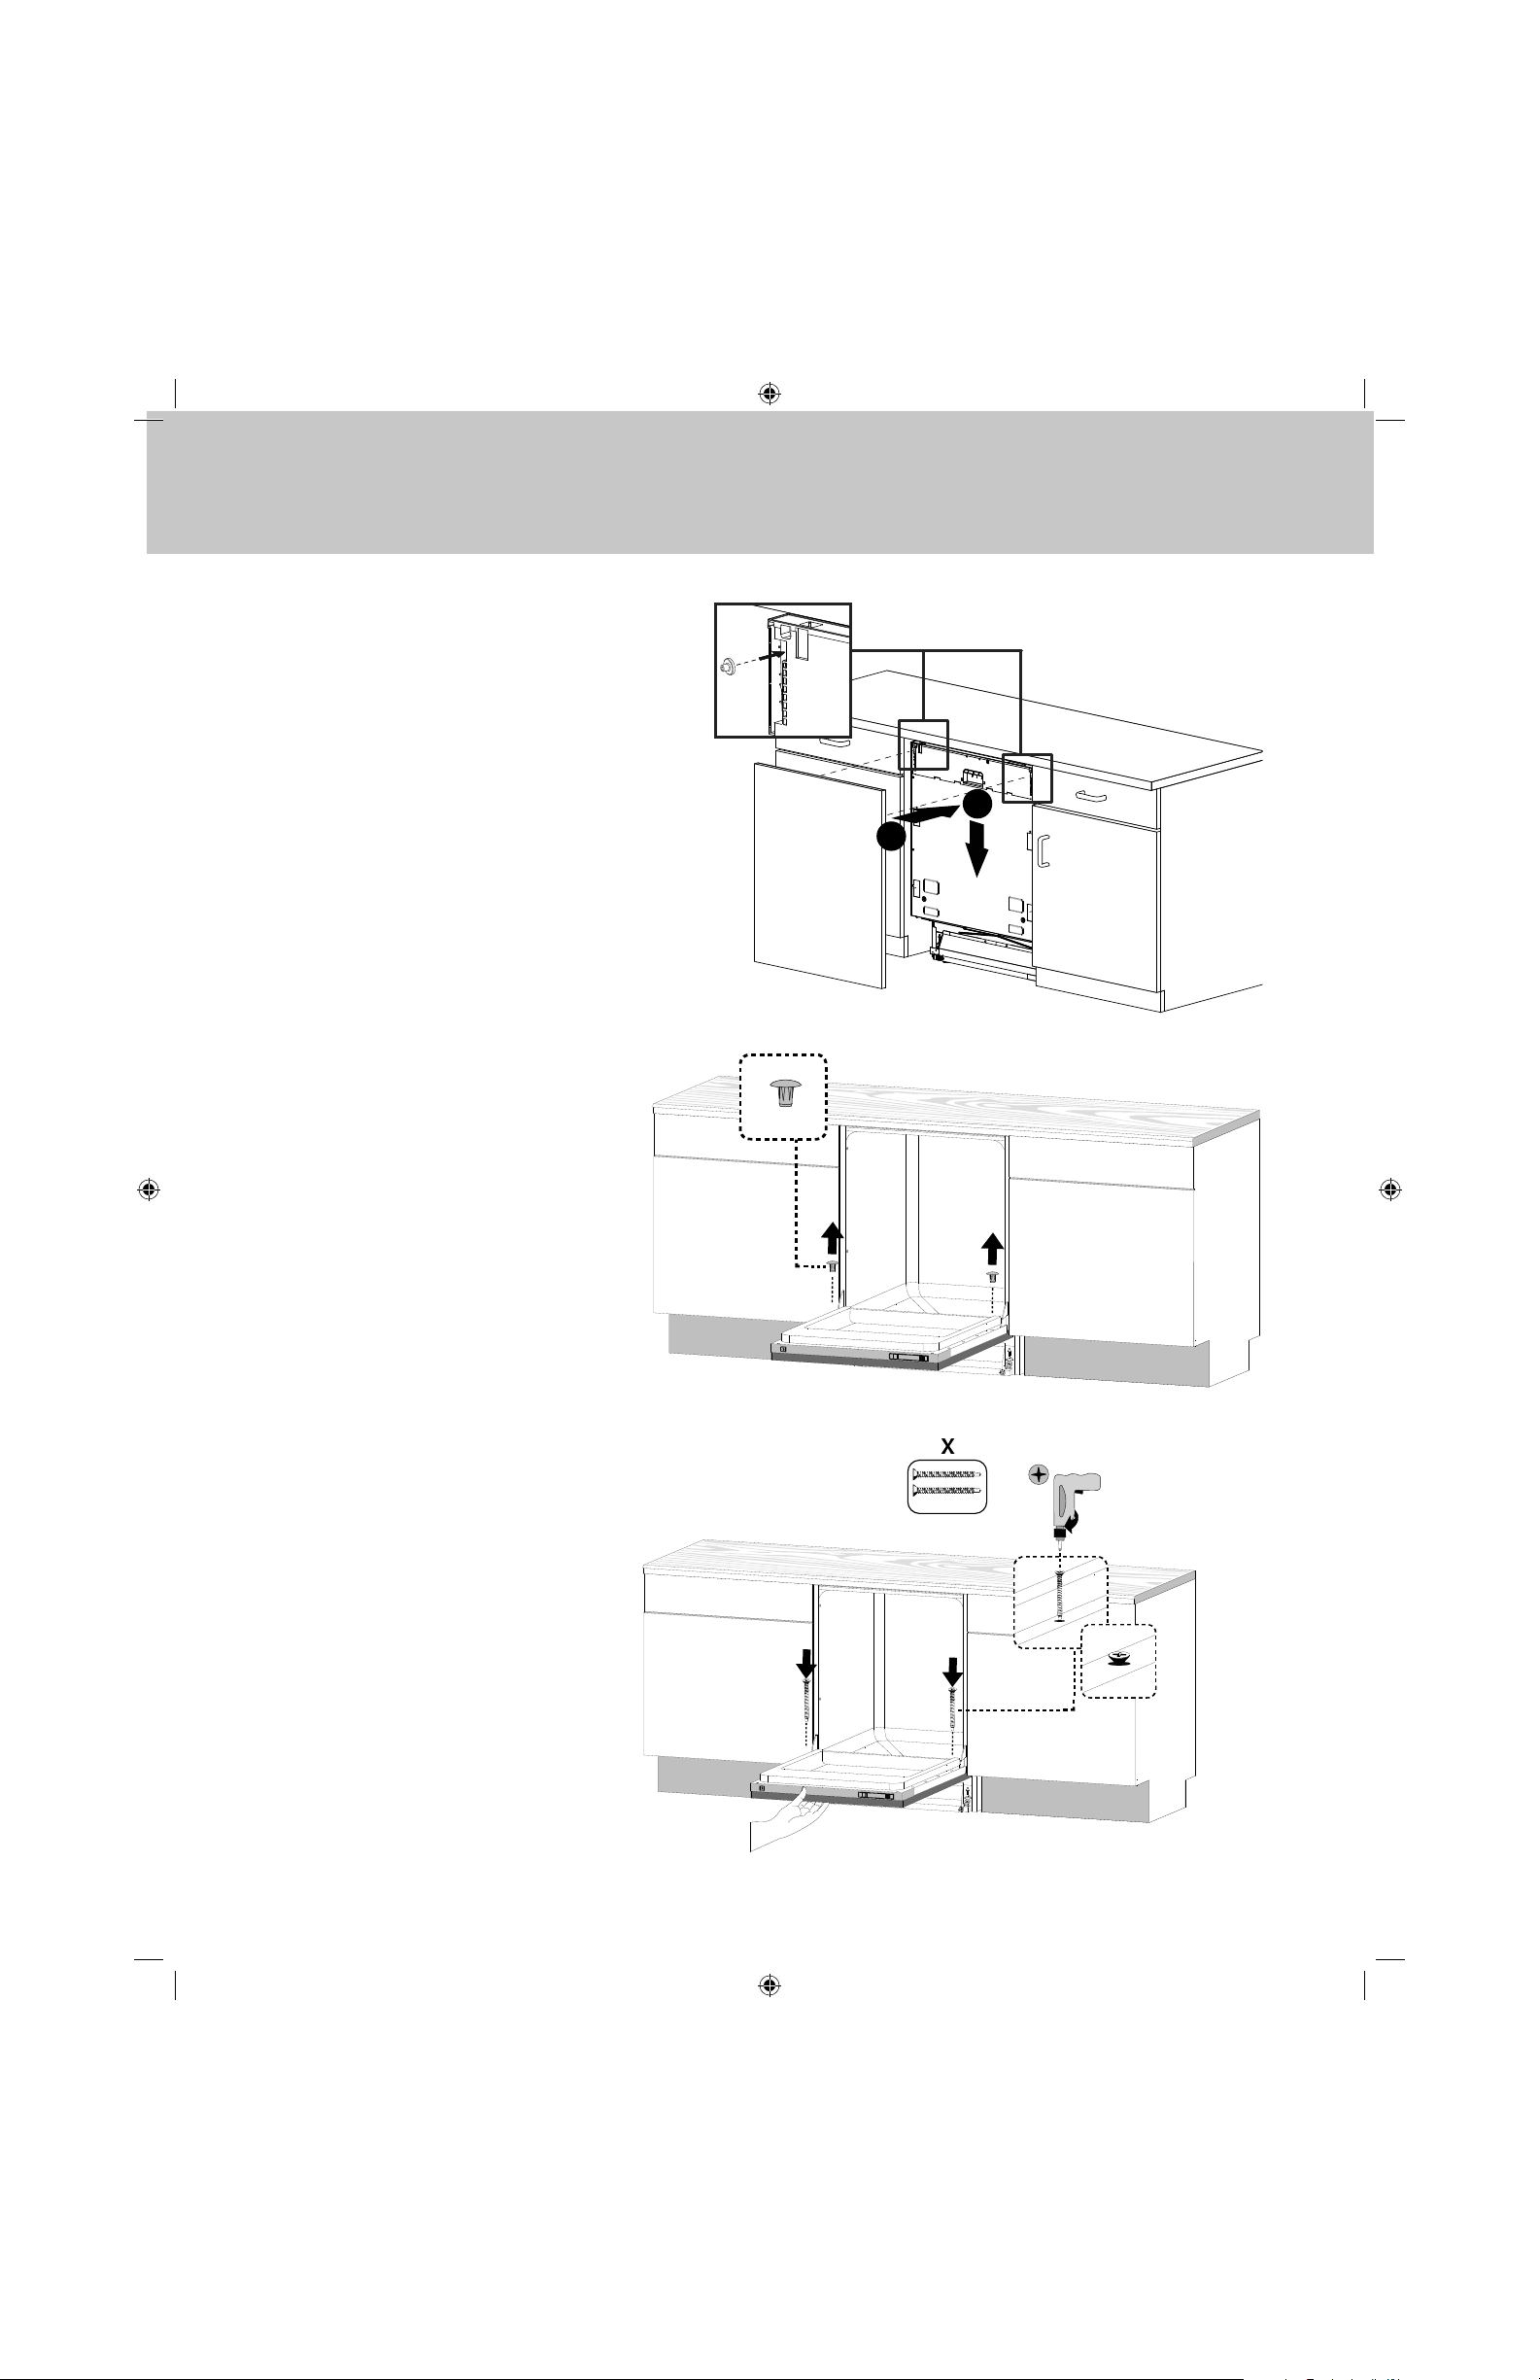
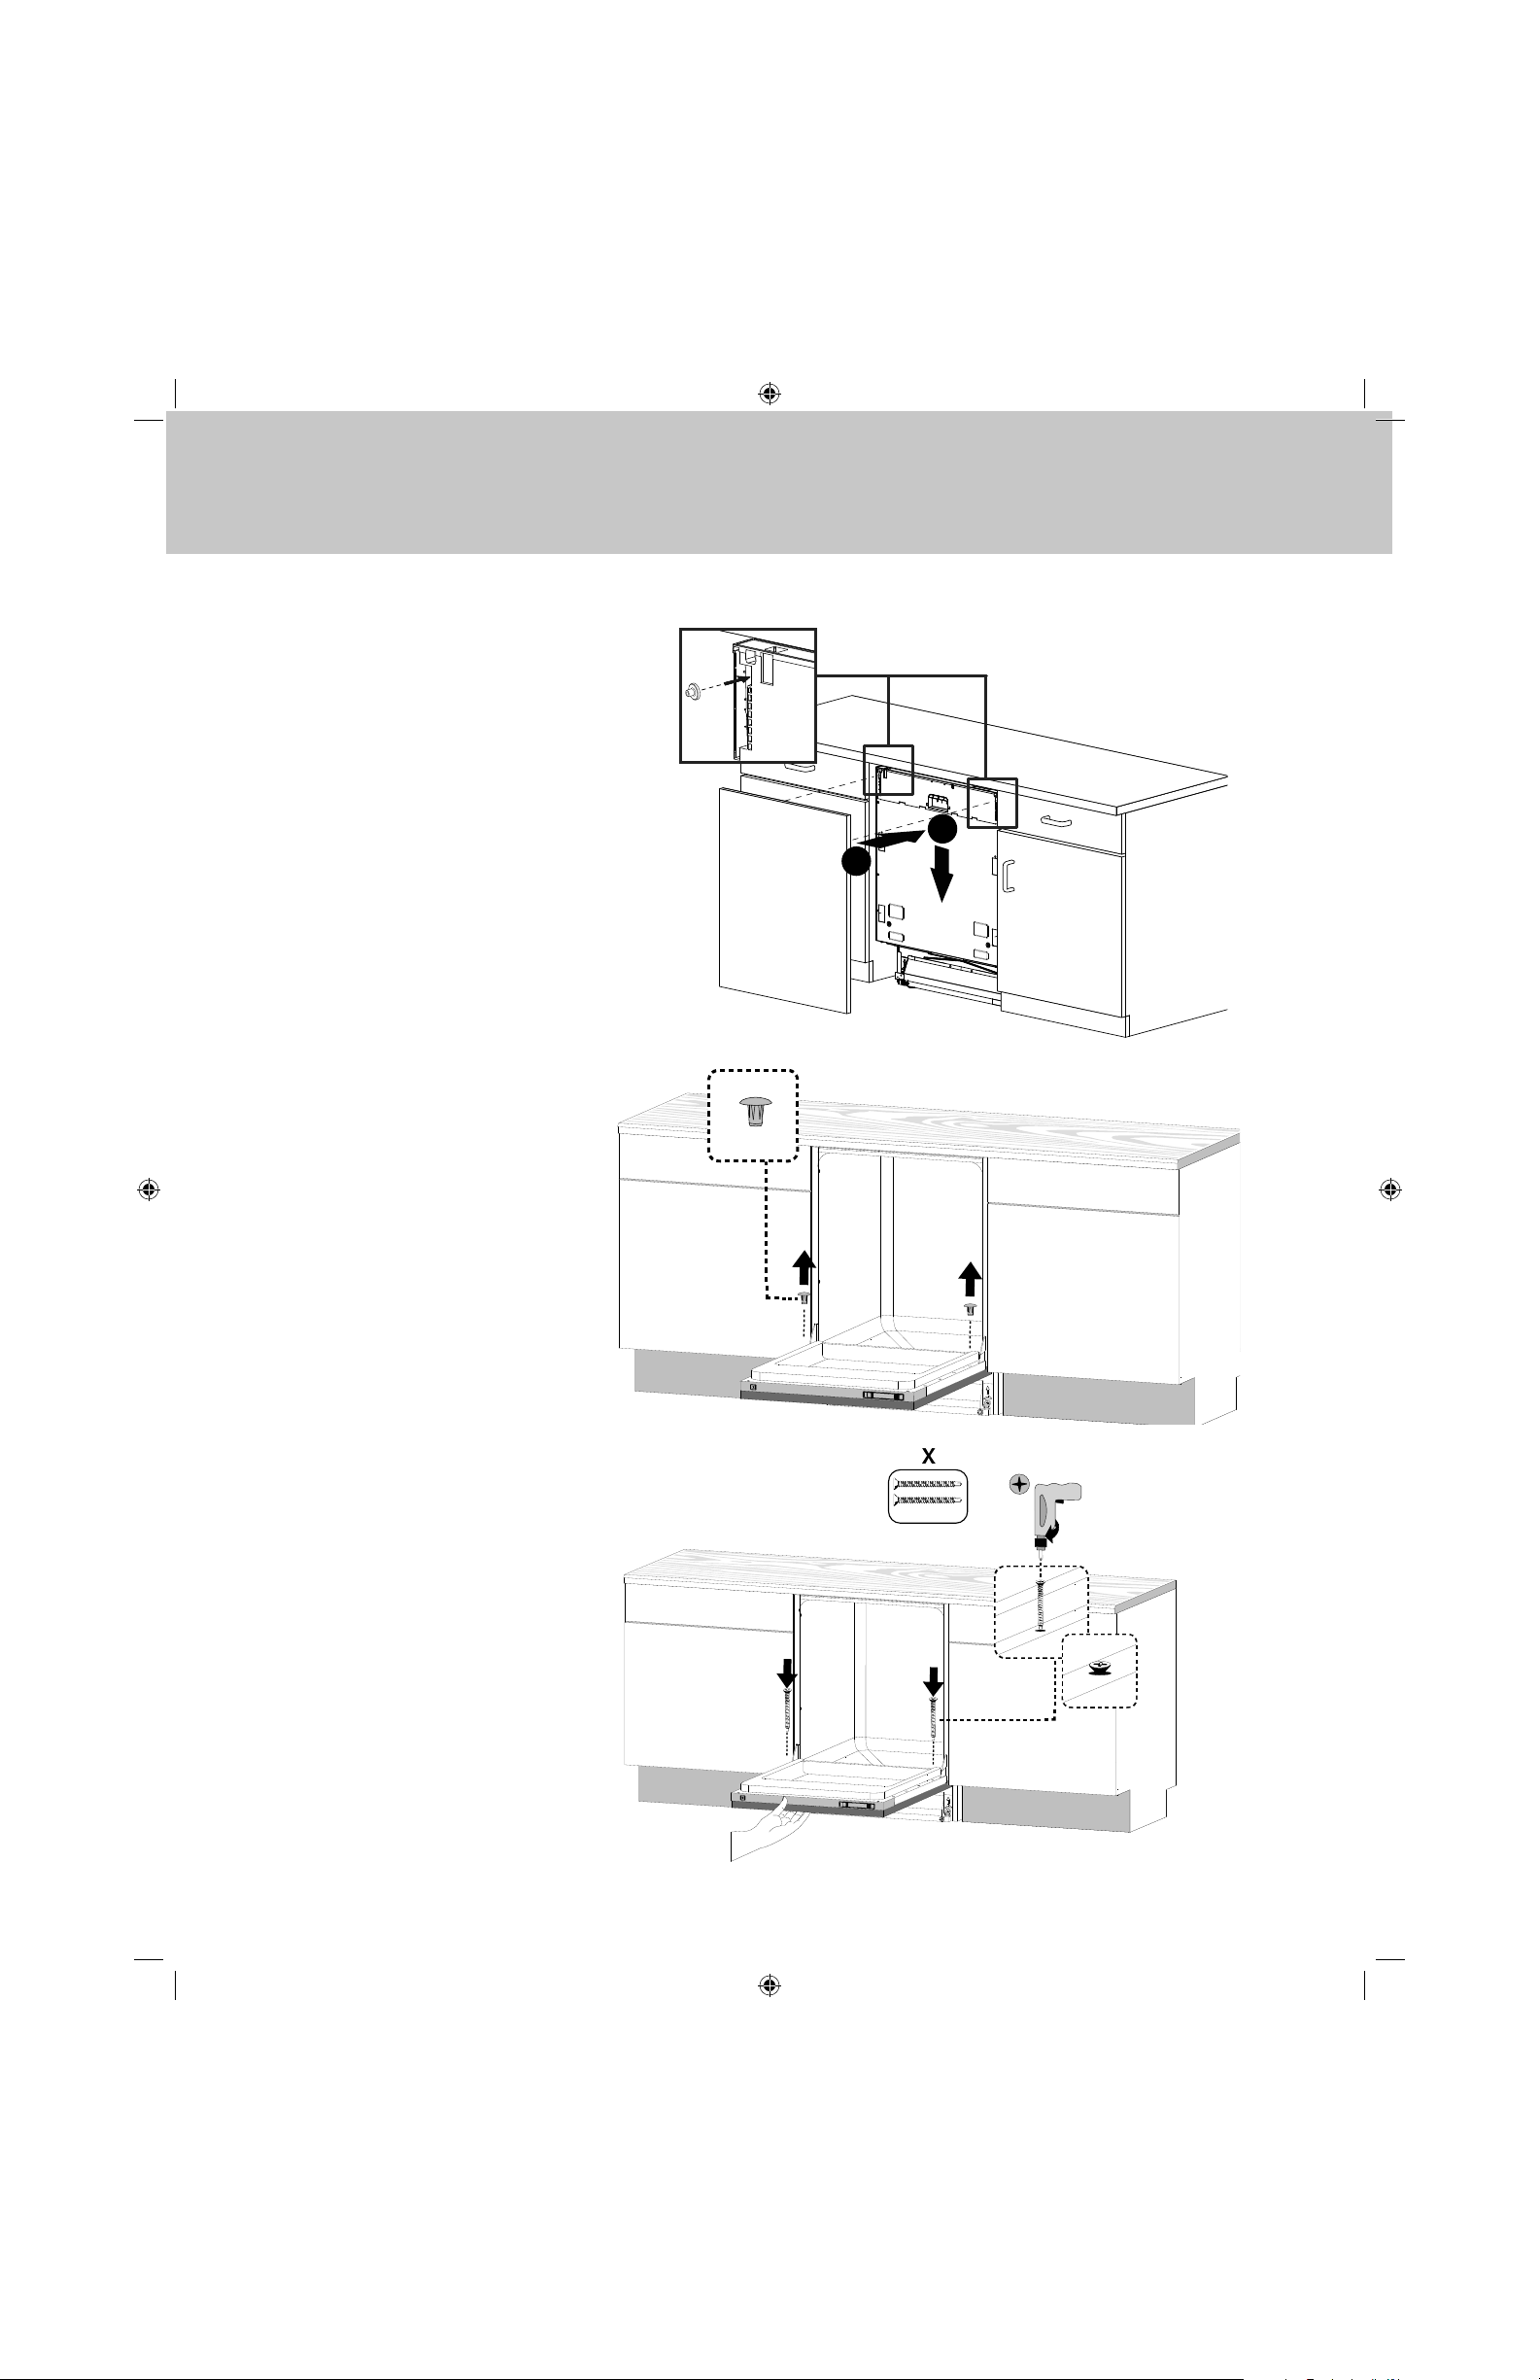
Step 3
Mount the panel door onto the
dishwasher with the plastic custom door
plugs installed in step one.
Open the door and remove the cap
inside the door at position 5
Step 4
Using the door screws provided,
attach the panel to the
dishwasher at position 5.
1
2
1
2
3
4
5
1
2
3
4
5
1
2
3
4
5
1
2
3
4
5
Door Screws
Installation
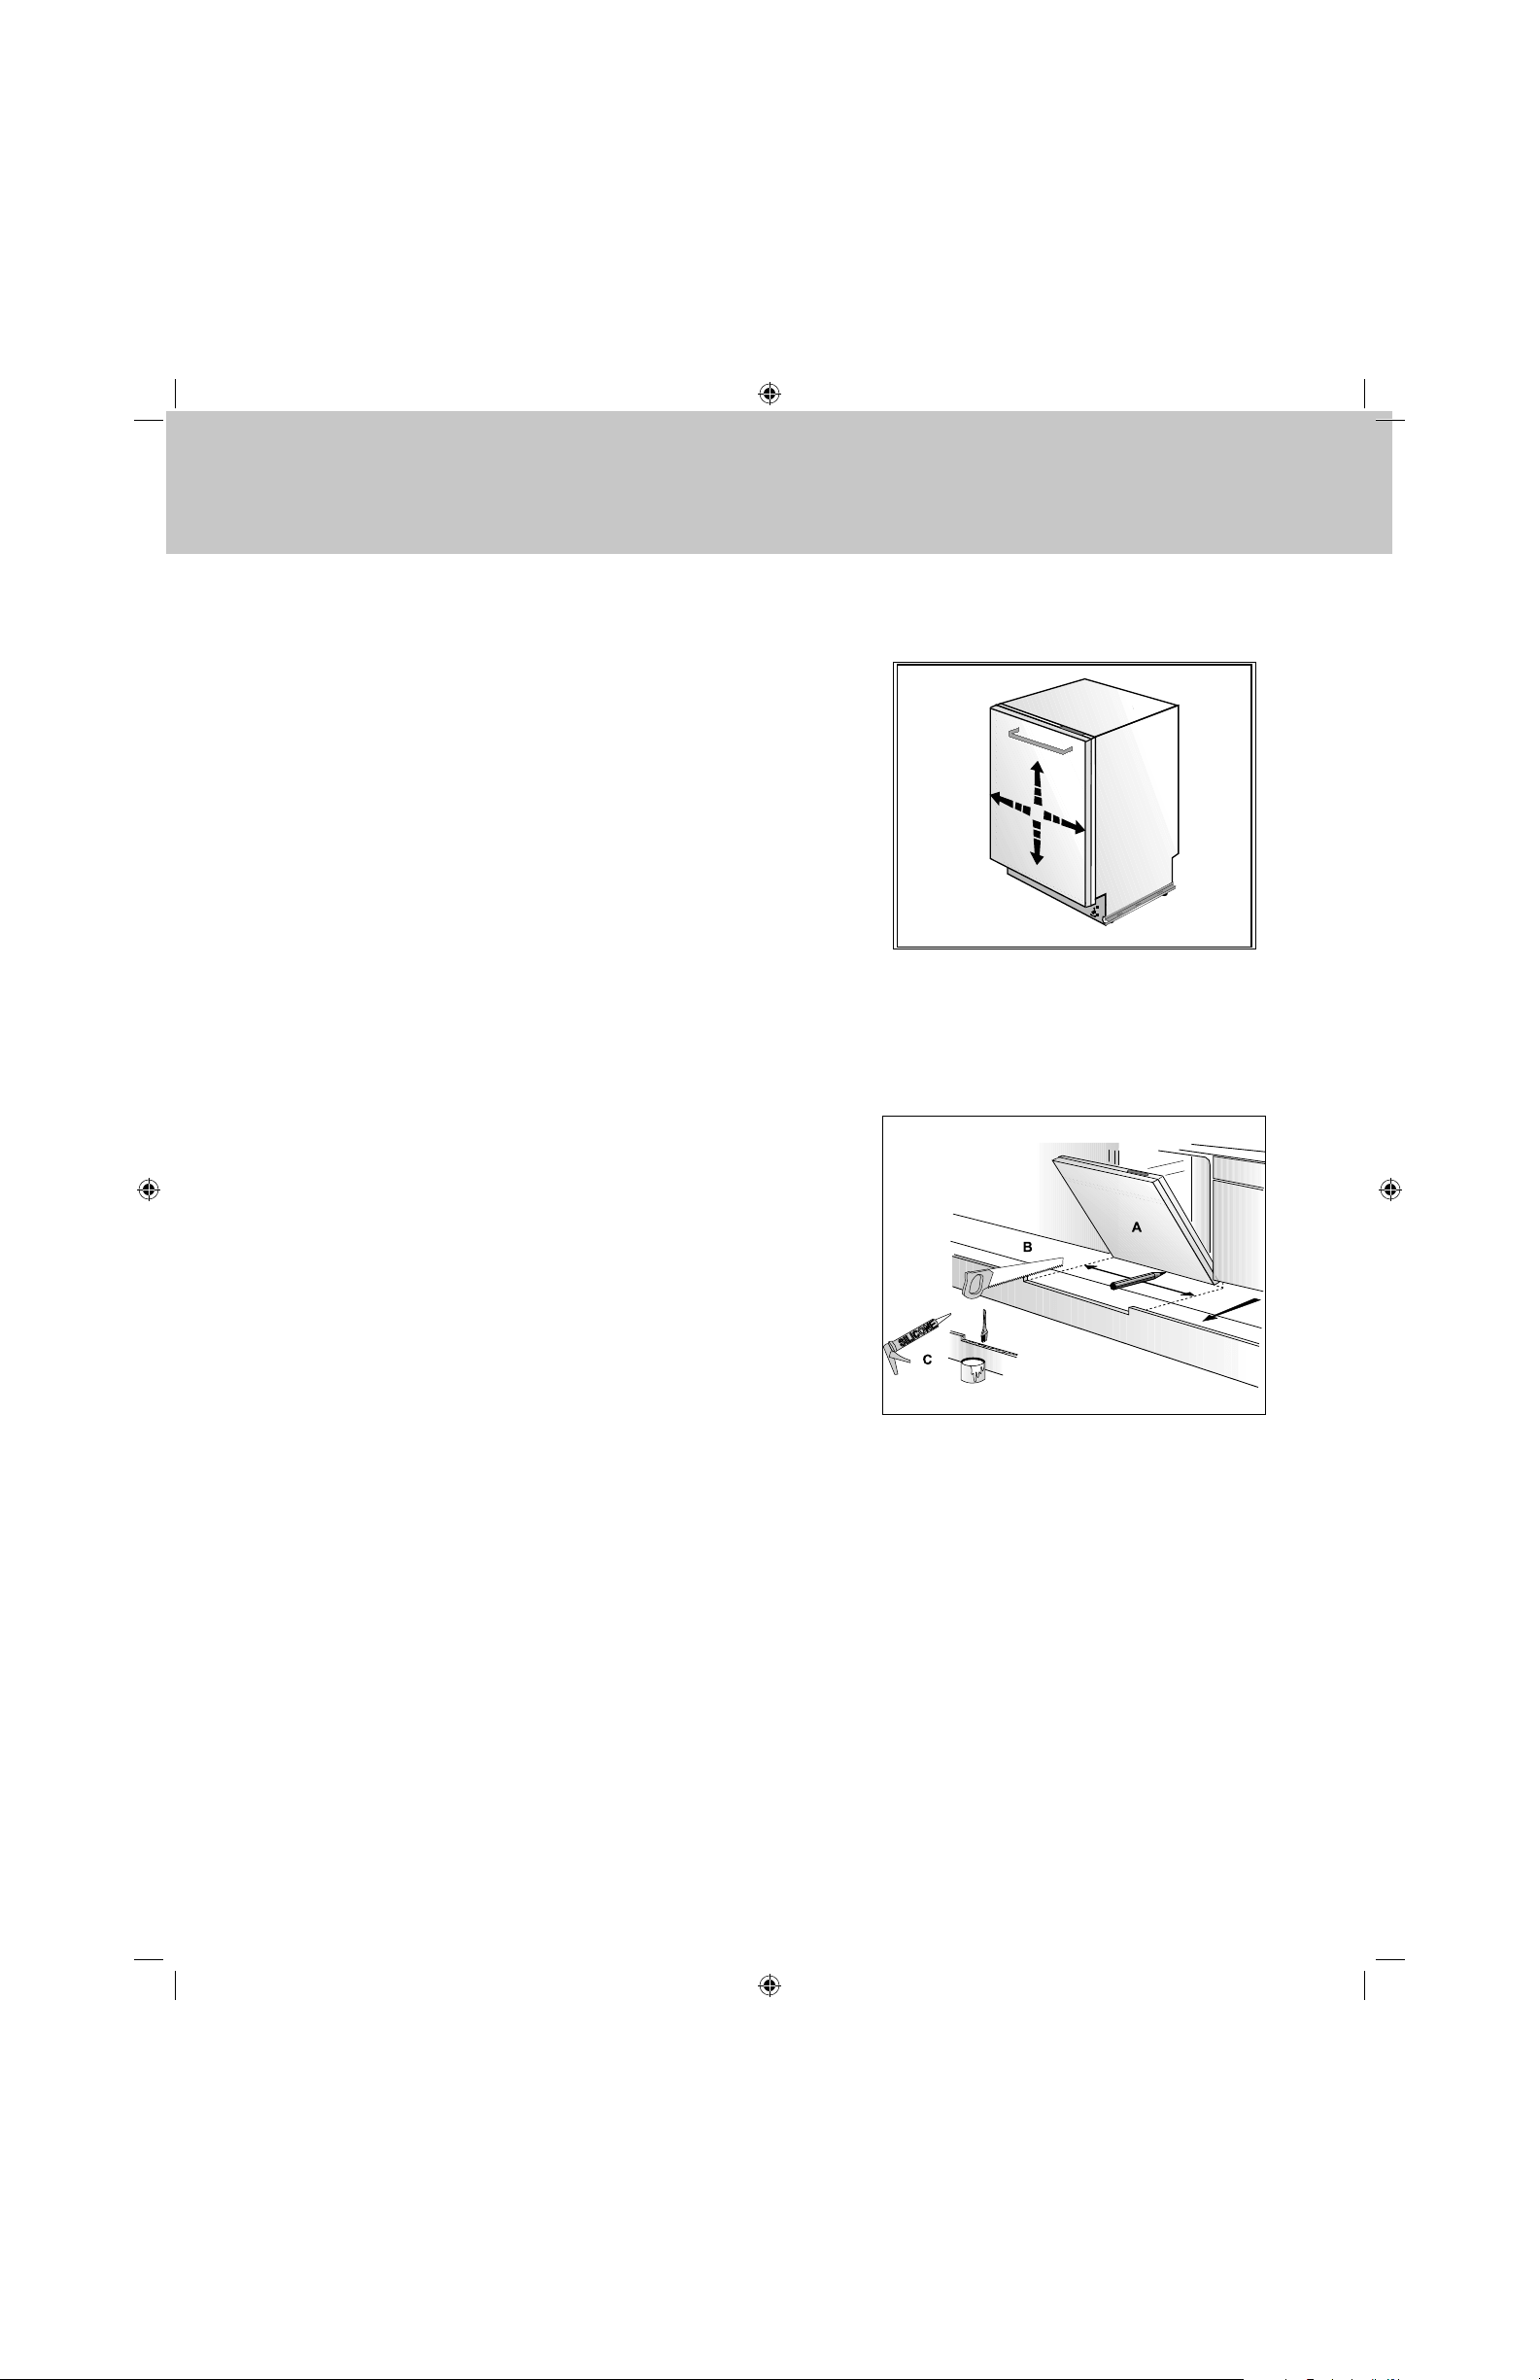
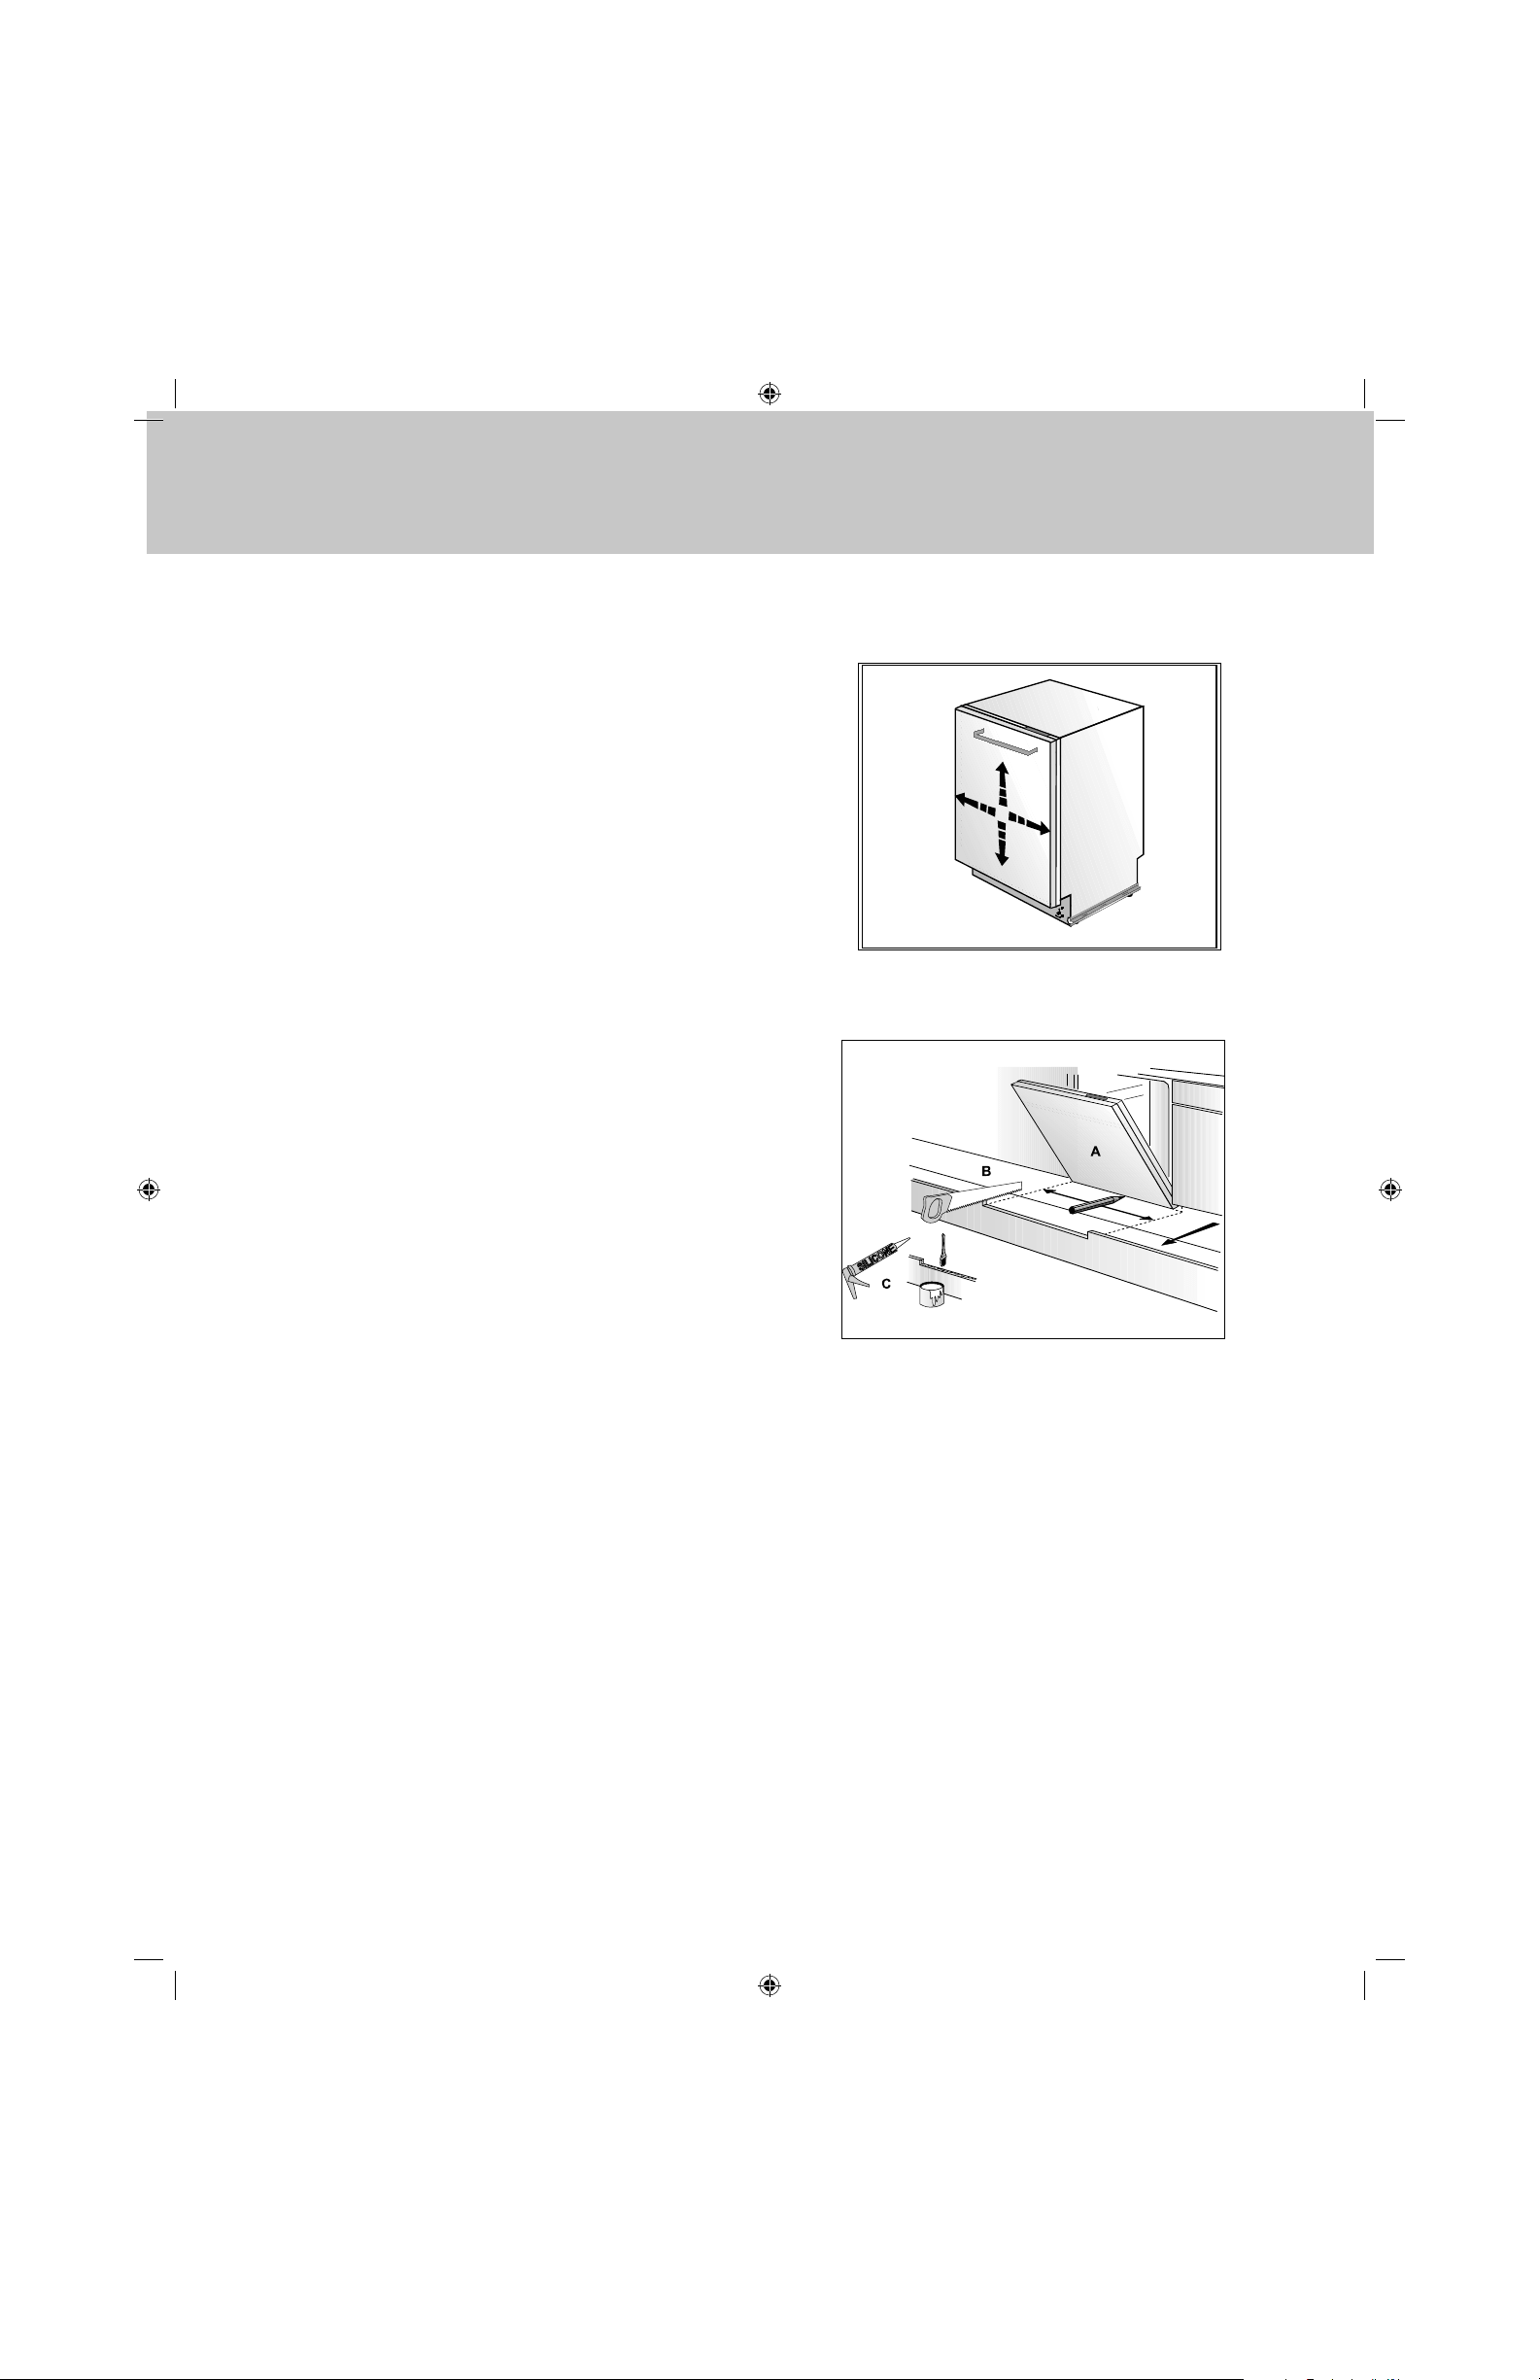
Check whether the bottom of the door hits the kickplate of
the kitchen cabinet (A). If the door hits the kickplate, cut the
necessary section out of the kickplate (B). Apply silicon or
sealant to the cut edge of the kitchen cabinet kickplate or
paint so it does not absorb moisture (C).
Step 6
Check the position of the panel door and make sure it is
aligned properly.
Step 5

5
Installation
Étape 1
x2
L’appareil est livré avec tout le nécessaire pour faciliter l’installation du panneau
de porte facile.
(2) personnalisée porte bougies
(2) bouchon vis
(2) porte vis
Cruciforme Phillips
pilote
Perceuse w /
tournevis
Outils nécessaires:
Pièces fournies:
n-
w-
x-
n-
w-
x-
n. w.
1
Installer vis la porte personnalisée se branche à
l’arrière de la plaque à l’aide de la (2) che de vis.
6
Installation
Étape 3
Étape 4
Fixer le panneau sur le lave-vaisselle
avec les bouchons en plastique de porte
personnalisé installés dans la première
étape.
Ouvrez la porte et retirer le
capuchon a à l’intérieur la porte à la
position 5.
Utilisant les vis fournies, xer le
panneau sur le lave-vaisselle en
position 5.
1
2
1
2
3
4
5
1
2
3
4
5
1
2
3
4
5
1
2
3
4
5
Door Screws
Étape 2
7
Installation
Véri ez si le bas de la porte touche le garde-pieds de
l’armoire de la cuisine (Figure A). Si la porte touche le garde-
pieds, coupez la partie nécessaire du garde-pieds (Figure B).
Appliquez du silicone ou du mastic au bord coupé du garde-
pieds de l’armoire de la cuisine ou recouvrez-le d’une couche
de peinture a n qu’il n’absorbe pas l’humidité.
Étape 6
Véri ez la position de la porte u panneau et assurez-vous
qu’elle est correctement alignée.
Étape 5

Viking Range, LLC
111 Front Street
Greenwood, Mississippi 38930 USA
(662) 455-1200
For product information, call 1-888-845-4641 or visit the our web site at vikingrange.com
Pour obtenir des informations sur le produit, appelez au 1 888 845-4641
ou visitez notre site Web (www.vikingrange.com)
070724-000 (013119)