Using the Pre-Programmed Settings
1. Press On/O button and press the desired Pre-Programmed
Setting Button:
– “Green/Frozen Smoothie”
– “Food Chop/Salsa”
– “Milkshakes”
2. To change your selection, press “STOP” followed by another
Pre-Programmed or manual Setting button.
3. Once the program is nished the cycle automatically stops. Press
the “STOP” button to cancel the program at any time. The blinking
blue light indicates that the blender is ready.
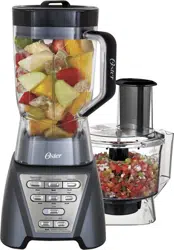
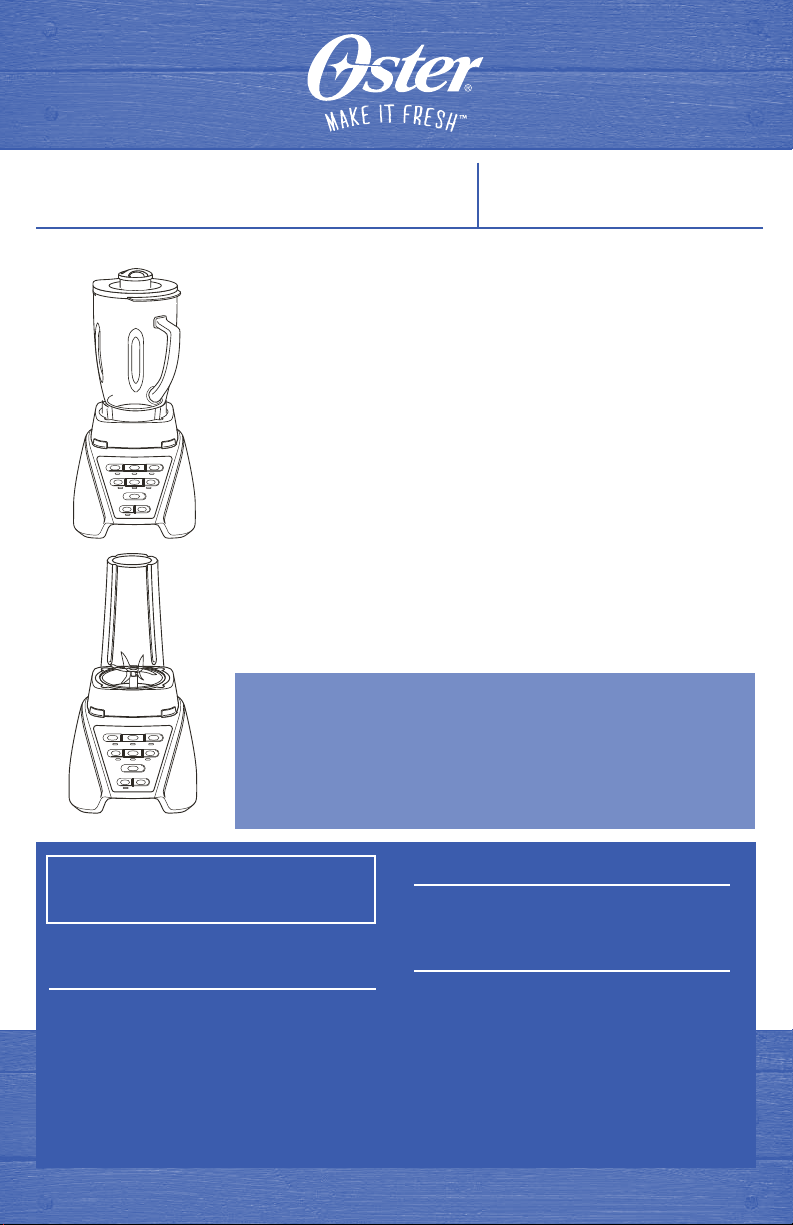
The Oster
®
Pro 1200 Blender QUICK START GUIDE
Using MANUAL CONTROLS
1. Press On/O Button and Select Manual Control of your choice:
High / Med / Low / Pulse.
2. Press the “STOP” button to cancel the operation at any time.
3. Press the ON/OFF power button to turn blender o.
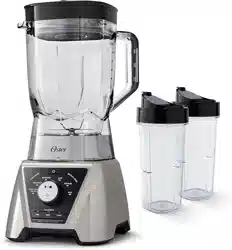
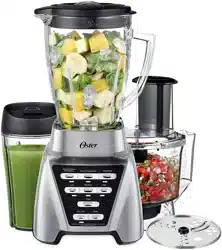
Using Blend-N-Go
®
Smoothie Cup
www.osterblending.com
©2015 Sunbeam Products, Inc., doing business as Jarden Consumer Solutions. Boca Raton, FL 33431 All rights reserved. PN: 184574 SPR-080415-398P
• After adding ingredients, place blade assembly into cup and turn
clockwise to tighten. Make sure sealing ring is placed between
blade and cup
• Place cup assembly onto Blender base and hold cup in position
to operate. Follow instructions above.
ADD LIQUIDS IN THE JAR FIRST,
THEN ADD REMAINING INGREDIENTS
• Liquid to solid ratio is key!
• Add more liquid if ingredients are not
blending properly.
BONUS TIP: For frozen drinks and smoothies,
add enough liquid to the point where your
solid ingredients begin to oat.
USE PULSE BUTTON FOR CHOPPING
BONUS TIP: Add ingredients in rst that you
wish to process more thoroughly.
FOR BEST ICE CRUSHING
WITHOUT LIQUID
• Up to 6 large ice cubes.
• Use Pulse button until you achieve
desired results.
WITH LIQUID
• Fill jar with ice cubes (no ice limits) and
water until ice oats.
• Blend on high until you achieve desired
results then strain water.
Oster
®
Pro Blending Tips

Usando las posiciones pre-programadas
1. Presione el botón de encendido/apagado (On/O) y el botón
deseado de posición pre programada:
– “Batido Verde/Congelado” (Green/Frozen Smoothies)
– “Picado de Comida/Salsa” (Food Chop / Salsa)
– “Malteadas” (Milkshakes)
2. Para cambiar su selección, presione “pare” (STOP) seguido de otro
botón pre programado o botón de ajuste manual.
3. Una vez que la programación se haya terminado el ciclo para
automáticamente. Presione el botón de “pare” (STOP) para cancelar
el programa en cualquier momento. La luz parpadeante de color
azul indica que en la licuadora está lista.
Licuadora Oster
®
Pro 1200 GuIa de inicio rApido
Usando los controles manuales
1. Presione el botón de encendido/apagado (On/O) y seleccione el
Control Manual de su preferencia: Alto (High) / Mediano (Medium) /
Bajo (Low) / Impulso
2. Presione el botón de “pare” (STOP) para cancelar la operación en
cualquier momento.
3. Presione el botón de encendido/apagado (On/O) para apagar
la licuadora.
Usando EL VASO Blend-N-Go
®
(batido para llevar)
www.osterblending.com
©2015 Sunbeam Products, Inc., operando bajo la razón social Jarden Consumer Solutions. Boca Raton, FL 33431. Todos los derechos reservados.
• Después de añadir los ingredientes, coloque el ensamblaje de
la hoja dentro de el vaso y gire en dirección de las manecillas del
reloj para apretar. Asegúrese de que el aro de sellado esté
ubicado entre la hoja y el vaso.
• Coloque el ensamblaje de el vaso sobre la base de la licuadora y
sostenga el vaso en posición. Siga las instrucciones aquí arriba.
AÑADA PRIMERO LOS LÍQUIDOS
EN LA JARRA, LUEGO LOS DEMÁS
INGREDIENTS
• La clave es el ratio de sólido al líquido!
• Añada más líquidos si los ingredientes no
se están licuando adecuadamente.
CONSEJO ADICIONAL: Para bebidas
congeladas y batidos, añada suciente
líquido hasta el punto que sus ingredientes
sólidos comiencen a otar.
USE EL BOTÓN DE IMPULSO (PULSE)
PARA PICAR
CONSEJO ADICIONAL: Añada primero los
ingredientes a los que quiere dar un licuado
más no.
PARA EL MEJOR HIELO PICADO
SIN LÍQUIDO
• Hasta 6 tazas de cubos de hielo.
• Use el botón de impulso hasta que obtenga
los resultados deseados.
CON LÍQUIDO
• Llene la jarra con cubos de hielo (no hay
límites para el hielo) y agua hasta que el
hielo ote.
• Licúe en la posición alta hasta que obtenga
el resultado deseado, luego escurra el agua.
Consejos para la
licuadora Oster
®
Pro