Loading ...
Loading ...
Loading ...
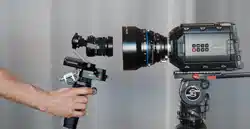
ZENMUSE X5R
User Manual
8
©
2016 DJI. All Rights Reserved.
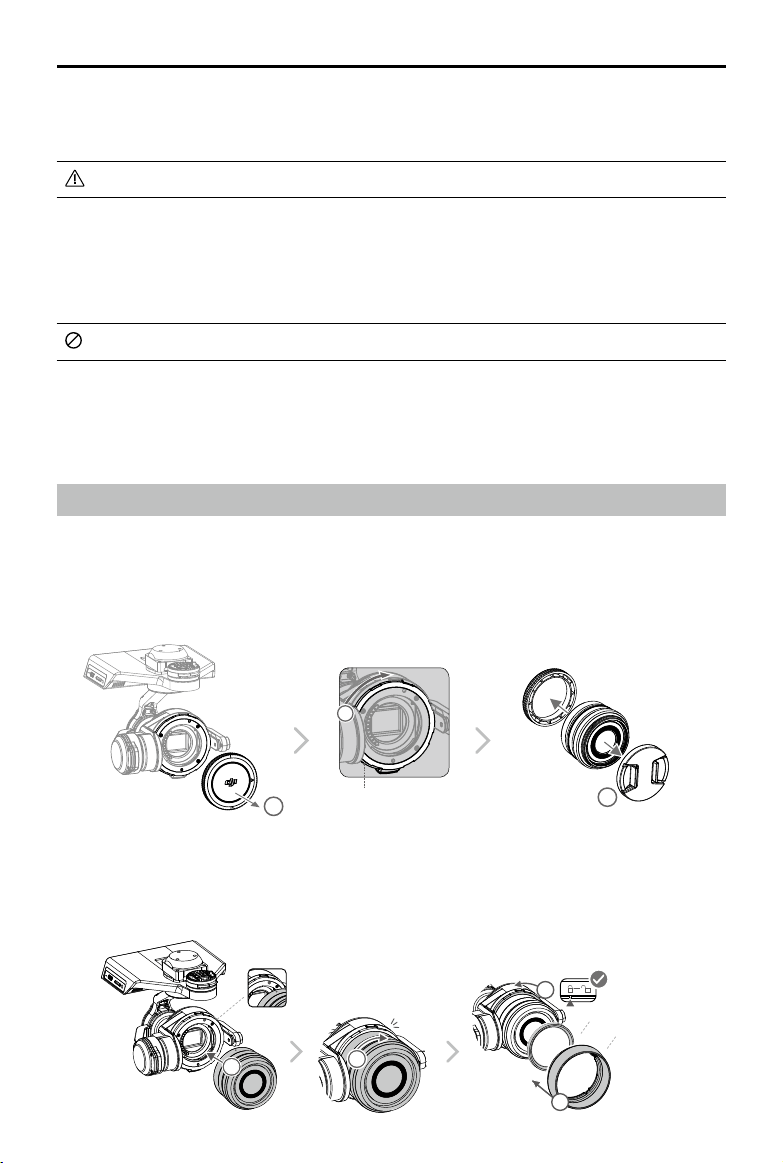
4. Align the two Lens Mount Indexes on the camera body and camera lens, and insert the
camera lens into the body of the camera.
5. Rotate the camera lens clockwise until you hear a click.
6. Rotate the Lens Lock counterclockwise to lock it.
7. Mount the Balancing Ring (or a lter) and the Lens Hood.
6
5
4
7
Click
Balancing Ring (or Filter)
Lens Hood
The thread size and weight of the Balancing Ring are included in the model number (i.e. BR-
Φ46-10 has a thread size of 46 mm and a weight of 10 g).
The Balancing Ring must be installed on the camera lens when a lter is not used.
Supported Micro SD Cards
The Zenmuse X5R comes with a 16GB Micro SD card, but also supports Micro SD cards
with a capacity of up to 64GB. We recommend using a UHS-1 Micro SD card to minimize the
delay when reading and writing high resolution video data.
DO NOT remove the Micro SD card from the Zenmuse X5R when it is powered on.
Supported X5R SSD
The Zenmuse X5R comes with an integrated 512GB X5R SSD for storing lossless and
uncompressed footage. Note that its operating temperature is 32° to 158° F (0° to 70° C).
Installing the Camera Lens
The following steps use the DJI MFT 15mm f/1.7 ASPH as illustration of how to mount the
camera lens to the camera body. Be sure to power off the battery before installation.
1. Remove the camera body cap.
2. While holding down the Lens Release Button, rotate the Lens Lock clockwise to unlock it.
3. Remove the lens cap and rear cap.
Lens Release Button
1
2
3
Loading ...
Loading ...
Loading ...