Loading ...
Loading ...
Loading ...
8
To adjust the horizontal position
When pressing the </, button, the picture
projected on the screen moves right or left by a
maximum of 3% of the screen width from the center
of the lens.
Top view
* For 17:9 display, the range of movement will be +/
_
2.8%.
To adjust the vertical position
When pressing the M/m button, the picture projected
on the screen moves up or down by a maximum of 6%
of the screen height from the center of the lens.
Side view
8 Press the PATTERN button again to display the Lens
Zoom adjustment window. Then adjust the size of the
picture by pressing the M/m/</, buttons.
To make the picture larger, press M/,.
To make the picture smaller, press m/<.
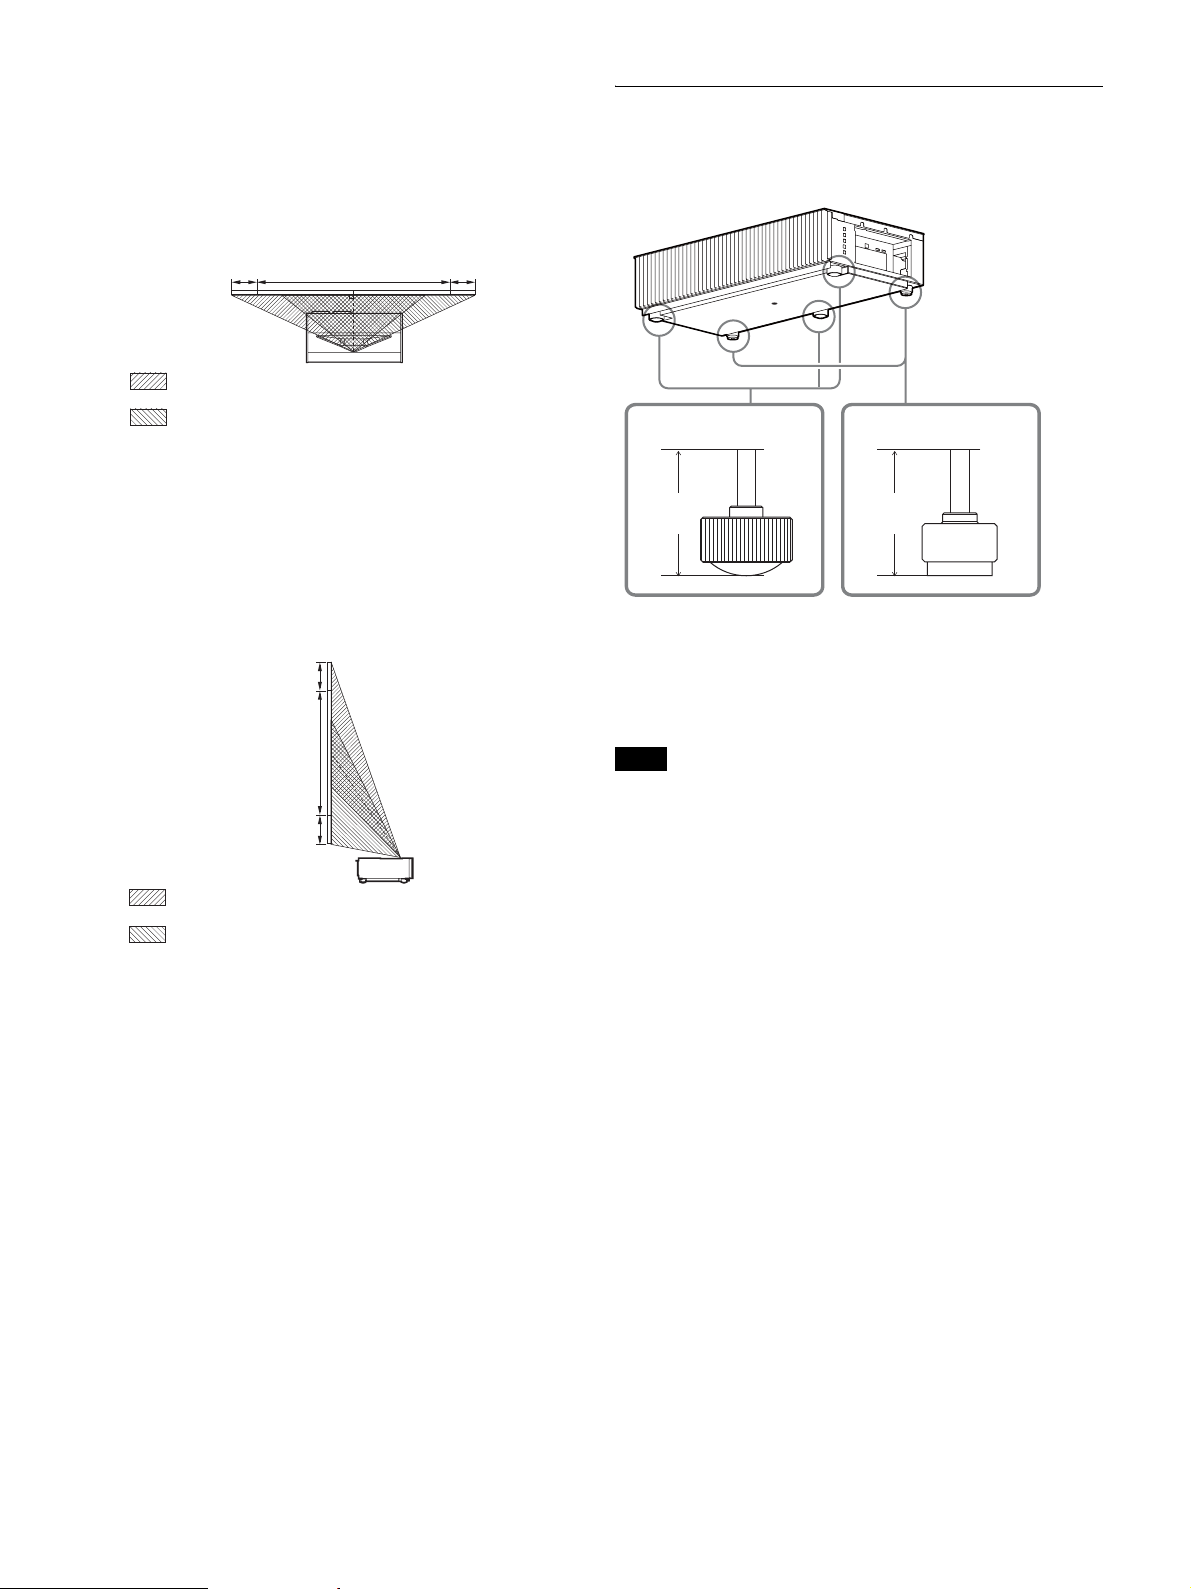
Adjusting the height of the feet
You can adjust the height and tilt of the unit using the three
feet at the bottom of the unit, and prevent backlash of the
unit using the two feet.
Tips
• The feet for adjusting the tilt can be adjusted by 1.5 mm with every
full turn.
• The left and right feet near the rear side can be used to prevent the
backlash. You can adjust these feet to the same height as the feet
for adjusting the tilt.
• Be careful not to get your finger caught when turning the feet for
adjusting the tilt or feet for preventing backlash.
• You can adjust the foot height up to 20 mm. If the foot height is
more than 30 mm, the foot may come off and the unit may drop
causing an injury.
3%* 3%*1 screen width
: Picture position when moving the picture to the left at
maximum
: Picture position when moving the picture to the right at
maximum
6%
6%
1 screen
height
: Picture position when moving the picture upward at
maximum
: Picture position when moving the picture downward at
maximum
Notes
Foot
height
Foot
height
Foot for adjusting
the tilt
Foot for preventing
backlash
Loading ...
Loading ...
Loading ...