Loading ...
Loading ...
Loading ...
15
Note
1
The supported USB disk formats are FAT, FAT32, and NTFS.
2
For the CHG90 model, make sure that each upgrade file is a BIN format file, follows the CHG90 model
naming rule (m-HG949CCAA-****.*[4 digits].bin, where ****.* is a version number, and 4 digits are
a checksum. For example, “m-HG949CCAA-1000.0[6E80].bin” complies with the naming rule for the
CHG90 model.), and must be copied to the root directory.
3
Make sure that the USB disk only contains one upgrade file for each model, and then follow the
instructions in this guide.
4
If you want to revert or downgrade to a lower version, change the file name as
m-HG949CCAA-0000.0[4 digits], and then take the same steps.
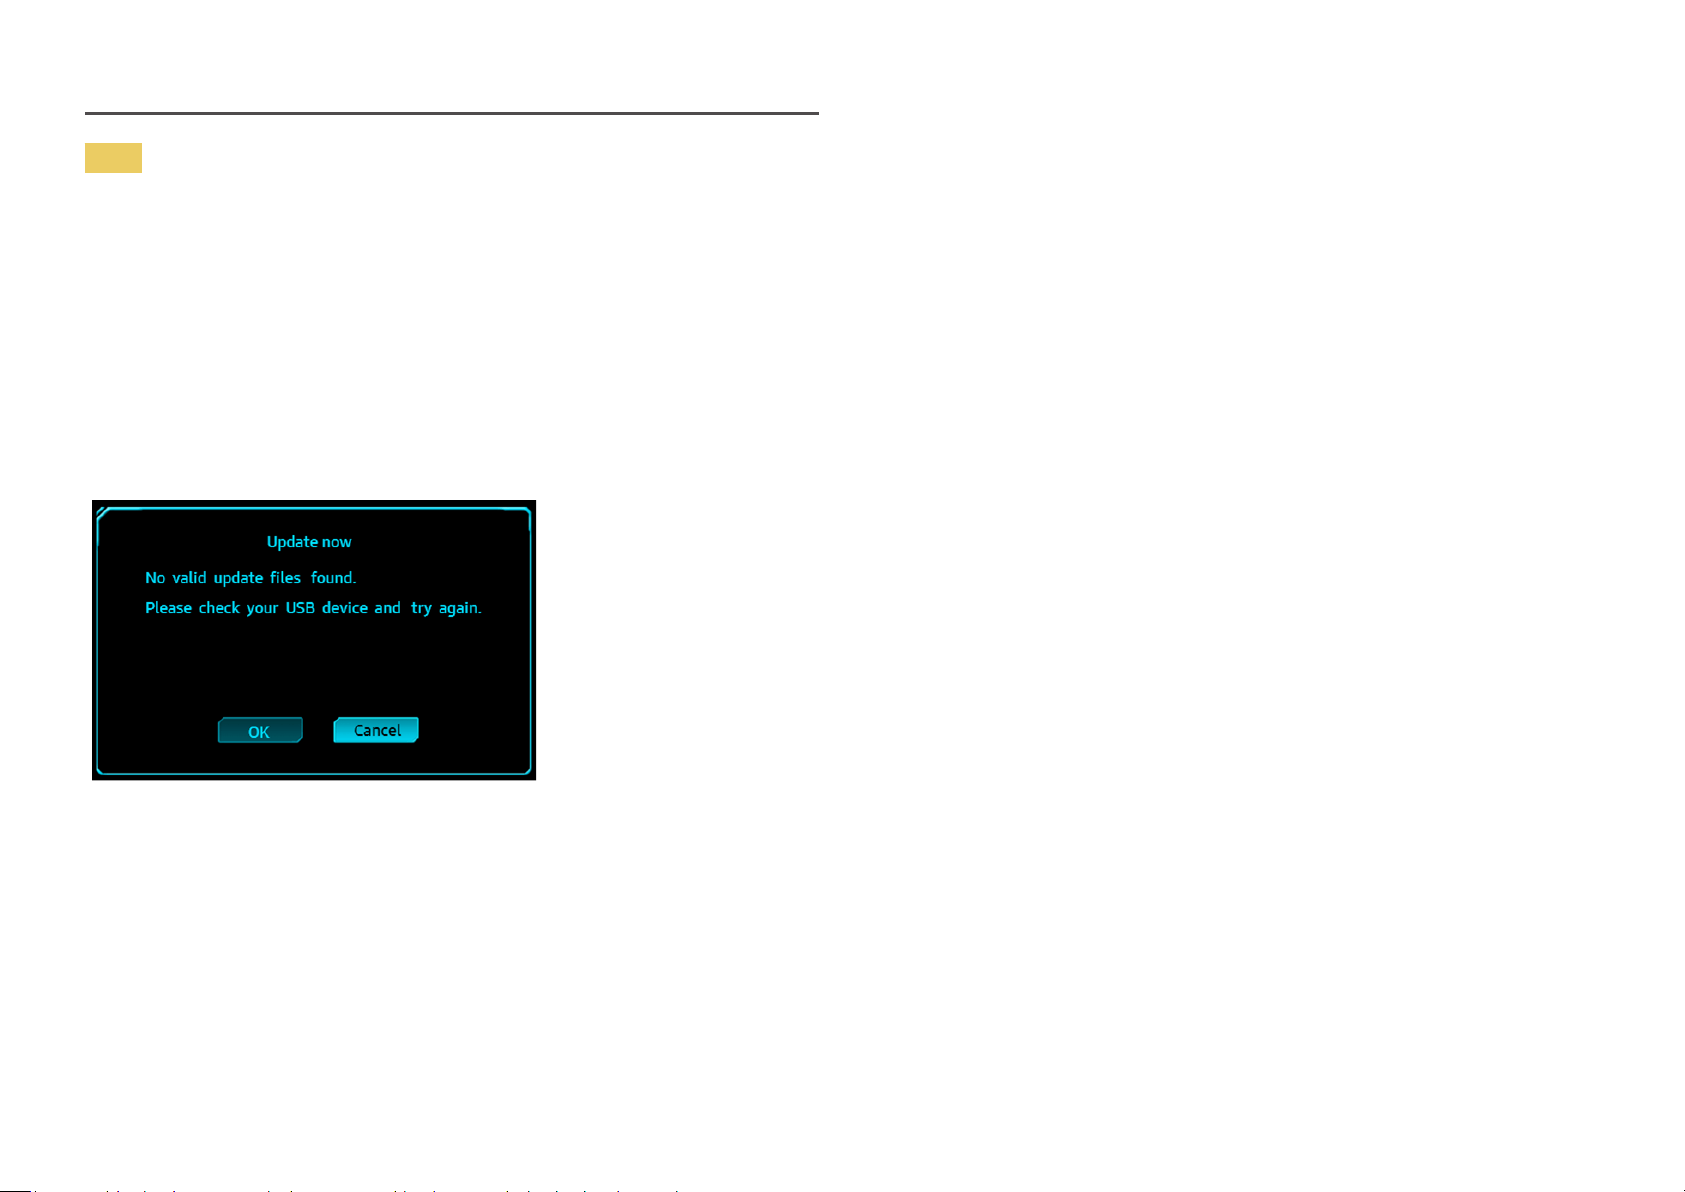
5
If the No valid update files found. Please check your USB device and try again. message is displayed,
this is probably due to the following reasons.
‒ No USB disk is inserted into the USB 1 port.
‒ The USB disk format is not supported.
‒ The USB disk contains no valid upgrade files. (No upgrade files exist, or the file names are
incorrect.)
6
Do not turn off the monitor. And prevent the upgrading from any interruption as far as possible. If an
interruption happens, the monitor will return to the production version.
―
Note that the production version may not be the same as the version before this upgrading if some other
upgrading has been done earlier.
※
As the HDR VESA certification was applied to the product, the picture quality conditions were changed. If you
want the picture quality before upgrade (prior to June 2018), you can change to the Professional mode using
the menu.
Loading ...
Loading ...
Loading ...