Loading ...
Loading ...
Loading ...
18
Be sure to adjust the picture size and the focus by using buttons on the remote control or the control
panel of the projector. Never make adjustments by directly turning the lens with your hands, which
may cause damage or malfunction to the projector.
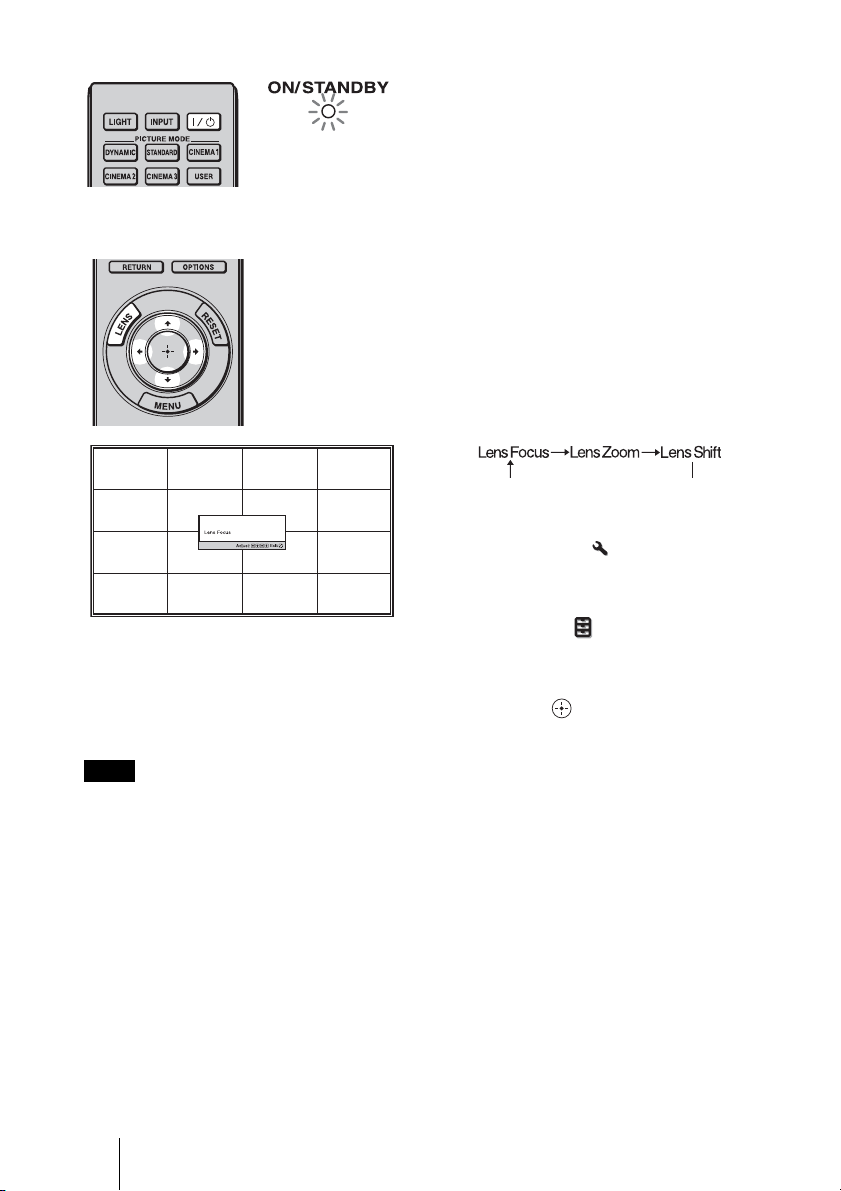
2 Press the ?/1 (ON/STANDBY)
switch to turn on the projector.
The lens protector will open.
The ON/STANDBY indicator flashes
in green, and then lights in green.
When the ON/STANDBY indicator
flashes, “Starting...” appears on the
screen.
3 Adjust the focus.
Press the LENS button repeatedly
until the Lens Focus adjustment
window (test pattern) appears. Then
adjust the focus of the picture by
pressing the M/m/</, buttons.
Each time you press the LENS button,
the LENS adjustment window appears
in order.
Tip
• When “Lens Control” is set to “Off” on
the Installation menu, you cannot
adjust the picture size and the focus. (1
page 56)
When “Test Pattern” is set to “Off” on
the Function menu, the test pattern is
not displayed.
(1 page 55)
• The test signal is displayed for 1 minute.
Press the button to clear the test
signal display before that.
Note
Flashes in green fo
r
a while (tens of
seconds) and then
lights in green.
Loading ...
Loading ...
Loading ...