Loading ...
Loading ...
Loading ...
en Installation and connection
18
¾˝
min.
min.
10 mm
17 mm
3. Open the water tap carefully and
check that the connection points
are tight.
Water outlet connection types
This information is intended to help
you to connect this appliance to the
water outlet.
Note:Please read the information in
the "Safety" →Page4 and "Prevent-
ing material damage" →Page11 sec-
tions to ensure that you use the appli-
ance safely.
ATTENTION!
When draining, the water outlet hose
is subject to water pressure and may
come loose from the installed con-
nection point.
▶
Secure the water outlet hose
against unintentional loosening.
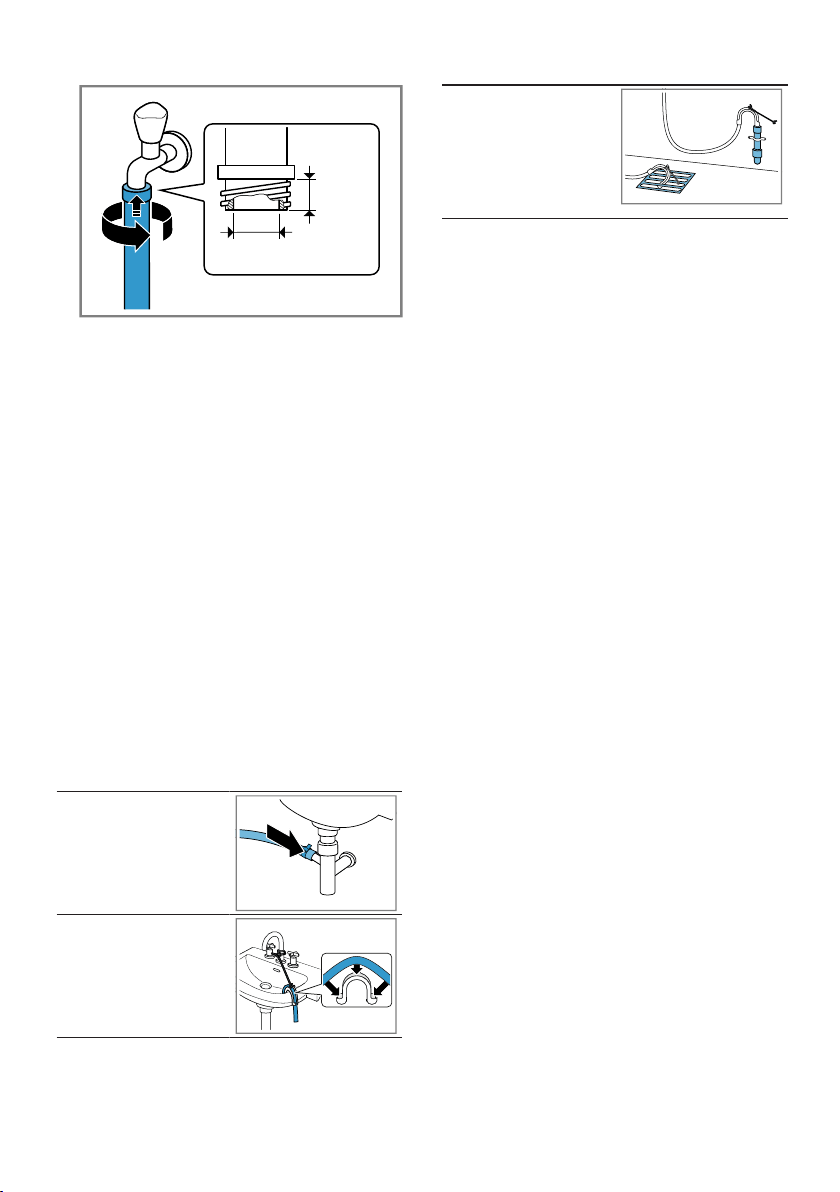
Drainage into a si-
phon.
Secure the connec-
tion point with a (24–
40 mm) hose clamp.
Drainage into a wash
basin.
Fix and secure the wa-
ter outlet hose with an
"elbow" →Page32.
Drainage into a plastic
pipe with rubber
sleeve or into a gully.
Fix and secure the wa-
ter outlet hose with an
"elbow" →Page32.
Connecting the appliance to the
electricity supply
Note:Please read the information in
the "Safety" →Page4 and "Prevent-
ing material damage" →Page11 sec-
tions to ensure that you use the appli-
ance safely.
1. Insert the mains plug of the appli-
ance's power cable in a socket
nearby.
The connection details of the appli-
ance can be found under "Tech-
nical data" →Page64.
2. Check the mains plug is inserted
properly.
Aligning the appliance
In order to reduce noise and vibra-
tion and to prevent the appliance
from moving, align the appliance cor-
rectly.
Note:Please read the information in
the "Safety" →Page4 and "Prevent-
ing material damage" →Page11 sec-
tions to ensure that you use the appli-
ance safely.
1. Loosen the lock nuts using a WAF
17 wrench by turning it in a clock-
wise direction.
Loading ...
Loading ...
Loading ...