Loading ...
Loading ...
Loading ...
INSTALLATION CABINET / BOX STYLE SUBWOOFERS
Cabinet / Box Style Subwoofers:
1. Place padding such as a soft blanket on the flooring to protect the finish of the
subwoofer.
2. Using a helper (if needed), carefully place the subwoofer cabinet on its side or top,
resting on the blanket. Take care to avoid damaging the amplifier. Important Notice: When
moving the subwoofer, do not allow the weight of the cabinet to place an excessive lateral
(sideways) load on the feet. This may damage the feet, the threaded insert or the cabinet.
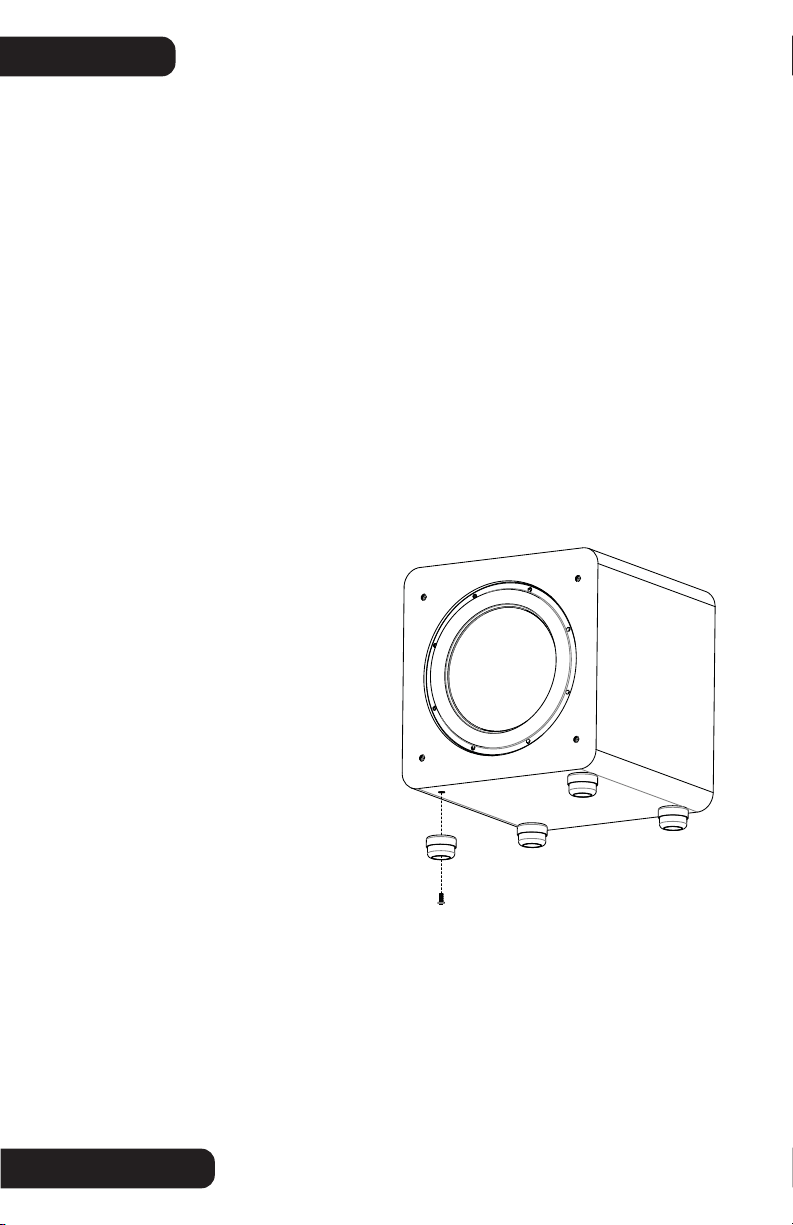
3. Unthread and remove the subwoofer's original equipment (OE) feet.
4. Gather all of the 16 mm long machine screws from the Isolation System kit. There are
three (3) thread sizes provided – ¼-20, M6 and M8.
5. Compare the OE feet machine screws to the 16 mm long Isolation System machine
screws. Select the matching/correct thread size (SVS cabinet subwoofers utilize the ¼-20
thread size).
6. Once you have selected the correct thread size, install the Isolation feet by inserting
the 16 mm long machine screw through the bottom opening of the rubber foot, through the
opening in the steel outer shell, and
into the threaded insert of the
subwoofer cabinet.
7. Make sure the machine screw is
correctly aligned and does not
cross-thread.
8. Hand-tighten snugly. Avoid
over-tightening, which might damage
the threaded insert or the cabinet.
9. Using a helper (if needed) carefully
lift the subwoofer cabinet and place it
directly down onto the installed
Isolation feet. Take care to avoid
damaging the amplifier.
Important Notice: When placing the subwoofer back into position, do not allow the weight of the cabinet to place an
excessive lateral (sideways) load on the Isolation feet. This may damage the Isolation feet, the threaded insert or the
cabinet.
Important Notice: - Do not drag the subwoofer cabinet across the flooring with the Isolation feet installed. This may
damage the Isolation feet, the threaded insert or the cabinet. If you need to move the subwoofer, always lift (use a
helper if needed) the subwoofer and then place it into the new location.
4
Loading ...
Loading ...
Loading ...