INSTALLATION INSTRUCTIONS KIT LINE36PT
INSTRUCTIONS D'INSTALLATION KIT LINE36PT
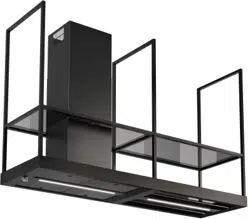
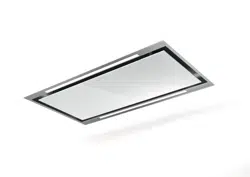
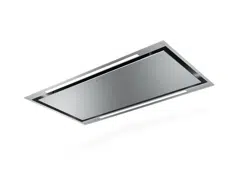
FOR USE WITH THE FOLLOWING PRODUCTS:
INSD35SSV / INHC35SSV / INLX35SSV
Refer to Faber U&C Guides for Installation Instructions.
Reportez-vous aux guides Faber U&C pour les instructions d'installation.
Pre-Planning Your Installation - Important: The recommended height to install
this hood off the cooktop is a minimum of 24" electric cooking surfaces and
a maximum of 30” gas surfaces for maximum effectiveness. Also consult the
cooktop manufacturer’s recommendation.
Planiez votre installation - Important : La hauteur recommandée pour installer
cette hotte au-dessus de la surface de cuisson est d’un minimum de 24” surfaces
de cuisson électriques et d’un maximum de 30” surfaces de gaz pour un ma-
ximum d’efcacité. De plus, nous vous recommandons consulter le manuel de
recommandations du fabricant de la surface de cuisson.
Min 16''
Max 17-7/8”
1''
34 - 7/16”
3 - 15/16”
33 - 9/16”
32 - 15/16”
10- 3/8”
13- 1/4”
16”

2
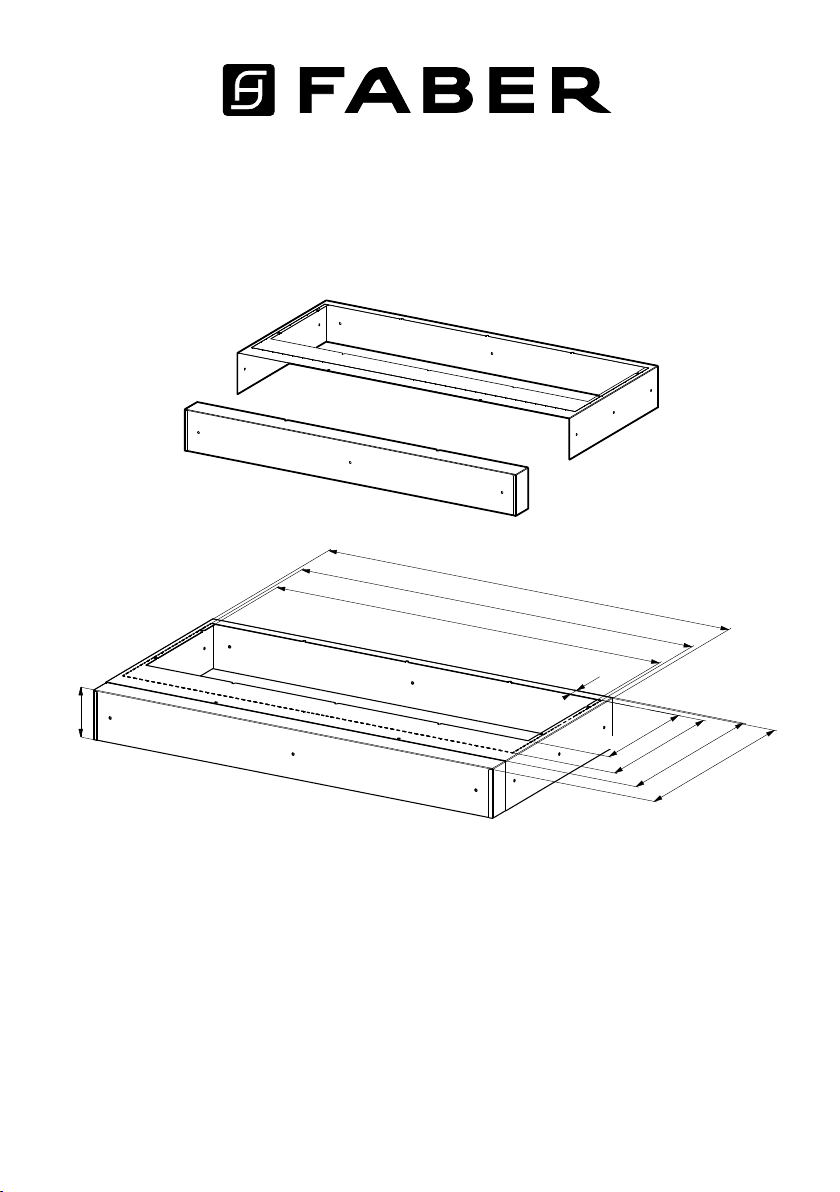
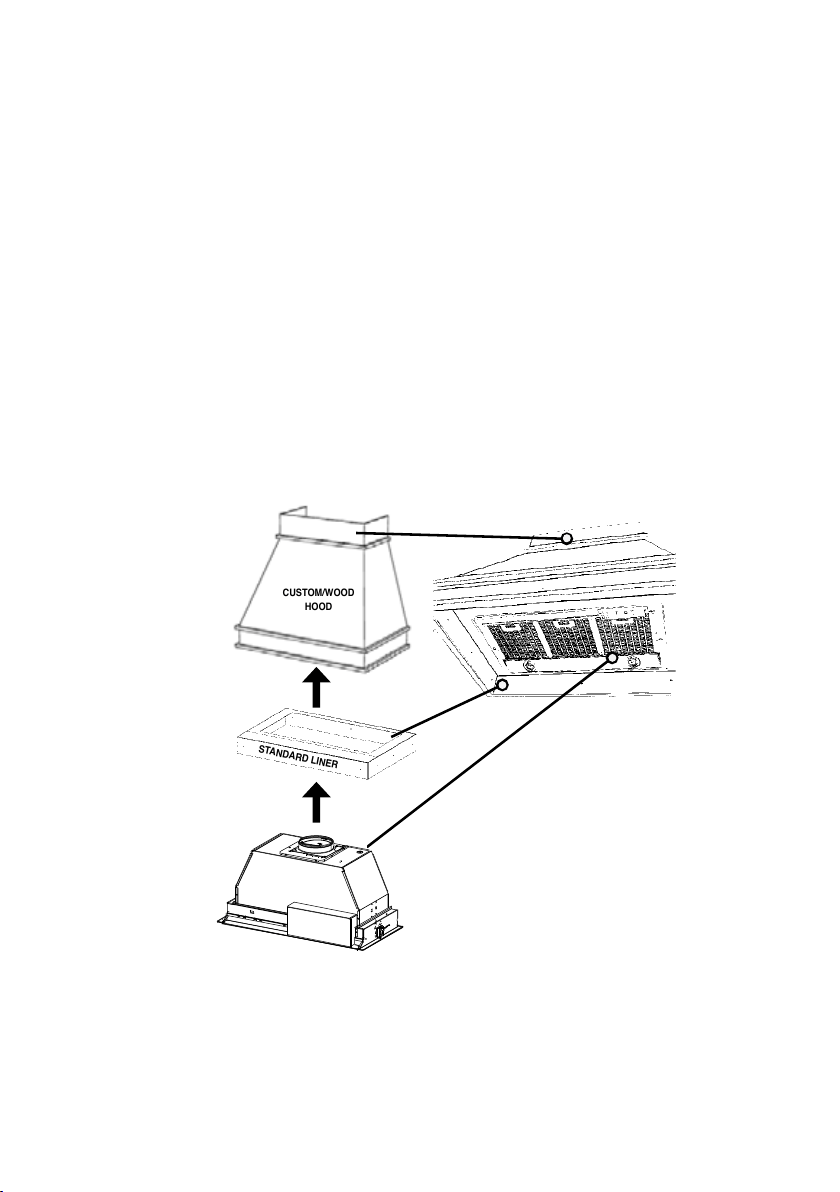
FOR INSTALLATION WITH LINERS
1. The custom/wood hood must have a sturdy base (3/4" plywood recommended)
to accomodate the cut-out for the Hood. The base must be recessed to accomo-
date the height of the Liner. The Liner attaches to the bottom of the base using
screws appropriate for the size and material of your custom/wood hood. The
Hood inserts into the cut-out in the Liner and base.
2.Position the rear section of the Liner so that it abuts the back edge of your
hood. Using a pen, trace the outline of the pre-cut out. Install both sections of the
Liner and proceed to INSTALL THE RANGEHOOD.
3.Refer to each hood model's unique Use and Care / Install Manual for the next
steps of Installation.
FOR INSTALLATIONS WITH LINERS
CUSTOM/WOOD
HOOD
STANDARD LINER
WARNING
!
When building a custom hood,
always follow all applicable
codes and standards.
1. The custom/wood hood must have a sturdy base (3/4" plywood recommended) to
accomodate the cut-out for the Inca HC SS. The base must be recessed to accomodate
the height of the Liner (see LINER DIMENSIONS on Page 4). The Liner attaches to the
bottom of the base using screws appropriate for the size and material of your custom/
wood hood. The Inca HC SS inserts into the cut-out in the Liner and base.
2. Position the rear section of the Liner so that it abuts the back edge of your custom/
wood hood. Using a pen, trace the outline of the pre-cut out. Remove the Liner and
proceed to MAKE YOUR CUT-OUTS on Page 7. Install both sections of the Liner and
proceed to INSTALL THE Range hood on Page 7.
INCA HC SS
The Inca HC SS can be used with
custom cabinetry and hoods 30"
wide and up. Choose either a
custom liner or our Standard Liner
designed for 30" and 36" wide
installations.
Liners create a perfectly-sealed,
non-combustible finish for the
underside of your custom/wood
hood.
The Standard Liners are made up of
two sections: a larger, rear section
(pre-cut out for insertion of the
Inca Smart) and a front section for
a total adjustable depth between
16" and 17
7/8"
.
!!! IMPORTANT NOTE: YOU
MUST REMOVE THE ADDITIONAL
PERFORATED SECTION AROUND
THE PRE-CUT-OUT WHEN
INSTALLING THE STANDARD
LINER WITH THE INCA HC SS
MODEL.
Consider the shape, size, and
weight of the Inca HC SS and Liner
to determine the conguration
of the custom/wood hood. See
Range hood AND CUT-OUT
DIMENSIONS AND LINER
DIMENSIONS on Page 4.
3
INSTALLATIONS AVEC CADRES
1.La hotte encastrable doit avoir une base vigoureuse (3/4” contre-plaqué recom-
mandé) pour adapter au coupe-circuit pour la hotte. La base doit être enfoncée
pour adapter à la taille du Cadre. Les attaches de Cadre au fond de la base à
l’aide des vis appropriées pour la hotte encastrable. La hotte est installé dans le
coupe-circuit dans le Cadre et la base.
2.Placez la section arrière du Cadre de sorte qu’il aboute le bord arrière de votre
hotteencastrable. En utilisant un stylo, tracez le contour de la sortie précoupée.
Installez les deux sections du Cadre et procédez INSTALLATION DE LA HOTTE.
3. Se reporter au manuel d'utilisation/installation de chaque modèle de hotte pour
ce qui concerne les prochaines phases d'installation
FOR INSTALLATIONS WITH LINERS
CUSTOM/WOOD
HOOD
STANDARD LINER
WARNING
!
When building a custom hood,
always follow all applicable
codes and standards.
1. The custom/wood hood must have a sturdy base (3/4" plywood recommended) to
accomodate the cut-out for the Inca HC SS. The base must be recessed to accomodate
the height of the Liner (see LINER DIMENSIONS on Page 4). The Liner attaches to the
bottom of the base using screws appropriate for the size and material of your custom/
wood hood. The Inca HC SS inserts into the cut-out in the Liner and base.
2. Position the rear section of the Liner so that it abuts the back edge of your custom/
wood hood. Using a pen, trace the outline of the pre-cut out. Remove the Liner and
proceed to MAKE YOUR CUT-OUTS on Page 7. Install both sections of the Liner and
proceed to INSTALL THE Range hood on Page 7.
INCA HC SS
The Inca HC SS can be used with
custom cabinetry and hoods 30"
wide and up. Choose either a
custom liner or our Standard Liner
designed for 30" and 36" wide
installations.
Liners create a perfectly-sealed,
non-combustible finish for the
underside of your custom/wood
hood.
The Standard Liners are made up of
two sections: a larger, rear section
(pre-cut out for insertion of the
Inca Smart) and a front section for
a total adjustable depth between
16" and 17
7/8"
.
!!! IMPORTANT NOTE: YOU
MUST REMOVE THE ADDITIONAL
PERFORATED SECTION AROUND
THE PRE-CUT-OUT WHEN
INSTALLING THE STANDARD
LINER WITH THE INCA HC SS
MODEL.
Consider the shape, size, and
weight of the Inca HC SS and Liner
to determine the conguration
of the custom/wood hood. See
Range hood AND CUT-OUT
DIMENSIONS AND LINER
DIMENSIONS on Page 4.

991.0585.341_01 - 190430 - D000000005871_00