Loading ...
Loading ...
Loading ...
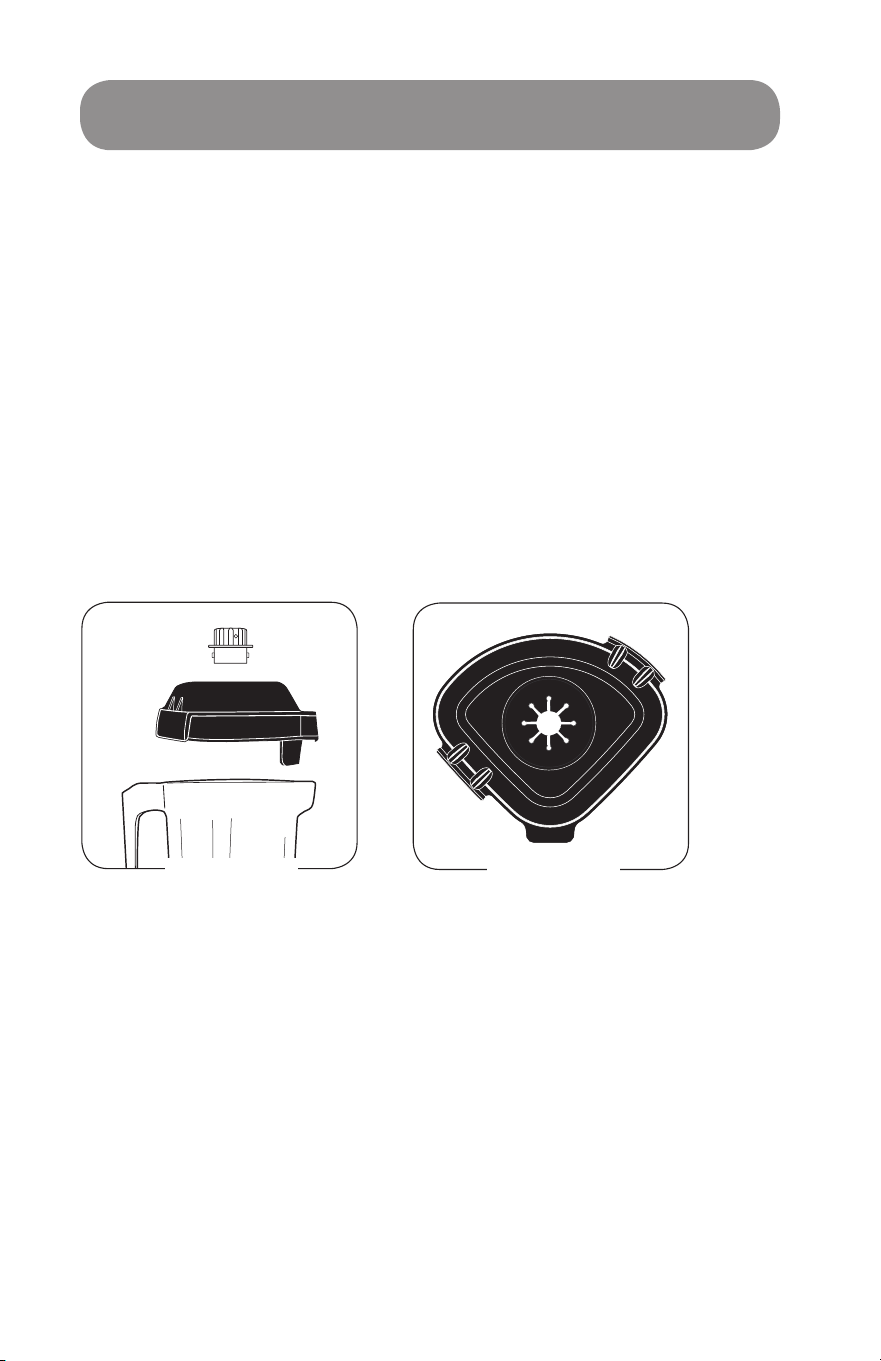
Two-Piece Lid (Figure A)
48 oz. / 1,4 L Advance® Container
The two-piece lid is easy to clean and easy to put on, take o and seal.
• To remove a fully latched lid, lift the two tabs and pull upward and o.
• Twist the center lid plug to fasten or remove.
One-Piece Lid (Figure B)
48 oz. / 1,4 L Advance® Container
The one-piece lid is easy to clean and easy to put on, take o and seal.
• There is no lid plug for this lid.
• Ingredients can be added through port on top.
To secure lid plug, rotate it so
one tab locks between the notches
on top of rubber lid
MACHINE ASSEMBLY
FIGURE A
FIGURE B
Blade Assembly
Blade Agitator Assembly: The blade assembly
includes a precision-hardened stainless steel blade
with enclosed double sealed steel ball bearings for
maximum durability. The rugged blade assembly
literally explodes molecules of food and ice in the
container, helping every batch to homogenize
more eectively. The blades do not need to
be removed for normal cleaning. (Refer to the
information below to remove or replace.)
Drive Spline: Inserts into drive socket on the motor
base to turn the blade.
Note: Removing and replacing your container
while the coupling is still rotating will strip the
drive spline “teeth.” (This part is NOT removable.)
Retainer Nut: Must be snug. Order the available
Retainer Nut Wrench for best results. (Refer to
the information below to remove or replace.)
Blade Assembly Removal
At times, it may be necessary to give your blades
additional cleaning. An easy-to-use blade assembly
removal wrench (Item #15596) may be purchased.
Turn the container upside down and grip firmly.
Insert retainer nut wrench in groove of retainer nut
and rotate counterclockwise to loosen. Then grip
blades with a cloth and remove retainer nut by hand.
Replacing Blade Assembly: With the container
upside down, grip blades with cloth, insert into
the container bottom and align with flat sides of
container opening. Place retainer nut on and hand
tighten. Using the retainer nut wrench, carefully
turn clockwise until secure, using wrench.
Do not force. If it is not tight enough, you
will notice increased container noise.
Retainer Nut Wrench
Retainer Nut Wrench in use
WARNINGS!
Never use a blade assembly with loose, damaged or nicked components.
Caution: Do not remove blades or blade assembly unless absolutely necessary!
Never attempt to take the blade assembly itself apart. This will void the warranty.
16
17
Loading ...
Loading ...
Loading ...