Loading ...
Loading ...
Loading ...
20
Lever off the cover caps (3).
se screws should be
partially tightened but not fully tightened.
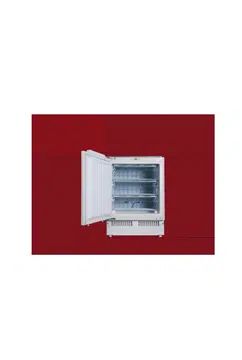
top and bottom hinge (as shown in the diagram
on page 18).
ten the
retaining screws (1) and the door retaining screws (2).
oles that are now exposed on
the right hand side of the cabinet.
ouling, after you have completed the door reversal
rocess.
will be a gap
etween it and the inside of the door.
o The seal must adhere properly all the way around the door.
ot adhering to the cabinet properly, then you
should either:-
s
adhere to the cabinet properly, all the way around the door.
or
will allow you to
manipulate the seal into the correct position.
NOT BE RECTIFIED UNDER
HE GUARANTEE FREE OF CHARGE.
o
o Insert the retaining screws (1) into the opposite side of the
appliance from their original position. The
o Remove the door retaining screws (2) and then reverse the
position of the
o Reattach the appliance door and then fully re-tigh
o Insert the cover caps (3) into the h
IMPORTANT: Check that the door opens and shuts correctly,
without f
p
After the door has been reversed, you should check
the door seal of the appliance. The seal should not
be creased or crushed; otherwise there
b
o If the seal is n
1. Use a warm damp cloth and manipulate the seal until it doe
2. Use a hair dryer on its lowest heat setting and lightly heat the
areas of the door seal that are not adhering correctly. The
heat will make the seal more pliable and this
IMPORTANT: DO NOT HEAT THE DOOR SEAL ON ANYTHING BUT
THE LOWEST HEAT SETTING, OR HEAT THE SEAL FOR A LONG
PERIOD OF TIME. OTHERWISE DAMAGE MAY BE CAUSED TO
THE DOOR SEAL, WHICH WOULD
T
Loading ...
Loading ...
Loading ...