
BEFORE USING YOUR PRODUCT:
Please read this manual carefully and follow all safety rules & operating instructions. Keep this manual for future reference.
User’s Manual
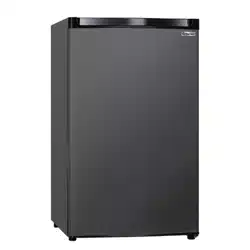
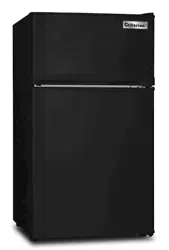
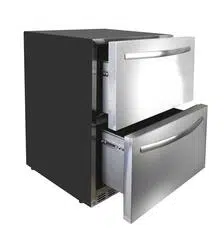
5.12 cu. ft. Undercounter / Drawer Refrigerator
Model: MD150 (453-8100)
Custom
er Service, (toll free: 833-953-1758) between the hours of 8:00 am and 4:00 pm EST
EMAIL: [email protected]
Product Registration: plasticdevelopmentgroup.com/applianceregistration

14
Manufacturer provides a limited warranty for each new refrigerator to be free from defects in material
and workmanship for a period of 1 year from the date of purchase. Manufacturer agrees to remedy
any such defective inside accessory components such as door panels, door shelves, racks, handles,
casters, bins and drawers or to furnish a new unit if the unit proves to have failed, at the company’s
option, for one year from your original date of purchase.
Buyer must register unit at: PlasticDevelopmentGroup.com/applianceregistration.
In the event the unit requires replacement or refund under the terms of this limited warranty, the
Buyer is responsible for all transportation expenses to return the unit prior to receiving a replacement
unit or refund. A copy of the dated sales receipt/invoice is required to receive benefits of this
limited warranty
This limited warranty covers appliances in use within the continental United States, Alaska, Hawaii
and Puerto Rico.
This limited warranty does not cover the following:
1. Products with original serial numbers that have been removed, altered or cannot be readily
determined.
2. Products that have been transferred from its original owner to another party or removed outside
the USA.
3. Rust on the interior or exterior of the unit.
4. Damages due to shipping damage or improper installation.
5. Damages due to misuse or abuse.
6. Service calls, repairs, and labor expenses for any purpose.
7. Content losses and food spoilage due to failure of the unit.
8. Punctures to the evaporation system due to improper defrosting of the unit.
9. Replacement or resetting of house fuses or circuit breakers.
10. Failure or defects of this product if used for other purposes than its intended purpose or
used other than in accordance with the provided instructions.
11. Disposal costs for failed unit not returned to Manufacturer.
12. Any delivery/installation costs incurred as the result of a unit that fails to perform as specified.
13. Expenses for travel and transportation for product if you are exchanging or returning the unit.
14. Expenses related to the removal and re-installation of your unit or for making the unit accessible,
such as removal of trim, cupboards, shelves, etc. or if not installed in accordance with the
provided installation instructions.
15. Damages to the finish of the unit or home incurred during installation, including but not limited
to floors, cabinets, walls, etc.
16. Damages caused by external causes such as abuse, misuse, inadequate power supply,
accidents, fires, or acts of God.
17. Refunds for returned products are limited to the price paid for the unit per the sales receipt.
Disclaimer of Implied Warranties, Limitation of Remedies and Exclusions:
EXCEPT FOR THE EXPRESS WARRANTIES SET FORTH HEREIN, MANUFACTURER MAKES NO WARRANTY
WHATSOEVER (OR THE SHORTEST PERIOD ALLOWED BY LAW) REGARDING THE GOODS, INCLUDING ANY
(1) WARRANTY OF MERCHANTABILITY; (2) WARRANTY OF FITNESS FOR A PARTICULAR PURPOSE; (3)
WARRANTY OF TITLE; OR (4) WARRANTY AGAINST INFRINGEMENT OF INTELLECTUAL PROPERTY RIGHTS
OF A THIRD PARTY; WHETHER ARISING BY LAW, COURSE OF DEALING, COURSE OF PERFORMANCE,
USAGE OF TRADE, OR OTHERWISE. BUYER ACKNOWLEDGES THAT IT HAS NOT RELIED ON ANY
REPRESENTATION OR WARRANTY MADE BY MANUFACTURER, OR ANY OTHER PERSON ON
MANUFACTURER’S BEHALF. REPLACEMENT OF UNIT AND LISTED PARTS IN ACCORDANCE WITH THE
TERMS HEREIN, IS YOUR SOLE AND EXCLUSIVE REMEDY UNDER THIS LIMITED WARRANTY.
MANUFACTURER IS NOT LIABLE FOR INCIDENTAL OR CONSEQUENTIAL DAMAGES AND NO
REPRESENTATIVE OR PERSON IS AUTHORIZED TO ASSUME FOR MANUFACTURER ANY OTHER LIABILITY
IN CONNECTION WITH THE SALE OF THIS PRODUCT. UNDER NO CIRCUMSTANCE IS THE CONSUMER
PERMITTED TO RETURN THE UNIT TO MANUFACTURER WITHOUT THE PRIOR WRITTEN CONSENT OF
MANUFACTURER
Customer Service, (toll free: 833-953-1758) between the hours of 8:00 am and 4:00 pm EST
EMAIL: [email protected]
Product Registration: plasticdevelopmentgroup.com/applianceregistration
1 Year Limited Warranty
Warranty
Site Preparation
Leveling the Unit
Installing Handle
Anti-tip Bracket Installation
Removing your Appliance
Cleaning and Maintaining Your Appliance
13
14 - 15
12 - 13
10 - 11
9 - 10
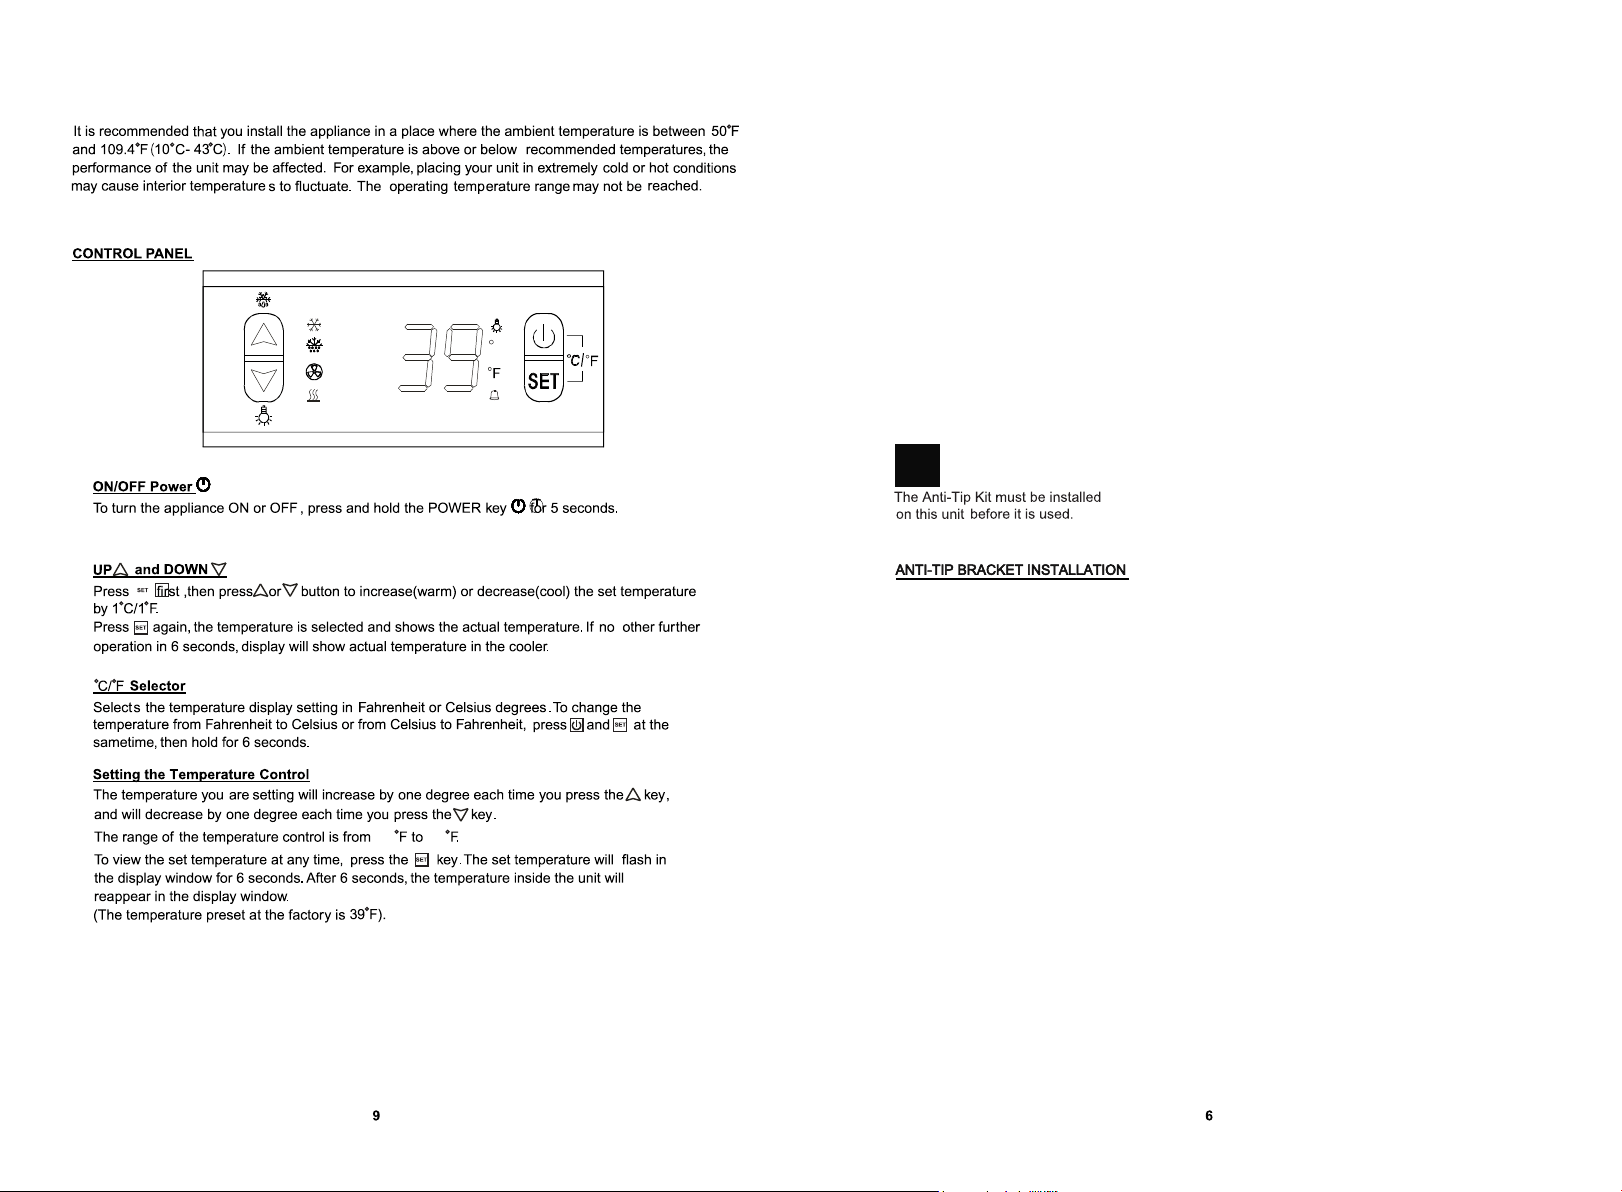
6
6 - 7
8
8
8
8
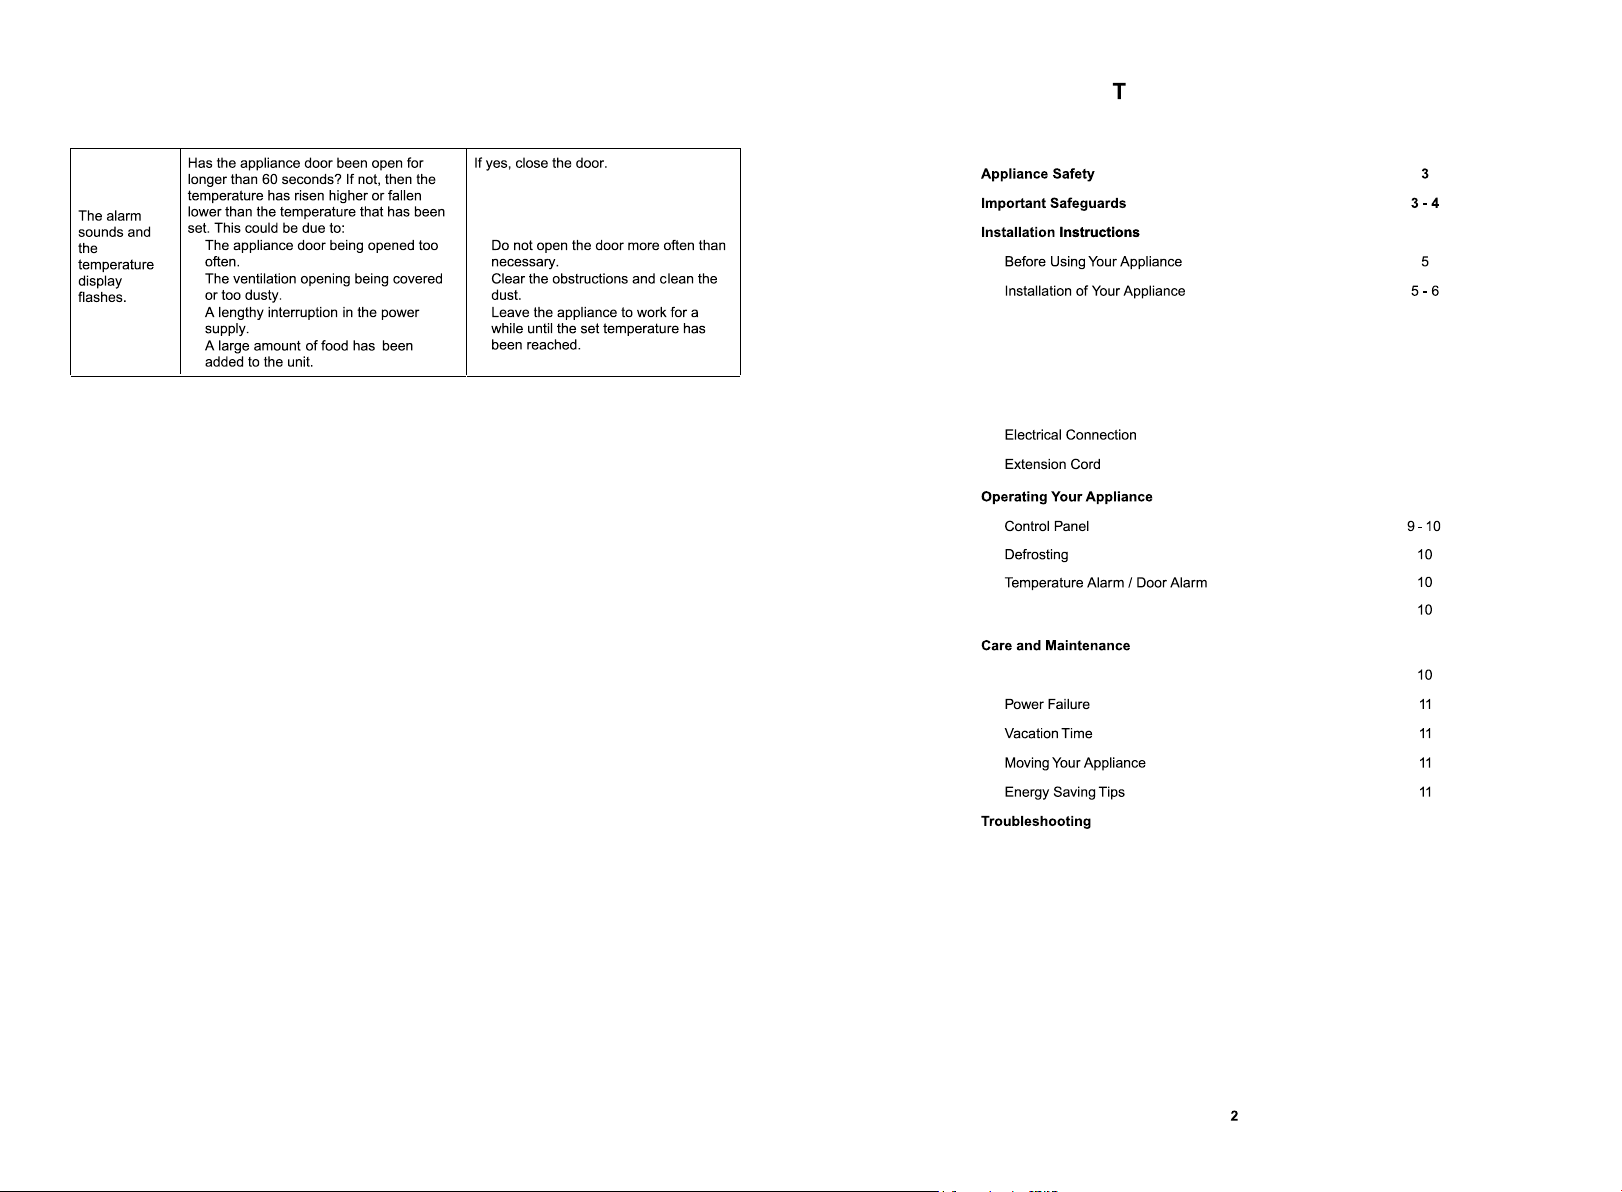
Table of ContentsTroubleshooting (con't)

Your safety and the safety of others are very important.
We have provided many
important
safety
messages
in
this
manual and on your appliance.
Always
read
and
obey all safety messages.
This is the Safety Alert Symbol. The symbol alerts you to potential hazards that
can kill or injure you and others. All safety messages will follow the Safety
Alert Symbol and either the word DANGER or WARNING.
DANGER
DANGER means that failure to heed this safety
statement may result in severe personal injury or
death.
WARNING
WARNING means that failure to heed
this
safety
statement may result in extensive product
damage, serious personal injury, or death.
All safety messages will alert you about the potential hazard, tell you how to reduce the chance of injury,
and let you know what can happen if the instructions are not followed.
Before the appliance is used, it must be properly positioned and installed as
described in this manual, so read the manual carefully. To reduce the risk of fire,
electrical shock or injury when using the appliance, follow basic precautions,
including the following:
DANGER
Plug into a grounded 3 prong outlet, do not remove grounding prong, do not use an adapter, and do
not use an extension cord.
Replace all panels before operating
It is recommended that a separate circuit serving only your appliance be provided. Use receptacles
that
cannot be turned off by a switch or pull chain
Never clean appliance parts with flammable fluids. These fumes can create a fire hazard o explosion.
And
do not store or use gasoline or other flammable vapors and liquids in the vicinity of this or any
other appliance.
The
fumes can create a
fire
hazard or explosion.
Do not connect or disconnect the electric plug when your hands are wet.
Unplug the appliance or disconnect power before cleaning or servicing. Failure to do so can result in
electrical shock or death.
Do not attempt to repair or replace any part of your appliance unless it is specifically recommended in
this manual. All other servicing should be referred to a qualified technician.
3
You can solve many common problems easily, saving you the cost of a possible service call. Try the
suggestions below to see if you can solve the problem before calling the servicer.
Troubleshooting
PROBLEM POSSIBLE CAUSE REMEDY
Appliance is not connected to a power Connect the appliance.
Appliance
supply.
does not
The appliance is turned off.
Switch
on
the appliance
operate.
Tripped circuit breaker or a blown fuse. Switch on circuit breaker or replace
fuse.
The temperature is not set correctly. Check the set temperature.
The ambient temperature could require Set a lower temperature
a lower temperature setting.
The door was opened too often. Do not open the door more often than
Appliance is
necessary.
not cold
The door was not closed completely. Close door properly.
enough.
Door is not hermetically sealed. Check the door seal and clean or
replace.
The condenser is too dirty. Clean the condenser when necessary.
The ventilation opening is blocked or too Clear the obstructions and clean the
dusty.
dust.
The room temperature is higher than Put the appliance in a cooler place.
average
A
large amount of food has been
added
Leave the appliance to work for a
Appliance
to the unit. while until the
set
temperature has
turns itself on been reached.
and off
The door is open too often. Do not open the door more often than
frequently.
necessary.
The door is not closed completely. Close door properly.
The door gasket does not seal properly. Check the door seal and clean or
replace.
Appliance is not connected to a power Connect the appliance.
The
light does
supply.
not work.
Tripped circuit breaker or a blown fuse. Switch on circuit breaker or replace
The light was switched off on the control
fuse
panel. Switch on the liaht.
Vibrations
The appliance is not properly leveled.
Level the appliance with the
adiustable feet.
The rattling noise
may
come from
the
flow
of the
refrigerant, which is normal. As each
The appliance
cycle ends, you may hear gurgling sounds caused
by
the flow of refrigerant in
your
appliance
seems to
If temperature fluctuations occur, the contraction and expansion of the inner walls may
make too
cause poppinq and crackinq noises.
much noise.
Level the appliance with the
The appliance is not properly level.
adjustable feet.
The appliance is not properly level. Level the appliance with the
The door will
adjustable feet.
not close
The door was reversed and not properly Check the door hinge and reassemble
properly.
installed. correctly.
The gasket is dirty. Clean the door gasket.
The shelves are out of position. Check the shelves and refit correctly,
12
Appliance Safety Troubleshooting Guide
Important Safeguards

CAUTION
• Stainless steel models exposed to
chlorine
gas and
moisture such
as areas
with
spas or
swimming
pools, may have some
discoloration of
the
stainless some discoloration of the stainless steel. Discoloration from chlorine gas is normal. Follow
exterior cleaning
instructions.
• NEVER USE CHLORIDE TO CLEAN STAINLESS STEEL.
POWER FAILURE
Most
power failures are corrected within
a
few hours and should not affect the temperature of
your
appliance if you minimize the number of times the door is opened. If the power is going to be off for a
longer period of time,
you
need to take the proper steps to protect the contents.
VACATION TIME
Short vacations:
Leave the appliance operating during
vacations of
less than three weeks.
Long vacations:
If the appliance will not be used for several months, remove all items and turn off
the appliance. Clean and dry the interior thoroughly. To prevent odor and mold growth, leave the
door open slightly, blocking it open if necessary.
MOVING YOUR
APPLIANCE
1 . Remove all items.
2. Securely tape down all loose items (shelves) inside your appliance.
3. Turn the
adjustable
legs
up to
the
base to
avoid damage.
4. Tape the door shut.
5. Be sure the appliance stays secure in the upright position during transportation. Also protect the
outside of the appliance with a blanket or similar item.
ENERGY SAVING TIPS
• The appliance should be located in the coolest area of the room or outdoor location, away from
heat -producing appliances and out of direct sunlight.
• Ensure that the unit is adequately ventilated. Never cover air vents.
• Do not keep the door open any longer than necessary.
• Let
hot
foods
cool
to
room temperature before placing in the unit.
• Overloading
the unit forces the
compressor
to run
longer.
• Be sure to wrap foods properly, and wipe containers dry before placing them in the unit. This cuts
down on frost build up inside the unit.
• Unit shelves and storage bins should not be lined with aluminum foil, wax paper or paper toweling.
Liners interfere with cold air circulation, making the unit less efficient.
• Organize and label stored items to reduce door openings and extended searches. Remove as
many items as needed at
one time, and close
the door as
soon
as
possible.
11
WARNING
FOLLOW WARNING CALL OUTS BELOW ONLY WHEN APPLICABLE TO YOUR MODEL
• Use two or more people to move and install ap pliance. Fail ure to do so can result in back
or other injury.
• To
ensure proper ventilation for your appliance, the front of the unit must be completely
unobstructed.
Choose a well-ventilated area
with
temperatures above
50
°
F
(10
°
C) an d below 109.4
°
F
(43
°
C). The appliance should not be located next to ovens, grills or other sources of high heat.
• The appliance must be installed with all electrical, water and drain connections in accordance with
state and local codes. A standard electrical supply (115 V AC only, 60 Hz), properly grounded in
accordance with the National Electrical Code and local codes and ordinances, is required. Do not
kink
or
pinch
the power
supply
cord of the
appliance.
The size of the fuse (or circuit breaker) should
be 1. 3 amperes.
• It is important that the appliance be leveled in order to work properly. You may need to make several
a djustments to
level it.
•
All installations must be in accordance with local plumbing code requirements.
• Make certain that the pipes are not pinched, kinked or damaged during installation.
• Check for leaks after connection.
• Never allow children to operate, play with or crawl inside the appliance.
• Do not use solvent-based cleaning agents or abrasives on the interior. These cleaners may damage
or discolor the interior.
• Use
this appliance only for its intended
purpose as described
in this
Instruction
Manual.
•
Keep fingers out of the "pinch point" areas. Clearances between the door and cabinet are
necessarily small. Be careful closing door when children are in the area.
DANGER
CHILD SAFETY RISK! POSIBLE ENTRAPMENT!
Before discarding your old refrigerator:
Take off the doors
Leave the shelves in place
so
that children may not easily climb inside.
-
SAVE
THESE INSTRUCTIONS
-
4
Your outdoor drawers refrigerator have been designed for both built-in and free standing. When built-in,
your refrigerator drawers do not require additional air space for top, side, or rear, The front grille must
NOT be obstructed.
24
SITE PREPARATION
CLEANING AND MAINTAINING YOUR APPLIANCE
1.
2.
3.
4.
•
•
•
•
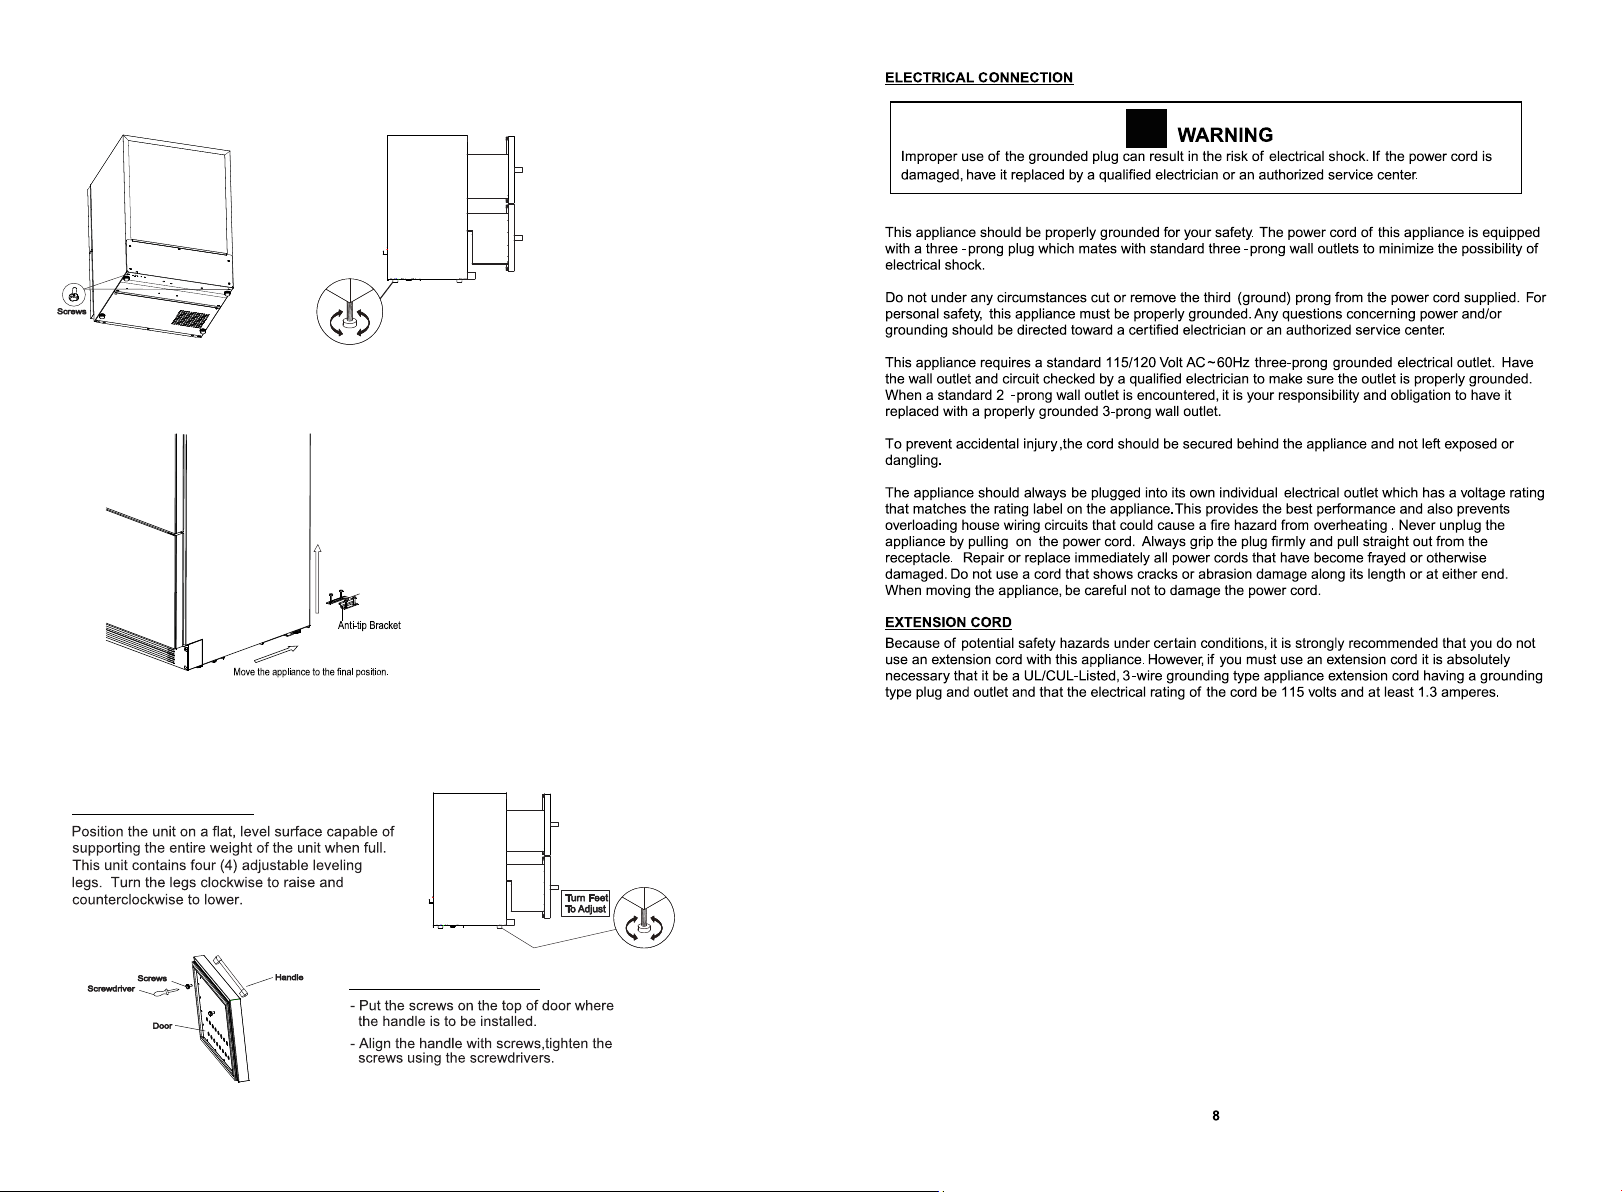
Installation Instructions
Care and Cleaning
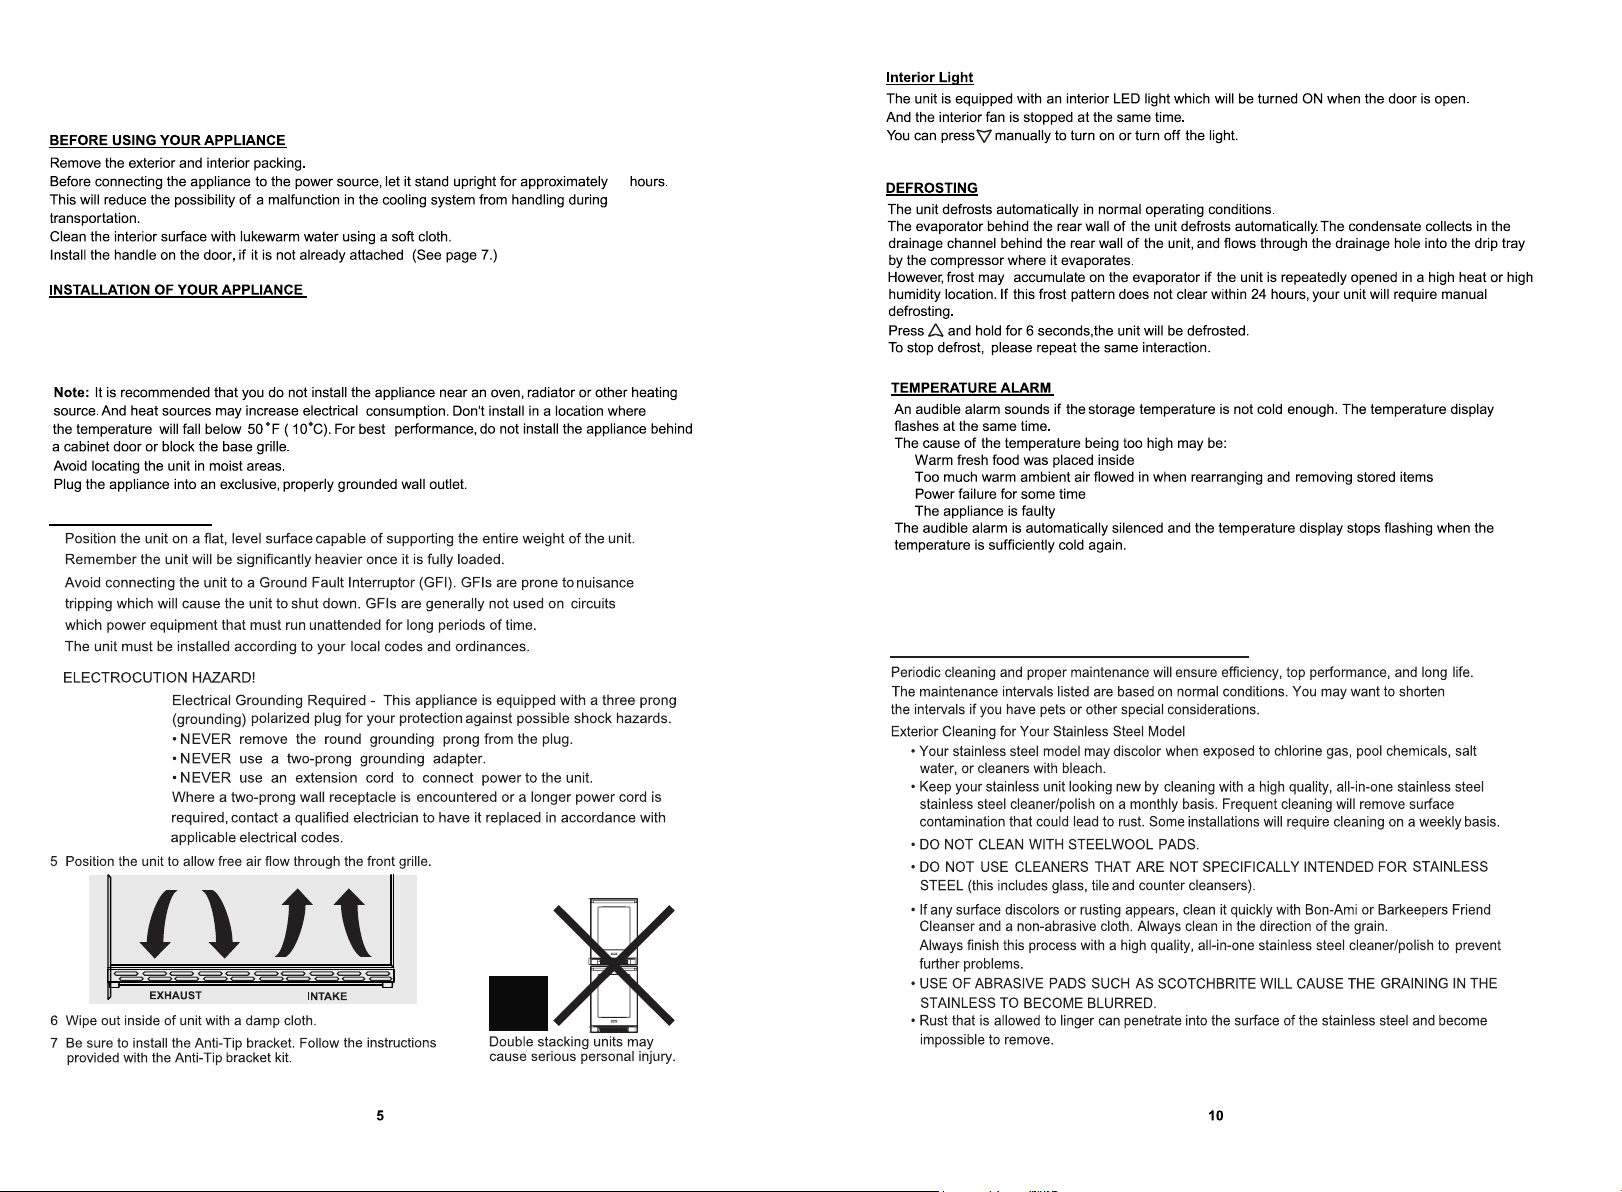
Operation step 1:
1. Locate center line (C/L) of opening.
2. Measure from back 65mm, 2-3/16" and mark.
3. Measure 282.5, 11-1/8" from center line and mark.
4. Locate center of anti tip brackets on marks and,
using a pencil, mark holes on brackets.
5. Using 1/8" drill bit, make pilot holes.
6. Screw brackets in place with screws provided.
32 50
C
Operating Your Appliance
7
LEVELING THE UNIT
INSTALLING HANDLE
Operation step 2:
Tilt the unit forward slightly and adjust the rear feet so the unit it higher than the
anti-tip brackets.
Operation step 3:
When moving the refrigerator into it's final position.
Slide appliance into position and make sure the leg engages the anti-tip bracket.
Noted: If the unit is relocated, the bracket must be removed and installed
in the new location.