
Loading ...
Loading ...
Loading ...
63
Dubbing/Editing
DCR-PC55 2-548-724-11(1)
Selecting still images for
printing (Print mark)
The DPOF (Digital Print Order Format)
standard is used to select images for
printing on your camcorder.
By marking images that you want to print
out, you do not need to reselect them when
you print them out. (You cannot specify the
number of printouts.)
1 Slide the POWER switch down to
turn on the PLAY/EDIT lamp.
2 Touch
[PRINT
MARK].
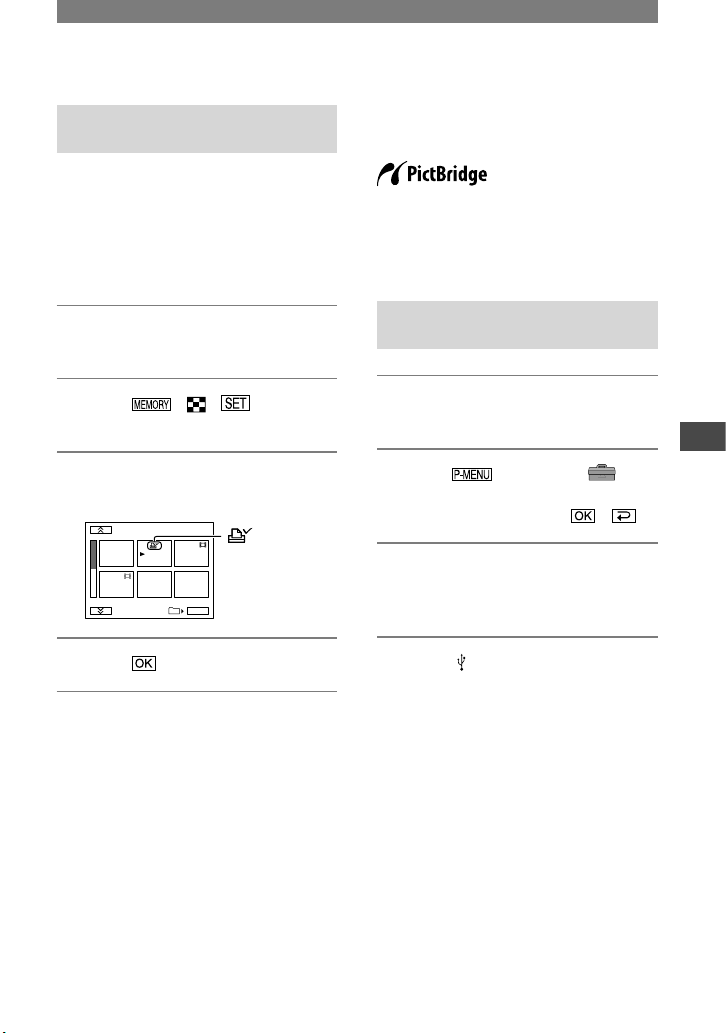
3 Touch the image that you want to
print out later.
2/ 1 0
PRINT MARK
10 1–0 002
101
OK
appears
4 Touch
[END].
• To cancel Print mark, touch the image again to
cancel Print mark in step 3.
• Do not mark images on your camcorder if the
“Memory Stick Duo” already has some images
with the Print mark put on using other devices.
This may change the information of the images
with the Print mark put on using the other
device.
Printing recorded images
(PictBridge compliant printer)
You can print out pictures using a
PictBridge compliant printer without
connecting the camcorder to a computer.
Connect the supplied AC Adaptor to a wall
outlet for power.
Insert the “Memory Stick Duo” on which
still images are stored into your camcorder
beforehand.
Connect your camcorder to the
printer
1 Slide the POWER switch down to
turn on the PLAY/EDIT lamp.
2 Touch
[MENU]
(STANDARD SET)
[USB-PLY/
EDT]
[PictBridge]
.
3 Connect the USB jack (p. 65)
of your Handycam Station to a
printer using the USB cable.
4 Set the (USB) ON/OFF switch on
the Handycam Station to ON (p.
65).
Continued
Loading ...
Loading ...
Loading ...