Loading ...
Loading ...
Loading ...
installation Instructions ( o0 ,000 )
1. Install a manual gas line shut-offvalve in the gas line
in an easily accessed location outside of' the range°
Make sure everyone operating the range lmows where
and how to shut off the gas supply to the range.
2. Install male 1/2" flare union adapter to the I/2"
NPT internal thread elbow at inlet of pressure
regulator. On models equipped with standaid twin
burners, install the male pipe thread end of the I/2"
flare union adapter to the 1/2" NPT internal thread
at inlet of pressure regulator. Use a back-up wrench
on the regulator fitting to avoid damage.
When installing the range f}om the front, remove the
90 ° elbow for' easier installation.
5. Install male 1/2" or 3/4" flare union adapter to the
NPT internal thread of' the manual shut-offvalve,
taking care to back up the shut-offvalve to keep it
f?om turning.
4. Connect flexible metal appliance connector to the
adapter on the range. Position range to permit
connection at the shut-offvalve.
5. When all connections have been made, make sure all
range controls are in the OFF position and turn on the
main gas supply valve. Use a liqtfid leak detector' at all
joints and connections to check for leaks in the system.
CAUTION: DO NOT USE A FLAME TO
CHECK FOR GAS LEAKS.
When using test pressures greater than 112 psig to
presstue test the gas supply system of' the residence,
disconnect the range and individual shut-offvaIve
f?om the gas supply piping. When using test pressures
of 1/2 psig or tess to test the gas supply system, simply
isolate the range from the gas supply system by closing
the individual shut-offvalveo
STEP 3
Electrical Connections
(on some models)
Hectric_ Requirements
120-volt, 60 Hertz, properly grounded branch circuit
protected by a I5-amp or 20-amp circuit breaker or
time delay fuse_
Extension Cord Cautions
Because of' potential safety hazards associated with
certain conditions, we strongly recommend against the
use of an extension cor& However, if you still elect to
use an extension cord, it is absolutely necessary that it
be a UL-listed, 3-wire grounding-type appliance
extension cord and that the current carrying rating of'
the cord in amperes be equivalent to, or gleater than,
the branch circuit rating.
Grounding--IMPORTANT (Please read carefidly)
FOR PERSONAL SAFETY, THIS APPLIANCE
MUST BE PROPERLY GROUNDED.
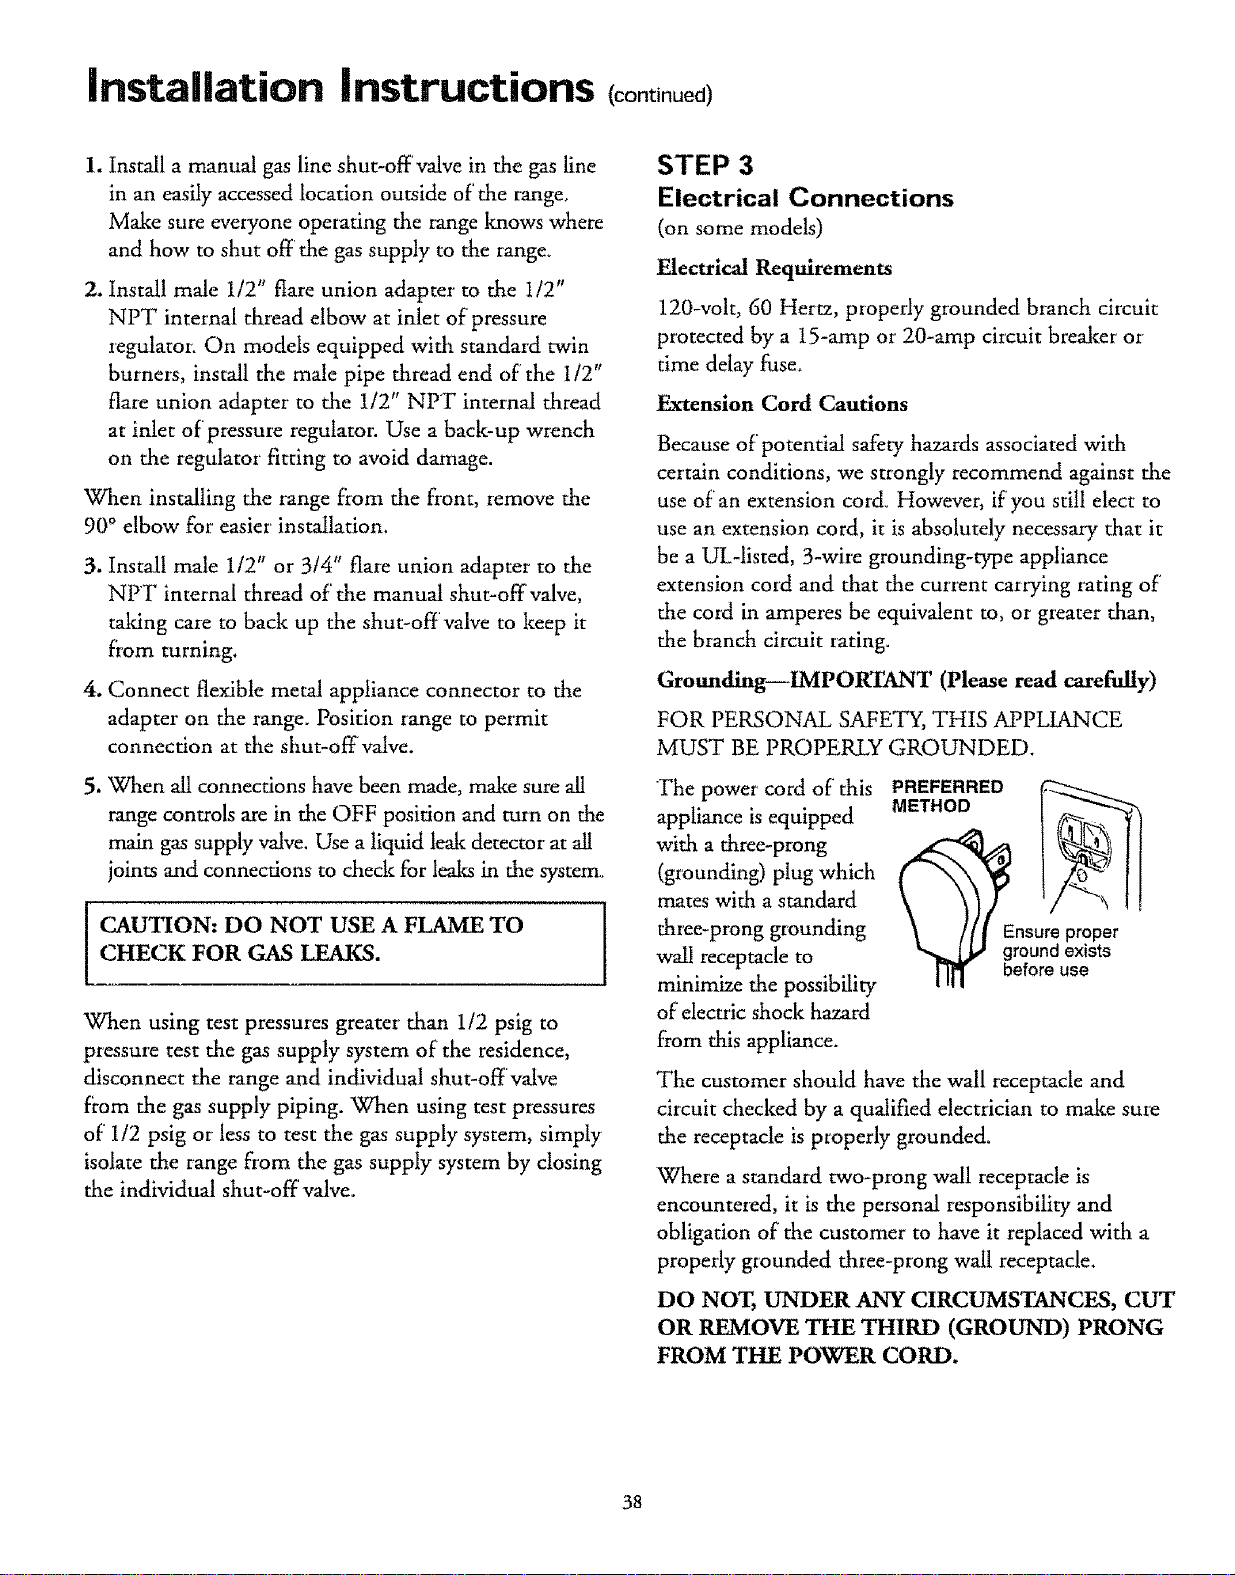
The power cord of' this PREFERRED
appliance is equipped METHOD t_
with a three-prong Q_ )_E
(grounding) plug which
mates with a standard
three-prong grounding ns
_,,_[ J ground exists
wall receptacle to _ before use
minimize the possibility
of elect_'ic shock hazard
f}om this appliance.
The customer should have the wall receptacle and
circuit checked by a qualified electrician to make sure
the receptacle is properly grounded.
Where a standard two-prong wall receptacle is
encountered, it is the personal responsibility and
obligation of the customer to have it replaced with a
properly grounded three-prong wail receptacle.
DO NOT, UNDER ANY CIRCUMSTANCES, CUT
OR REMOVE THE THIRD (GROUND) PRONG
FROM THE POWER CORD.
38
Loading ...
Loading ...
Loading ...