Loading ...
Loading ...
Loading ...
>>
<<
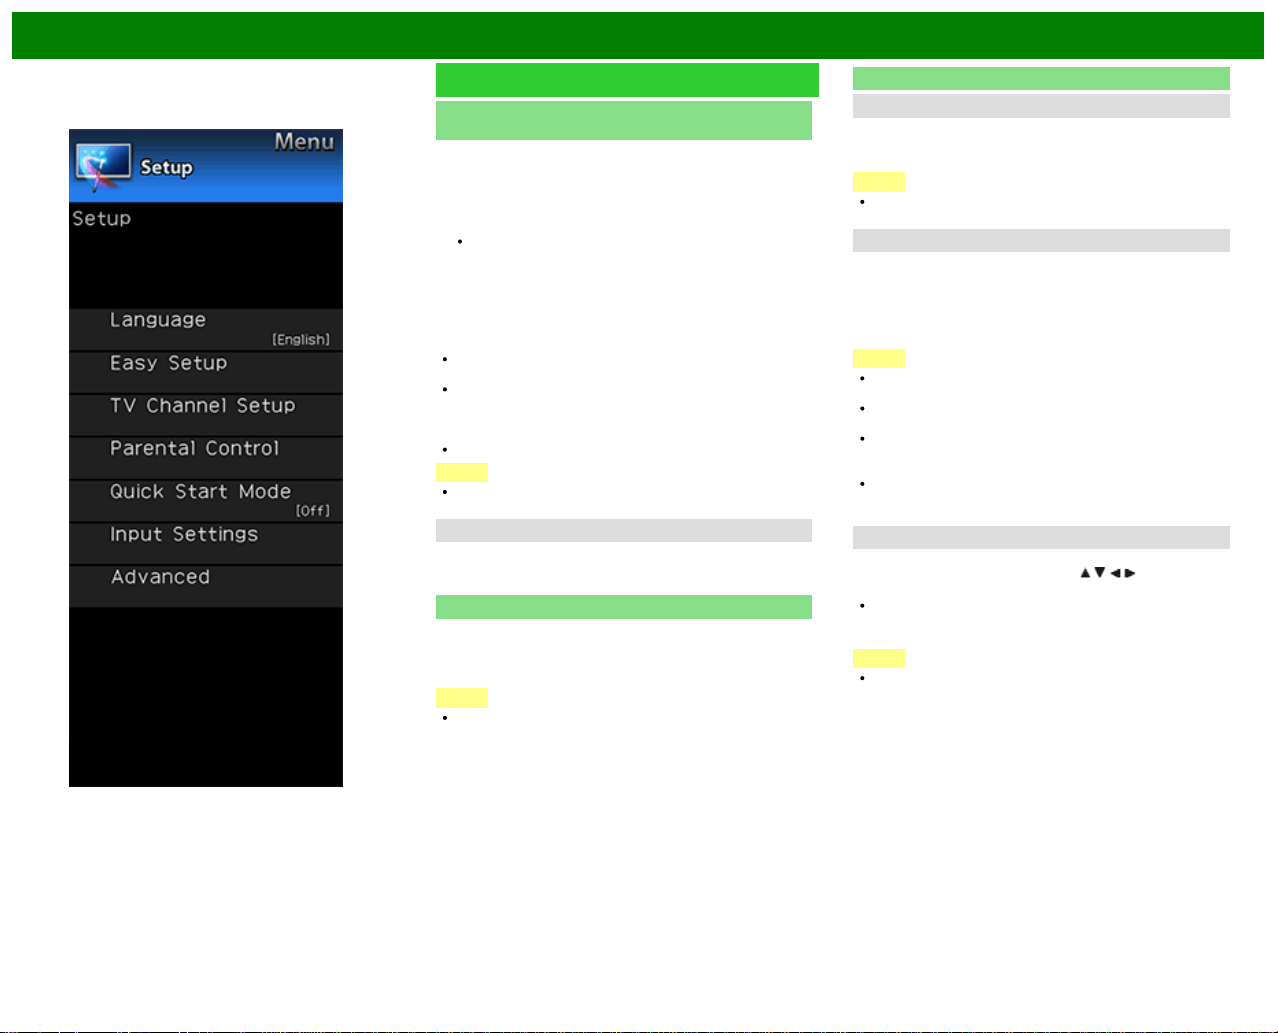
On-Screen Display Menu
Example
Setup (Continue)
Parental Control
(Parental Control Setting)
IMPORTANT:
Three conditions must be met to enable the V-Chip
(see pages 4-16 to 4-19):
1. Secret No. is registered.
2. V-Chip/V-Chip (DTV Only) settings have been made.
The "V-Chip (DTV Only)" will only be selectable when
a new rating system can be downloaded via digital
broadcasting in the U.S.
3. "Status" is set to "On".
Reactivating the temporarily released V-CHIP BLOCK
You can reactivate the temporarily released V-CHIP BLOCK
as shown below.
Select "Status" setting from the Parental Control menu to
reactivate BLOCK.
Select "V-Chip" setting ("MPAA", "TV Guidelines", "Can.
English Ratings" or "Can. French Ratings") from the
Parental Control to reactivate BLOCK.
(See pages 4-16 to 4-18.)
Switch off the TV power.
NOTE
Performing any of the three above will activate the V-
CHIP BLOCK.
Status
Used to enable or disable the parental control function. This
function will not be selectable from the menu if you do not
first configure your secret number.
Quick Start Mode
When this function is activated, you can reduce the TV's
start-up time or even let the TV in standby mode start
displaying images and so on via the connected equipment
on the network.
NOTE
Setting "Quick Start Mode" to "On" consumes more
power.
Input Settings
HDMI Setup - Auto View
When you view images sent from external equipment in an
HDMI connection, this function allows the image size on the
TV to automatically switch to an appropriate one.
NOTE
Refer to your external equipment operation manual for the
signal type.
COMPONENT/VIDEO Select
For image input applied to the COMPONENT IN or VIDEO
IN terminal, switch to “Component” or “Video”, respectively.
AUTO: Auto select signal based on fixed priority.
Component: Select component video.
Video: Select composite video.
NOTE
If no (color) image displays, try changing to
another signal type.
Check the operation manual of the external
equipment for the signal type.
When the signal type is set to “Auto”, the
input terminal where a cable is connected is
automatically selected.
When the signal type is set to “Auto” and
multiple video signal cables are connected,
"Video" will be selected.
Custom Input Label
Lets you set the input terminal displayed when using the
INPUT list or channel display. Press
/ / / to select the
new name for the input mode.
Using the software keyboard, you can enter up to
10 characters for text.
(See page 4-26.)
NOTE
You cannot change labels if the input source is TV, Home
Network, Screen Sharing, Bluetooth or SD/SDHC/USB.
ENG 4-19
Loading ...
Loading ...
Loading ...