Loading ...
Loading ...
Loading ...
17
Before Use
Basic Guide
Advanced Guide
Camera Basics
Auto Mode /
Hybrid Auto Mode
Other Shooting Modes
P Mode
Playback Mode
Wi-Fi Functions
Setting Menu
Accessories
Appendix
Index
Remove the memory card.
● Push the memory card in until it clicks,
and then slowly release it.
● The memory card will pop up.
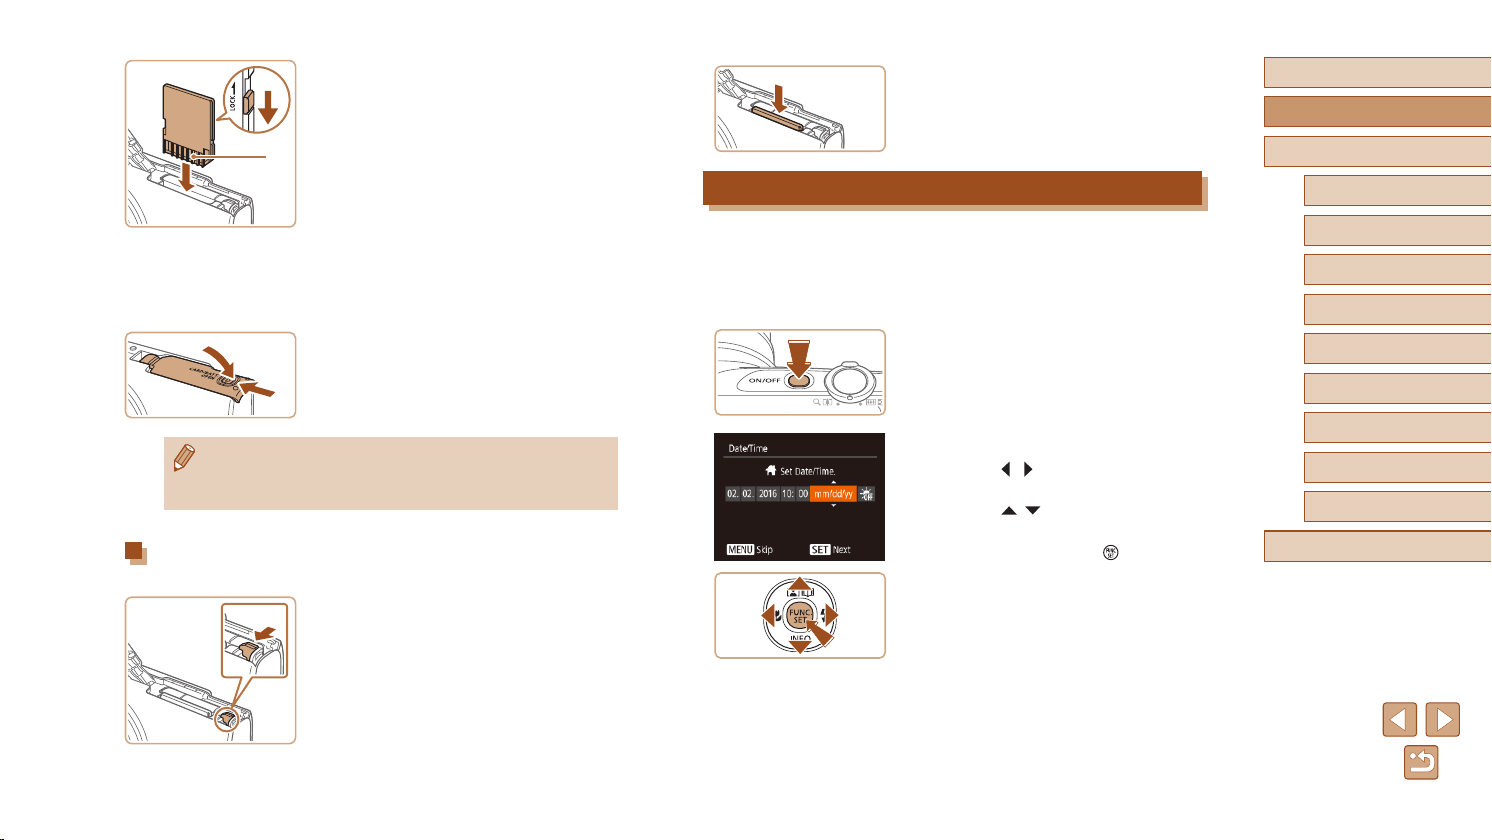
Setting the Date and Time
Set the current date and time correctly as follows if the [Date/Time] screen
is displayed when you turn the camera on. Information you specify this
way is recorded in image properties when you shoot, and it is used when
you manage images by shooting date or print images showing the date.
You can also add a date stamp to shots, if you wish (
=
37).
1
Turn the camera on.
● Press the power button.
● The [Date/Time] screen is displayed.
2
Set the date and time.
● Press the [ ][ ] buttons to choose an
item.
● Press the [
][ ] buttons to specify the
date and time.
● When nished, press the [
] button.
3
Check your card’s write-protect
switch and insert the memory card.
● Recording is not possible on memory
cards with a write-protect switch when the
switch is in the locked position. Move the
switch toward (1).
● Insert the memory card with the terminals
(2) facing as shown until it clicks into
place.
● Make sure the memory card is facing the
right way when you insert it. Inserting
memory cards facing the wrong way may
damage the camera.
4
Close the cover.
● Lower the cover (1) and hold it down as
you slide it, until it clicks into the closed
position (2).
● For guidelines on how many shots or hours of recording can be
saved on one memory card, see “Number of Shots per Memory
Card” (
=
151).
Removing the Battery Pack and Memory Card
Remove the battery pack.
● Open the cover and press the battery
lock in the direction of the arrow.
● The battery pack will pop up.
(1)
(2)
(1)
(2)
Loading ...
Loading ...
Loading ...