Loading ...
Loading ...
Loading ...
101
Before Use
Basic Guide
Advanced Guide
Wi-Fi Functions
Camera Basics
Auto Mode /
Hybrid Auto Mode
Other Shooting Modes
P Mode
Playback Mode
Setting Menu
Accessories
Appendix
Index
Registering Other Web Services
You can also add Web services besides CANON iMAGE GATEWAY to the
camera.
1
Log in to CANON iMAGE GATEWAY
and access the camera link settings
page.
● From a computer or smartphone, access
http://www.canon.com/cig/ to visit
CANON iMAGE GATEWAY.
2
Congure the Web service you want
to use.
● On the computer or smartphone, display
the Web service settings screen.
● Follow the on-screen instructions to
complete settings for Web services you
want to use.
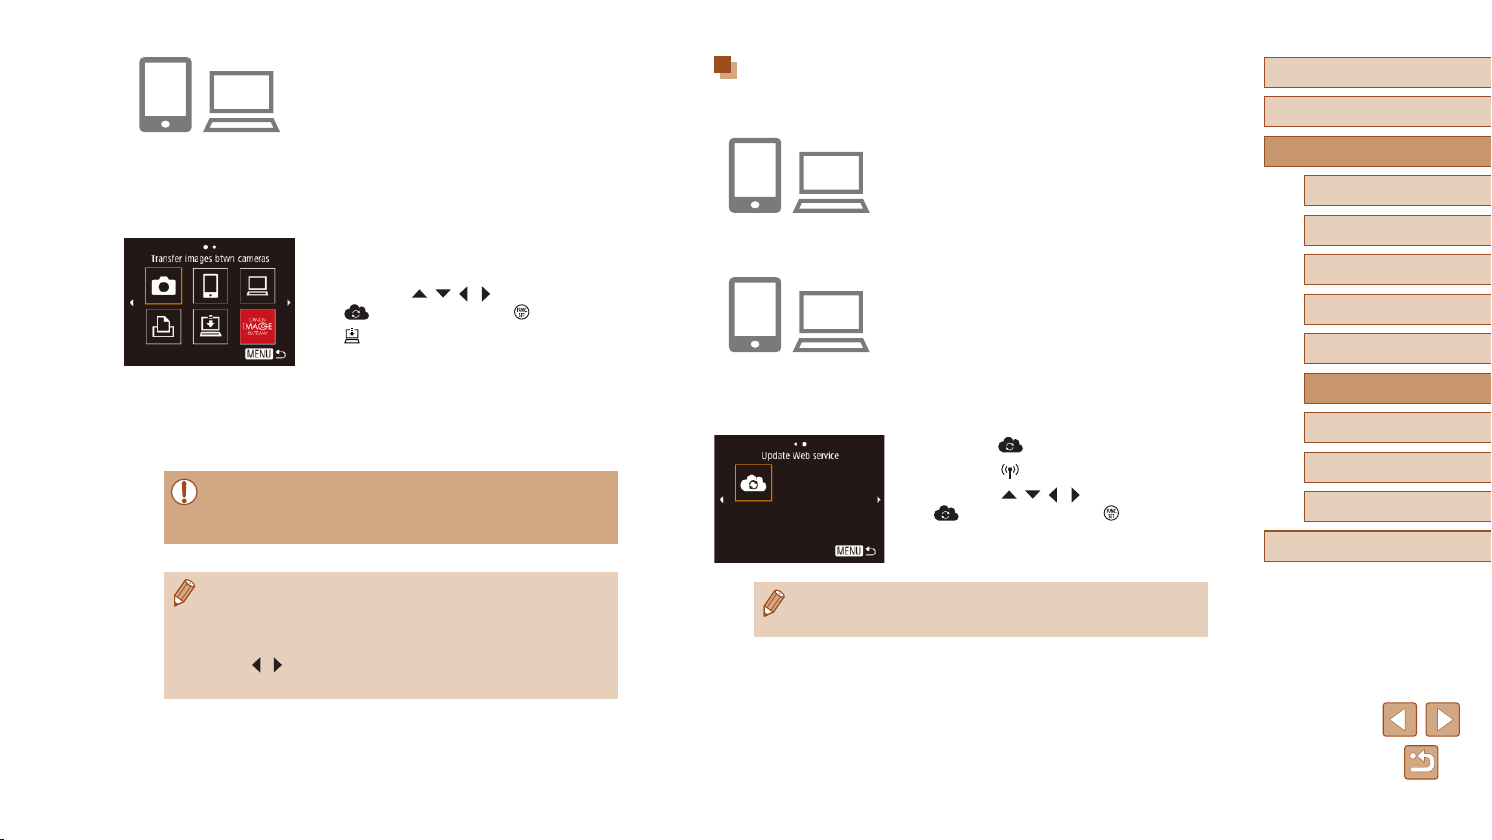
3
Choose [ ].
● Press the [ ] button.
● Press the [
][ ][ ][ ] buttons to choose
[ ], and then press the [ ] button.
● The Web service settings are now
updated.
● If any congured settings change, follow these steps again to
update the camera settings.
8
Access the page in the notication
message and complete camera link
settings.
● From a computer or smartphone,
access the page linked in the notication
message.
● Follow the instructions to complete the
settings on the camera link settings page.
9
Complete CANON iMAGE GATEWAY
settings on the camera.
● Press the [ ][ ][ ][ ] buttons to choose
[ ], and then press the [ ] button.
● [
] (
=
108) and CANON iMAGE
GATEWAY are now added as
destinations.
● You can add other Web services,
as needed. In this case, follow the
instructions from step 2 in “Registering
Other Web Services” (
=
101).
● Make sure initially that your computer or smartphone mail
application is not congured to block email from relevant domains,
which may prevent you from receiving the notication message.
● You can also change the camera nickname on the screen in step 1
(
=
112).
● Once you have connected to devices via the Wi-Fi menu, recent
destinations will be listed rst when you access the menu. Press
the [
][ ] buttons to access the device selection screen and then
congure the setting.
Loading ...
Loading ...
Loading ...