Loading ...
Loading ...
Loading ...
31
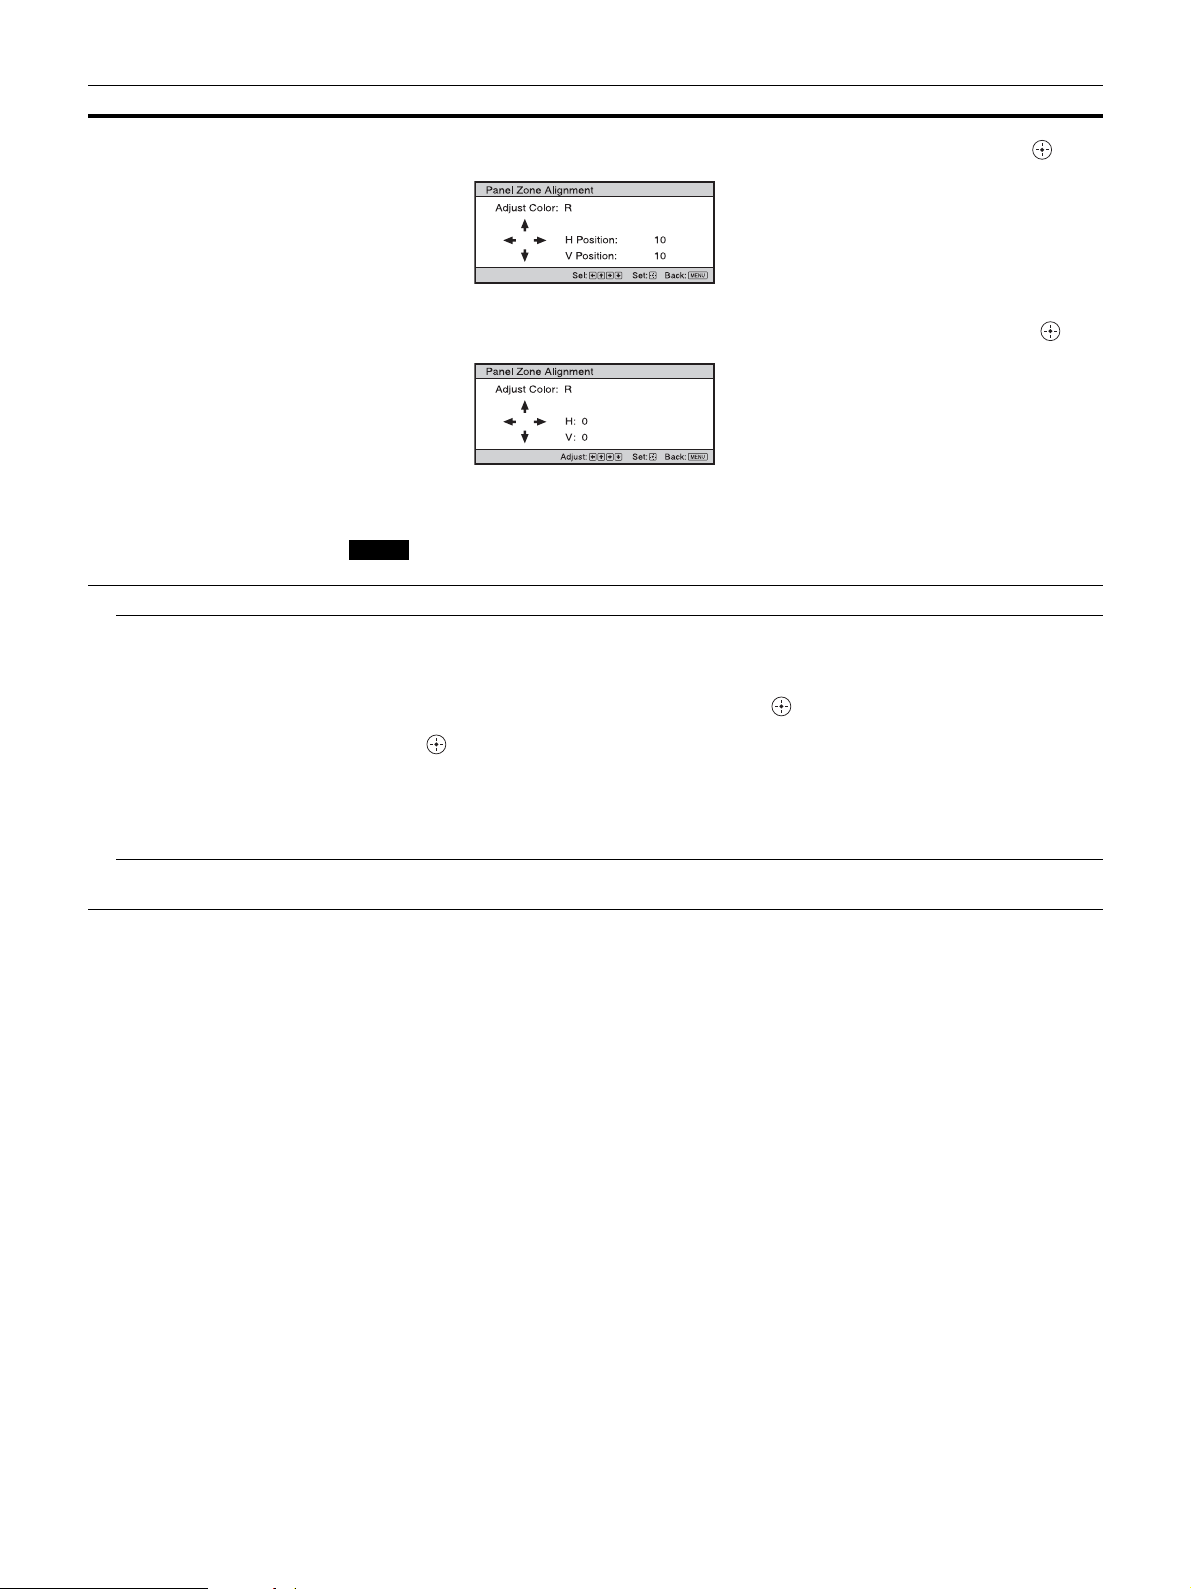
When “Zone” is selected: Select the position to adjust with the </, button for the horizontal
position (H Position) and the M/m button for the vertical position (V Position), then press .
Set the amount to adjust with the </, button for the horizontal direction (H) and with the M/m
button for the vertical direction (V). You can select the position to adjust again by pressing .
Reset: Returns to the factory settings.
Preset: The optimized data has been preset.
Depending on the adjustments made above, colors may become uneven or the resolution may change.
Network Setting Perform internet protocol settings.
IPv4 Setting IP Address Setup: Selects the IP address setting method.
Auto(DHCP): The IP address is assigned automatically from the DHCP server such as a router.
Manual: Specifies the IP address manually.
When “Manual” is selected for “IP Address Setup,” input “IP Address,” “Subnet Mask,” and “Default
Gateway.” Select each item with the M/m button, then press button. Select the frame to input with the
</, button and input the value with the M/m button. When all items are entered, select “Apply,” and then
press the button. The entered settings will be registered.
IP Address: Sets the unit’s IP address.
Subnet Mask: Sets the unit’s subnet mask.
Default Gateway: Sets the unit’s default gateway.
MAC Address: Displays the unit’s MAC address. This cannot be changed.
Apply: Enables the IP address that is set manually.
IPv6 Information Displays the IPv6 information.
When you set the IPv6 IP address, set it on a Web browser (page 33).
Setting items Description
Note
Loading ...
Loading ...
Loading ...