1
Appearance and Features Intr
-oduction
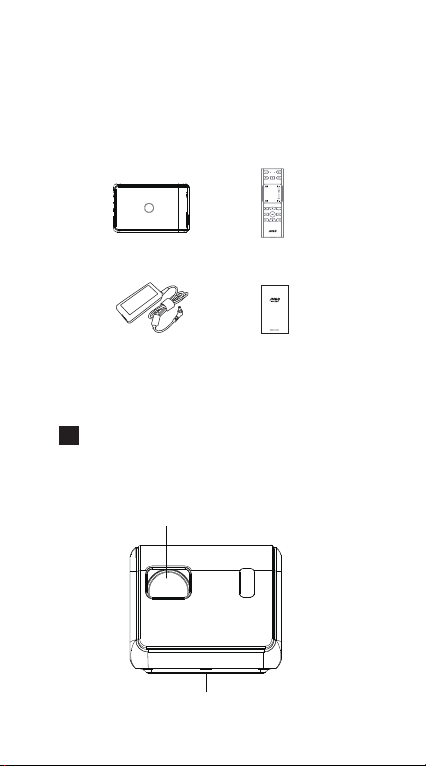
User Manual Power Adapter
Remote ControlProjector
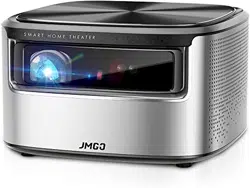
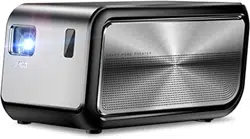
Product Overview
Packing List
High transparency glasses lens
Bottom Pad
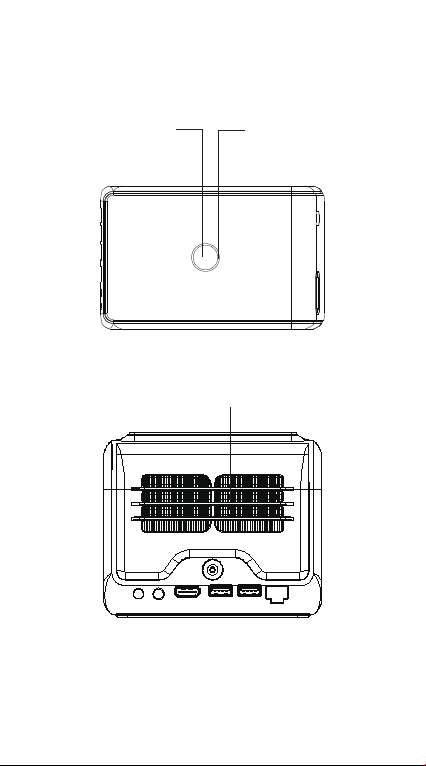
Power Button
Light
Ventilation
2
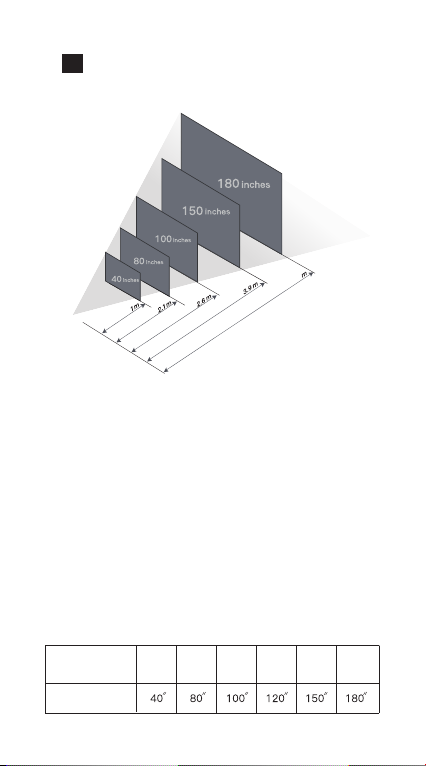
Distance and Projection Size
4.7
The size of the screen is related to the distan
-ce between projector and wall/screen.
The best projection distance is 0.5m~4m and
the best suggested projection size is 80inche
s~150inches, if beyond the range, the brightne
ss and resolution will be affected.
There is a positive correlation between projec
tion distance and projection size, you can adj
ust the projection distance to get the projecti
on size you want.
1m 2.1m 2.6m 3.1m 3.9m
4.7m
Projection distance
Projection size

3
Power button and indicator
4
Keystone Correction
Power-on, press on/off button to start the
projector
Turn-off, press on/off button twice to turn
off the projector
Indicator and corresponded working status
Standby mode: red color
Normal mode: white color
Bluetooth mode: blue color
IMAGE
Brightness
Aspect Ratio
Digital Zoom
The device supports horizontal/vertical
keystone correction.
Go to setting -> image -> keystone
correction to get a standard screen.
keystone Correction
Custom Correction
Hoisting Mode
Rear Projection Mode
5
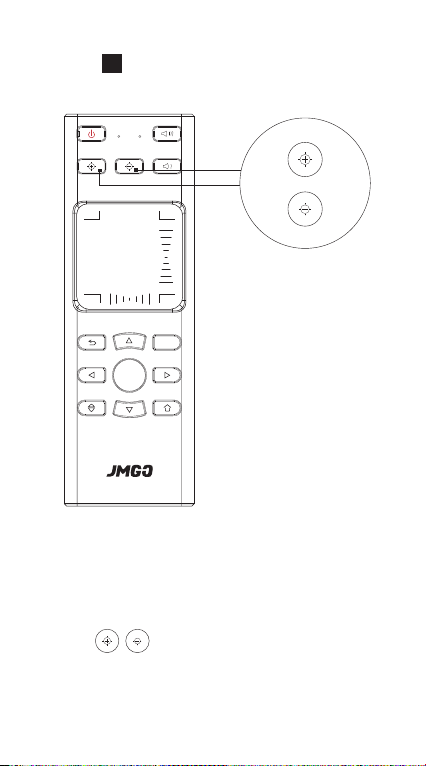
Focus Adjustment
The focus can influence the clearness of the
picture, if it is not clear, please press the
button indicated in the picture above to
adjust the focus to get it clear.
Press to adjust the focus.
V
+
-
PUP
PDN V
OK
2
4
5
7
8
3
6
11
9
10
12
13
14
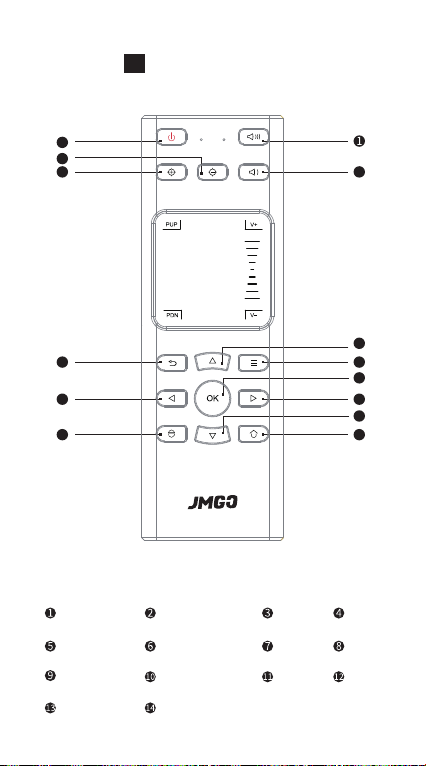
The volume+ The volume- ON
Menu
OK
Left
Power on/off Focus- Focus+
JMGO key
Right Down Home
Return
7
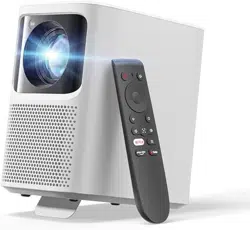
Remote Control
9
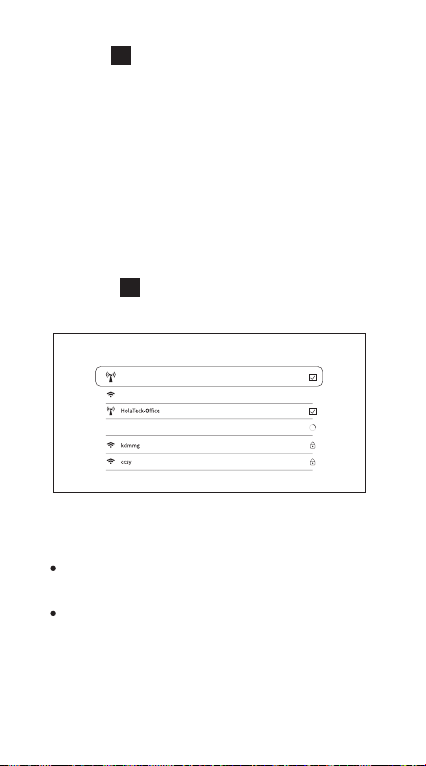
The device supports Ethernet and wireless
network connection:
When using Ethernet connection, connect
network cable directly.
Wireless connection setting, go to setting
-> Wi-Fi, then choose available network.
WIFI
8
Bluetooth Speaker
9
Network Setting
When the device is in standby mode, turn on
the Bluetooth in your mobile phone, please
search available Bluetooth device.
When the Indicator is blue, then Bluetooth
paring is successful
Open WIFI
The WIFI
Select nearby WIFI

ONLINE UPGRADE LOCAL UPGRADE
The device supports OTA and local
upgrade:
Local Upgrade:
Attention: Do not disconnect power cable or
USB drive when upgrade is in process.
1. Prepare a FAT32 format, USB drive.
2.Download update_jmgo from en.jmgo.
com, and copy to USB drive root directo
ry(Please do not change file name).
3.Connect USB drive to USB2.0 jack.
4.Enter into JMGO UI interface--go to ->
software update -> software update ->
local update
SYSTEM UPGRADE
You can now upgrade to the latest version.
Version numbe:1.1.8(462MB)
Update:
1011
Software Upgrade
OTA Upgrade: Go to setting -> software
update -> software update -> checking
for update to check if the software is the
latest or not, if not, please choose OTA
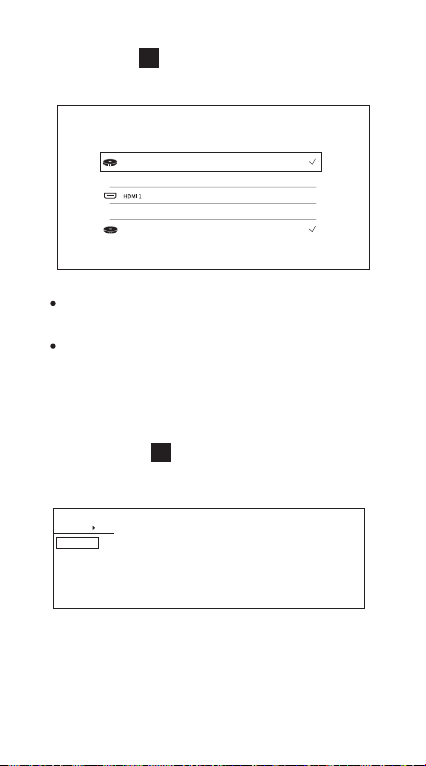
Go to setting -> input source, then adjust
local to HDMI
Press JMGO key to adjust local to HDMI
SIGNAL SOURCE
Current source
Local
Local
Optional
Boot default
6
3D Video
11
Source Input
When watching 3D video, press “JMGO key”
to adjust 3D mode.
3D Mode
Shut off
Or so
Up and down
Automatic

JmGO_G7
ABOUT DEVICE
Model
System version
UI version
Mac address
WIFI mac address
Memory information(available/total)
Memory space(available/total)
12
System Version
Go to setting -> about -> about device, then
check all the system information.
13
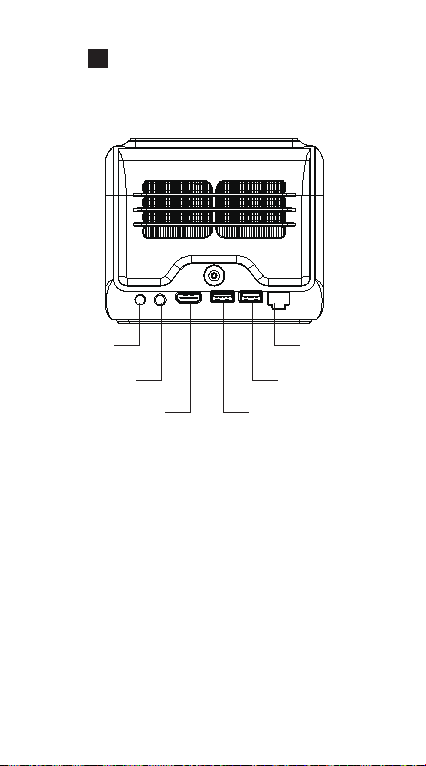
Peripheral Connection
IR
S/PDIF
USB2.0
RJ45
USB3.0HDMI

Quick guide & warranty card
SMART HOME THEATER

Warranty Card
Customer’s name:
Contact phone:
Customer’s address:
SN:
Store’s name:
Store’s address:
Date of purchase:

FCC WARNING
This device was tested for typical body-worn operations. To comply
with
RF exposure requirements, a minimum separation distance of 0cm
must be maintained between the user’s body and the handset, including
the antenna. Third-party belt-clips, holsters, and similar accessories
used by this device should not contain any metallic components.
Manufacturer's Name: SHENZHEN HOLATEK Co.,LTD
Trade Mark: JMGO
Model number: J6S
Operating Temperature: 0° C to 40° C
This device complies with part 15 of the FCC Rules. Operation is subject
to the following two conditions:
(1) this device may not cause harmful interference, and (2) this device mu
st accept any interference received, including interference that may cause
undesired operation.
Any changes or modifications not expressly approved by the party respon
sible for compliance could void the user's authority to operate the equipm
ent.
NOTE: This equipment has been tested and found to comply with the limi
ts for a Class B digital device, pursuant to Part 15 of the FCC Rules.
These limits are designed to provide reasonable protection against harmf
ul interference in a residential installation. This equipment generates, uses
and can radiate radio frequency energy and, if not installed and used in a
ccordance with the instructions, may cause harmful interference to radio
communications. However, there is no guarantee that interference will not
occur in a particular installation.
If this equipment does cause harmful interference to radio or television re
ception, which can be determined by turning the equipment off and on, th
e user is encouraged to try to correct the interference by one or more of
the following measures:
-- Reorient or relocate the receiving antenna.
-- Increase the separation between the equipment and receiver.
-- Connect the equipment into an outlet on a circuit different from that
to which the receiver is connected.
-- Consult the dealer or an experienced radio/TV technician for help.
To maintain compliance with FCC’s RF Exposure guidelines, This
equipment should be installed and operated with minimum distance
between 20cm the radiator your body: Use only the supplied antenna.
--This device is acting as slave and operating in the 2.4 GHz (2412 ~246
2 MHz) band. Ad Hoc function is supported but not able to operate on no
n-US frequencies.
Operation of this device is restricted to indoor use only.
FCC ID:SMC-H60