Loading ...
Loading ...
Loading ...
BDL8470EU
23
Auto signal detection
Choose to let the display detect and display available signal sources
automatically.
• {Off} - Once a signal is connected, it can only be selected manually.
No signal, set the display to display the image automatically according to
the search order of each option.
The options are: {All} / {PC source only} / {Video source only} /
{Failover}
• {All}: DP / HDMI1 / HDMI2 / HDMI3 / DVI / VGA / Component /
OPS.
• {PC source only}: DP / DVI / VGA / Card OPS.
• {Video source only}: HDMI1 / HDMI2 / HDMI3 / Component.
• {Failover}
- Failover 1-12: User-dened setting. Default: HDMI.
OPS settings
Set the OPS conguration under each power condition.
• {Auto} - After selecting {Card OPS} for video source input, the OPS
will be set to off when the display power is set to off, or set to on
when the display power is set to on. When set to other video source
inputs, the OPS will always be set to on.
• {Always off} - The OPS will always be set to off.
• {Always on} - The OPS will always be set to on.
Language
Select the language used in the OSD menu.
The options are: { } / { } / {
简体中文
} / { } / {
} / { } / { } / { } / { } / {
繁體中文
} / {
日本語
}
/ {Português}.
Advanced option reset
Reset all settings except {Date and Time} in the Advanced option menu
to factory preset values.
1. Press [OK] or [ ] button to enter the submenu.
2. Press [ ]
or [ ] button to select {Reset} and press the [OK]
button to restore settings to factory preset values.
3.
Press the [ ] button or select {Cancel} and press the [OK] button
to cancel and then return to the previous menu.
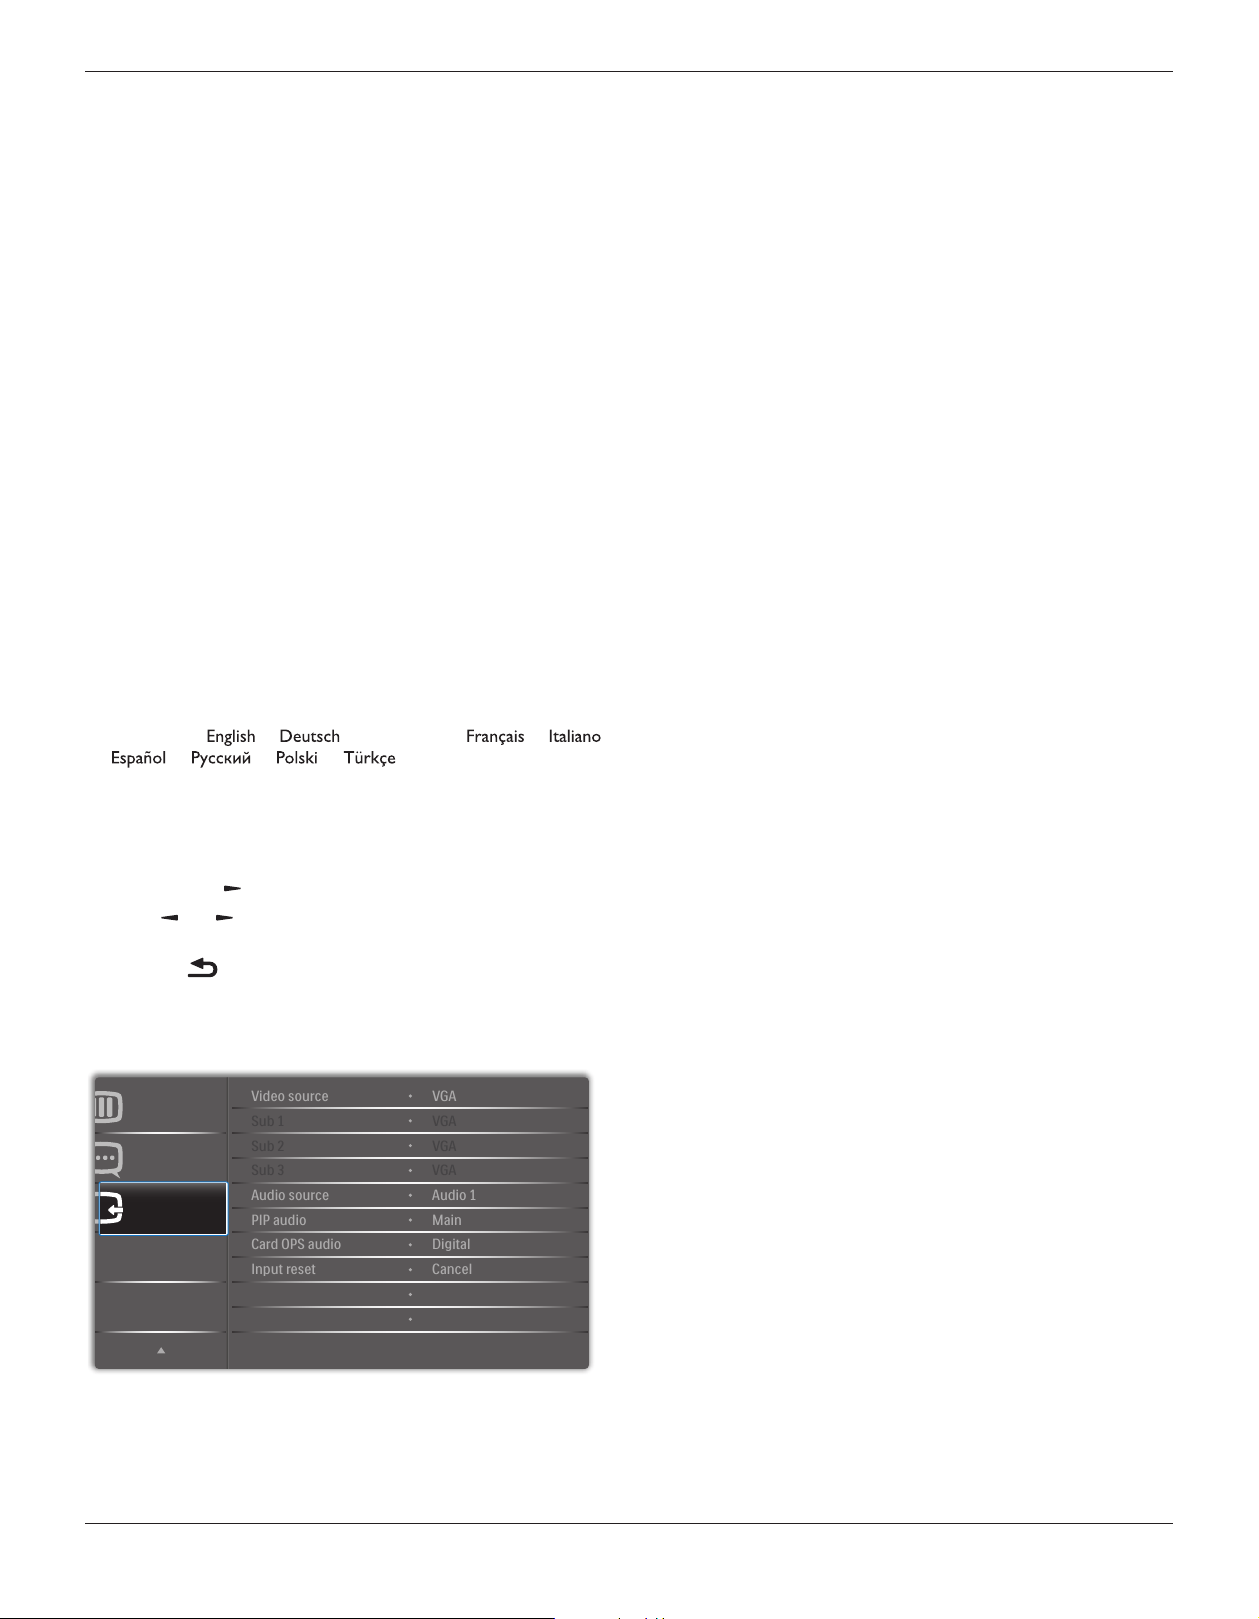
5.2.8. Input menu
Input
Advanced option
Configuration 2
Sub 1
Sub 2
Audio source
PIP audio
Video source
Sub 3
Card OPS audio
Input reset
VGA
VGA
VGA
VGA
Digital
Cancel
Audio 1
Main
Video source
Select a video input source.
Choose from: {Displayport} / {DVI-D} / {VGA} / {HDMI1} / {HDMI2} /
{HDMI3} / {Component} / {Video} / {USB} / {BROWSER} / {SmartCMS}
/ {Card OPS}.
Sub 1
Select the input signal for the sub Win1 picture.
Choose from: {Displayport} / {DVI-D} / {VGA} / {HDMI1} / {HDMI2} /
{HDMI3} / {Component} / {Video} / {USB} / {BROWSER} / {SmartCMS}
/ {Card OPS}.
Sub 2
Select the input signal for the sub Win2 picture.
Choose from: {Displayport} / {DVI-D} / {VGA} / {HDMI1} / {HDMI2} /
{HDMI3} / {Component} / {Video} / {USB} / {BROWSER} / {SmartCMS}
/ {Card OPS}.
Sub 3
Select the input signal for the sub Win3 picture.
Choose from: {Displayport} / {DVI-D} / {VGA} / {HDMI1} / {HDMI2} /
{HDMI3} / {Component} / {Video} / {USB} / {BROWSER} / {SmartCMS}
/ {Card OPS}.
Audio source
Select the audio input source according to the audio signal source
connected to the audio input and HDMI sockets on the display.
Choose from: {Analog} / {Displayport} / {Audio1} / {Audio2} / {Media}.
PIP audio
Select the audio source the PIP (Picture-in-Picture) mode.
• {Main} - Select audio from the main picture
• {Sub 1} - Select audio from the sub1 picture.
• {Sub 2} - Select audio from the sub2 picture.
• {Sub 3} - Select audio from the sub3 picture.
Card OPS audio
Select the analog or digital audio mode for card OPS.
Input reset
Reset all settings in the Input menu to factory preset values.
Loading ...
Loading ...
Loading ...