Loading ...
Loading ...
Loading ...
16 17
INSTALLATION GUIDE
INSTALLATION GUIDE
ELECTRICAL REQUIREMENTS
T
o reduce the risk of fire, electric shock, or personal injury:
• Do not use an extension cord or adapter plug with this range.
• This range must be properly grounded.
• Check with a qualified electrician if you are in doubt as to whether your range
is properly grounded.
• Do not modify the plug provided with your range—if it doesn¡¯t fit the outlet,
have a proper outlet installed by a qualified electrician.
• All wiring and grounding must be done in accordance with local codes or, in
the absence of local codes, with the National Electrical Code, ANSI/NFPA No.
70 – Latest Revision (for the U.S.) or the Canadian Electrical Code CSA C22.1
– La est Revisions and local codes and ordinances.
• Wiring diagram is located on the back of the range. (Inside of the cover back
wire)
• This range is equipped with an electronic ignition system that will not operate
if plugged into an outlet that is not properly polarized.
WARNING
• All gas models ar
e equipped with a power cord with an equipment-grounding
conductor and a grounding plug.
• A 120-Volt, 60-Hz, AC, approved electrical service with or 20-amp circuit
breaker or time-delay fuse is required for all U.S. and Canadian models.
• Do not reuse a power supply cord from an old range or other appliance.
• The power cord electric supply wiring must be retained at the range cabinet
with a suitable UL-listed strain relief.
• A time-delay fuse or circuit breaker is also recommended.
Gr
ounding
• All r
anges must be grounded for personal safety.
• All gas models have a power cord with an equipment-
grounding conductor
and a grounding plug.
• The plug must be firmly plugged into a three-prong outlet
that is properly installed and grounded in accordance with
all local codes and ordinances. In the event of a malfunction
or breakdown, grounding will increase the risk of electrical
shock by not providing a path for the electric current.
Ensur
e proper
ground
and firm
connection
before use.
GAS
An agency-approved, properly-sized manual shut¬off valve should be
installed no higher than 3" (7.6 cm) above the floor and no less than
2" (5 cm) and no more than 8" (20.3 cm) from the right side (facing product).
To connect gas between shut-off valve and regulator, use agency-approved
, properly sized flexible or rigid pipe. Check all local code requirements.
EXHAUST HOOD INSTALLATION
This range will best perform when used with exhaust hoods. These hoods have
been designed to work in conjunction with the range and
have the same finish
for a perfect look. For maximum performance , the height of the bottom of the
hood from the cooktop should be between 30" (76.2 cm) and 36" (91.4 cm).
This would typically result in the bottom of the hood being 61 1/2" (156.2 cm)
to 67 1/2" (171.5 cm) above the floor. These measurements provide for safe
and efficient operation of the hood.
Before installation of the exhaust hood,
consult local or regional building and installation codes for additional specific
clearance requirements. Refer to the range hood installation instructions
provided by the manufacturer for additional information.
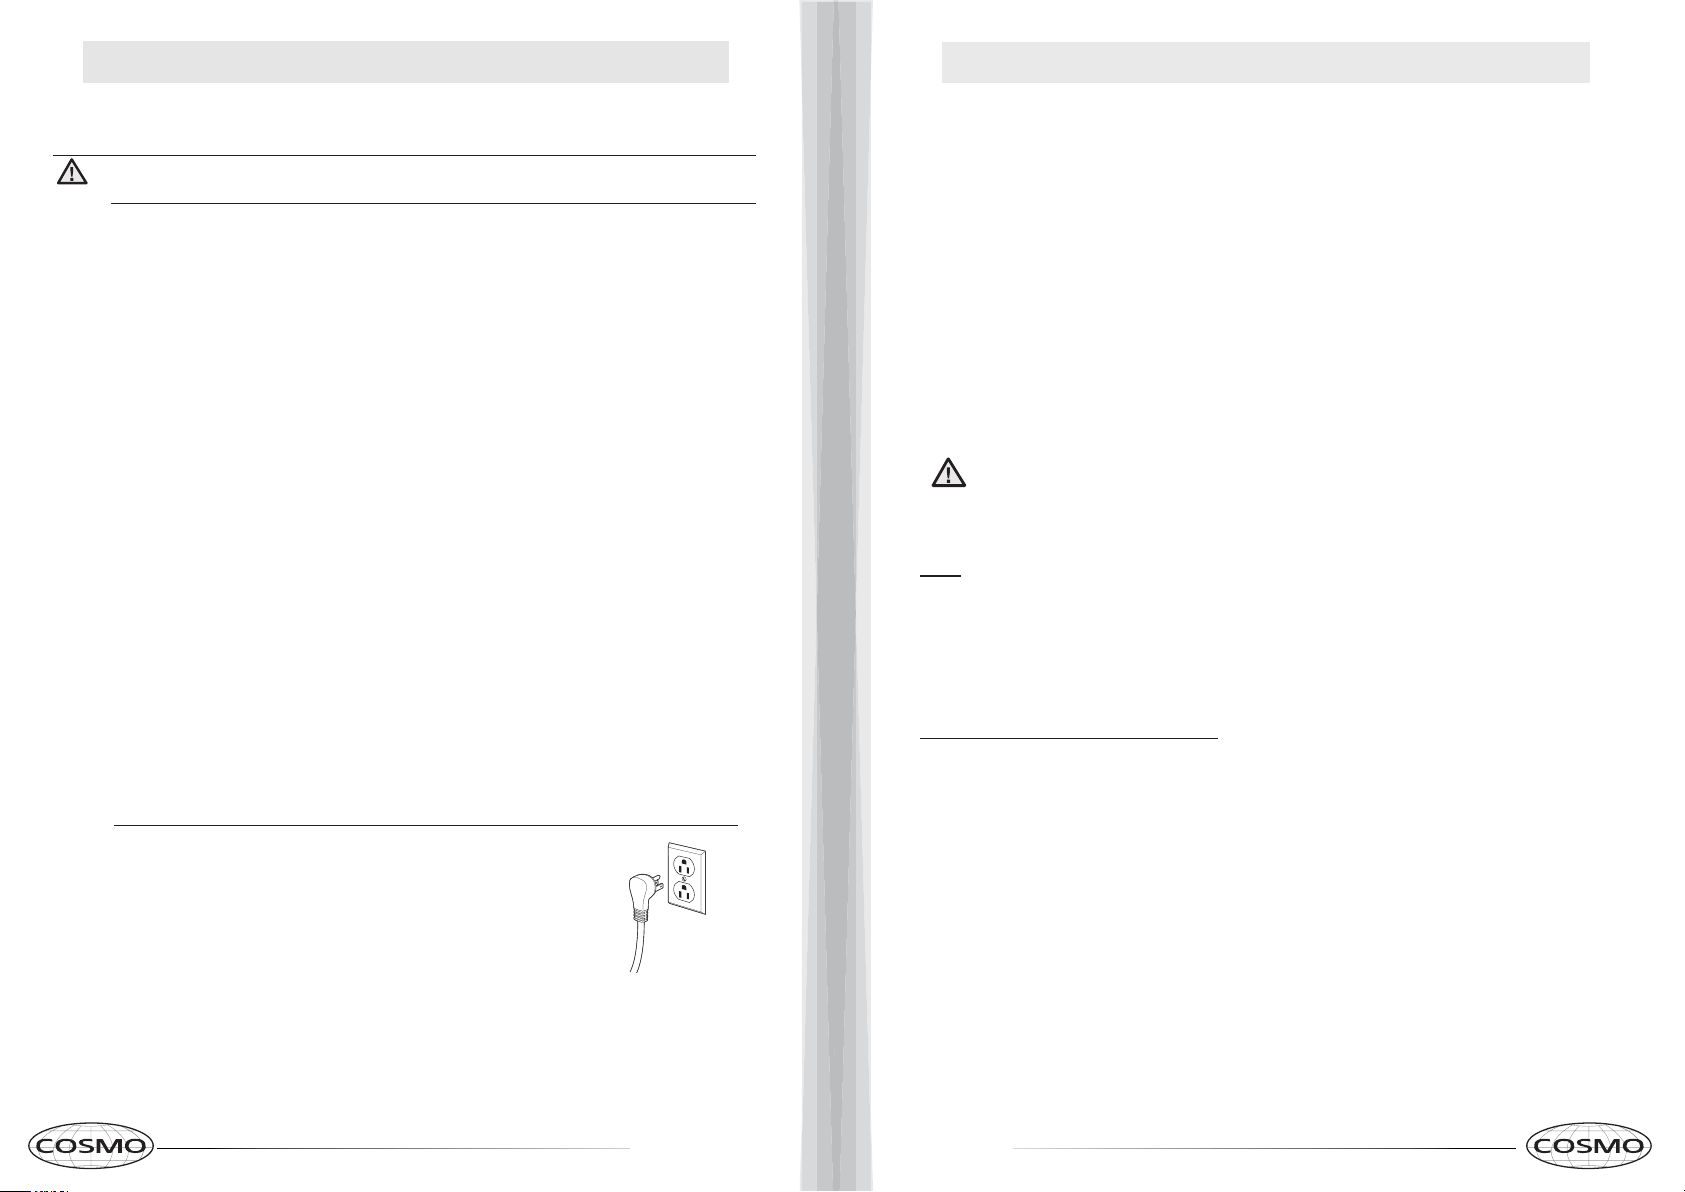
• Do not use a damaged power plug or loose wall outlet.
• Do not use an extension cor
d or adapter with this appliance.
• Do not, under any circumstances, cut, modify, remove, or otherwise defeat
the grounding (third) prong from the power cord. If the plug and the outlet
do not match or you have any doubt, have a qualified electrician install the
proper outlet.
The customer should have the wall receptacle and circle checked by a
qualified electrician to make sure the receptacle is properly grounded.
Ground Fault Circuit Interrupters(GFCIs) are not required ot recommended for
gas range receptacles.
• NEVER connect ground wire to plastic plumbing lines, gas lines, or water
pipes.
Failure to follow these instructions can result in death, fire, or electrical
shock.
CAUTION
Loading ...
Loading ...
Loading ...