Loading ...
Loading ...
Loading ...
24 25
Figure 8
Figure 9
Figure 10
Figure 11
INSTALLATION GUIDE
INSTALLATION GUIDE
STEP 1: PRESSURE REGULATOR CONFIGURATION
The pressure regulator supplied with the appliance is a
convertible type pressure regulator for use with Natural
Gas at a nominal outlet pressure of 4" w.c. or LP gas at a
nominal outlet pressure of 10" w.c. and it is pre-arranged
from the factory to operate with Natural Gas. It can be
converted for use with propane gas by following these
steps:
a. Unscrew by hand the upper metal cap of the regulator.
b. Unscrew by hand the silver plastic piece screwed under
the above mentioned metal cap. The silver plastic piece
has arrows indicating the position for natural gas (NAT)
and LP gas (LP). Reverse its direction and screw it back
firmly against the cap.
c. Screw by hand the metal cap in the original position on
the regulator.
STEP 1a
STEP 1b
STEP 1c
LP:
0.65
NG: 1.04
LP: 0.95
NG: 1.55
LP: 1.27
NG: 2.30
LP: 1.08
NG: 1.79
LP: 0.65
NG: 1.04
LP: 1.27
NG: 2.30
LP: 1.08
NG: 1.79
LP: 1.08
NG: 1.79
LP: 0.95
NG: 1.55
LP: 0.95
NG: 1.55
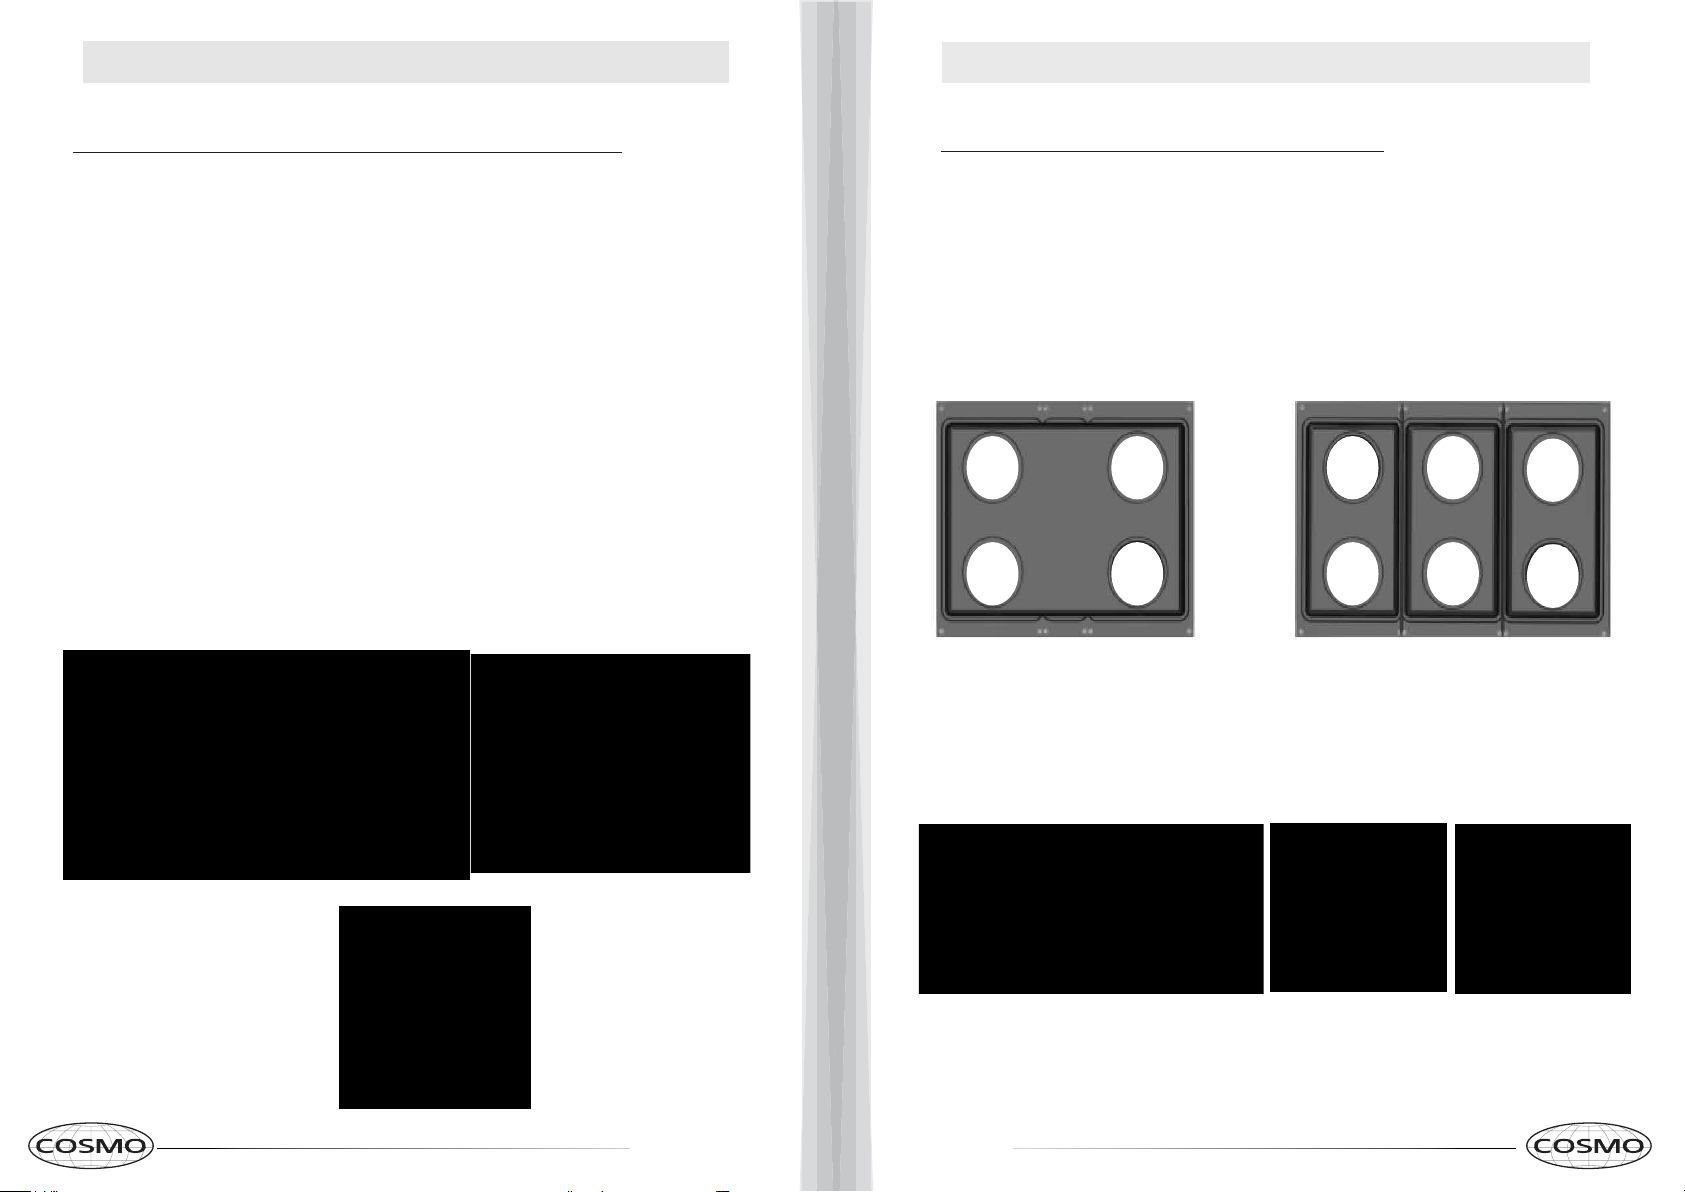
STEP 2: BURNER NOZZLE REPLACEMENT
To replace the nozzles of the surface burners : lift up the
burners and unscrew the nozzles shipped with the range
using a 7 mm (socket wrench). Replace nozzles using the
conversion set. Each nozzle has a number indicating its flow
diameter printed on the body. Consult below figures for
matching nozzles to burners :
3
0”
36”
Bottom Bake Burner: NG: 2.38 / LP: 1.27
Top Broiler Burner: NG: 1.79 / LP: 1.08
Loading ...
Loading ...
Loading ...