Loading ...
Loading ...
Loading ...
10
6.9 Delivering the coee
1. Attach the lter holder (C1) to the appliance. To attach cor-
rectly, align the lter holder handle with "INSERT" (g. 10)
then turn the handle to the right until it is aligned in the
"CLOSE" position;
2. Place the cup or cups under the lter holder spouts;
3. If you are using small cups, lower the cup grille (A10) to
bring the lter holder spouts nearer the cup. This makes a
better froth (g. 25);
4. Using the dial (B8), select the desired beverage;
5. Press the "OK" button. The appliance makes the coee then
stops automatically.
Please note: While the machine is making coee, delivery can
be interrupted at any moment by pressing the "OK" button. To re-
move the lter holder, turn the handle from right to left.
Danger of burns
• To avoid splashes, never remove the lter holder while the
appliance is delivering coee. Wait for a few seconds after
delivery.
• If no coee is delivered, wait for about 1 minute before remov-
ing the lter holder. There could be a pu of steam caused by
the residual pressure inside the appliance.
6.10 Pressure gauge
The pressure gauge enables you to check that pressure is correct
while the coee is being delivered (g. 26).
While making ESPRESSO coee, the indicator will initially be in
the "pre-infusion" sector and will then rotate to the "optimal
zone" during delivery.
For more information, see section "14. How to make perfect
coee".
Important: the pressure gauge only operates while coee bev-
erages are being made. If you are preparing hot water " " or
using the steam function, the pressure gauge indicator does not
move.
7. HOW TO MAKE MILKBASED BEVERAGES
1. Fill the milk jug (C9) with the milk you want to heat/froth,
bearing in mind that the milk doubles or triples in vol-
ume. For a denser more even froth, you should ideally use
skimmed or partially skimmed cow's milk at refrigerator
temperature (about 5°C).
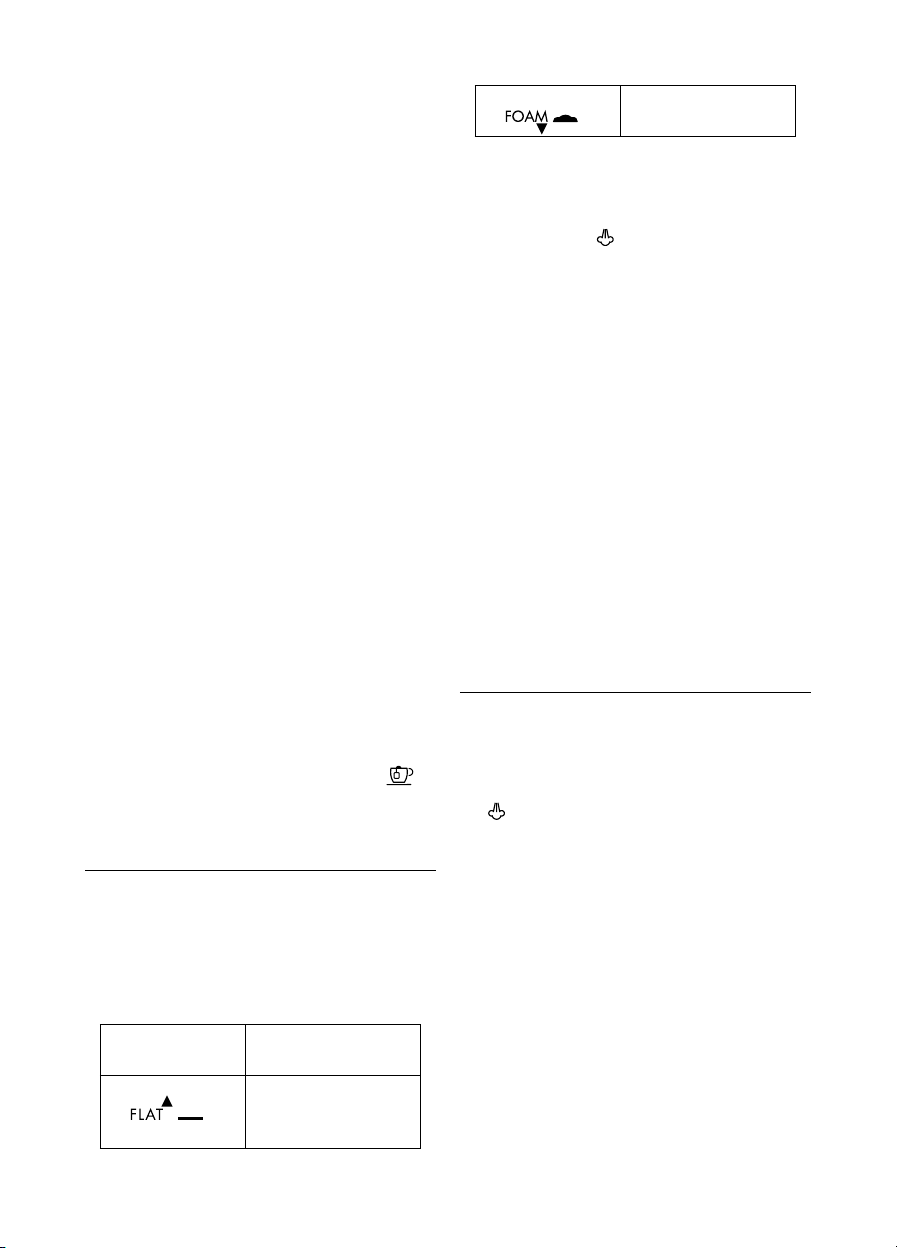
2. Choose the position of the ring (A7) (g. 27) according to
the beverage to be prepared (see following table):
Recommended
position
Milk beverage to be
prepared
Hot milk (not frothed) /
Caelatte / Macchiato / Flat
White
Cappuccino, Espresso Mac-
chiato, Hot Milk (frothed)
3. Place the jug (C9) containing the milk under the cappuccino
maker (A8) (g. 28).
4. Immerse the cappuccino maker in the milk container. Never
immerse the black ring (g. 29).
5. Turn the dial to the
position (g. 30). Steam to heat the
milk is delivered from the cappuccino maker. If the ring is
in the FOAM position, the steam gives the milk a creamy
frothy appearance (g. 31). To obtain a creamier froth,
immerse the cappuccino maker in the milk and rotate the
container with slow upward movements
6. When the required temperature (the ideal is 60°C) and
froth density is reached, interrupt steam delivery by turn-
ing the dial to the ◯ position.
7. For beverages requiring it, prepare the coee (see section
"6. Making coee"). Choose suciently large cups and
place them on the espresso cup grille (A10). To use tall
glasses, close the espresso cup grille (A10) and rest the
glass on the cup grille for glasses or mugs (A11).
8. Pour the frothed milk into the cups. Sweeten to taste and if
desired, sprinkle the froth with a little cocoa powder.
Please note:
Preparing cappuccino: consider about 100 g of milk for each cup.
You should not deliver steam for more than
60 seconds.
8. CLEANING THE CAPPUCCINO MAKER
AFTER
USE
For hygiene reasons, the cappuccino maker should always be
cleaned after use.
Proceed as follows:
1. Deliver a little steam for a few seconds (points 2, 5 and 6
of the previous section) by turning the steam deal to the
position. This causes the cappuccino maker to discharge
any milk left inside.
2. Press the (B1) ON/Standby button to turn the appliance o.
3. Wait a few minutes for the cappuccino maker to cool down.
With one hand, hold the cappuccino maker tube rmly,
with the other, release the cappuccino maker by turning it
anticlockwise, then pull o downwards (g. 32).
4. Remove the rubber steam connection nozzle from the
spout by pulling it downwards (g. 33).
5. Push the ring upwards and make sure the two holes shown
by the arrows in g. 34 are not blocked. If necessary, clean
with a pin.
6. Replace the connection nozzle, move the ring downwards
and put the cappuccino maker back on the nozzle, turning
it and pushing it upwards until it is attached.
Loading ...
Loading ...
Loading ...