Loading ...
Loading ...
Loading ...
6
We value your experience using Sunny Health and Fitness products. For assistance with parts or
(877-907-8669).
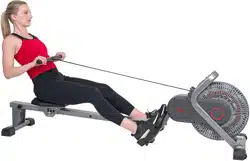
STEP 3:
Attach the Seat (No. 6) to the Sliding
Rail (No. 2). The Limit Shaft (No.
29) is pre-attached with 1 Limit Pad
(No. 28) on the left side. Insert Limit
Shaft (No. 29) through the hole of
Sliding Rail (No. 2), attach another
Limit Pad (No. 28) to right side of
Limit Shaft (No. 29) with 1 Washer
(No. 27) and 1 Bolt (No. 26). Tighten
and secure with the Spanner (No.
73).
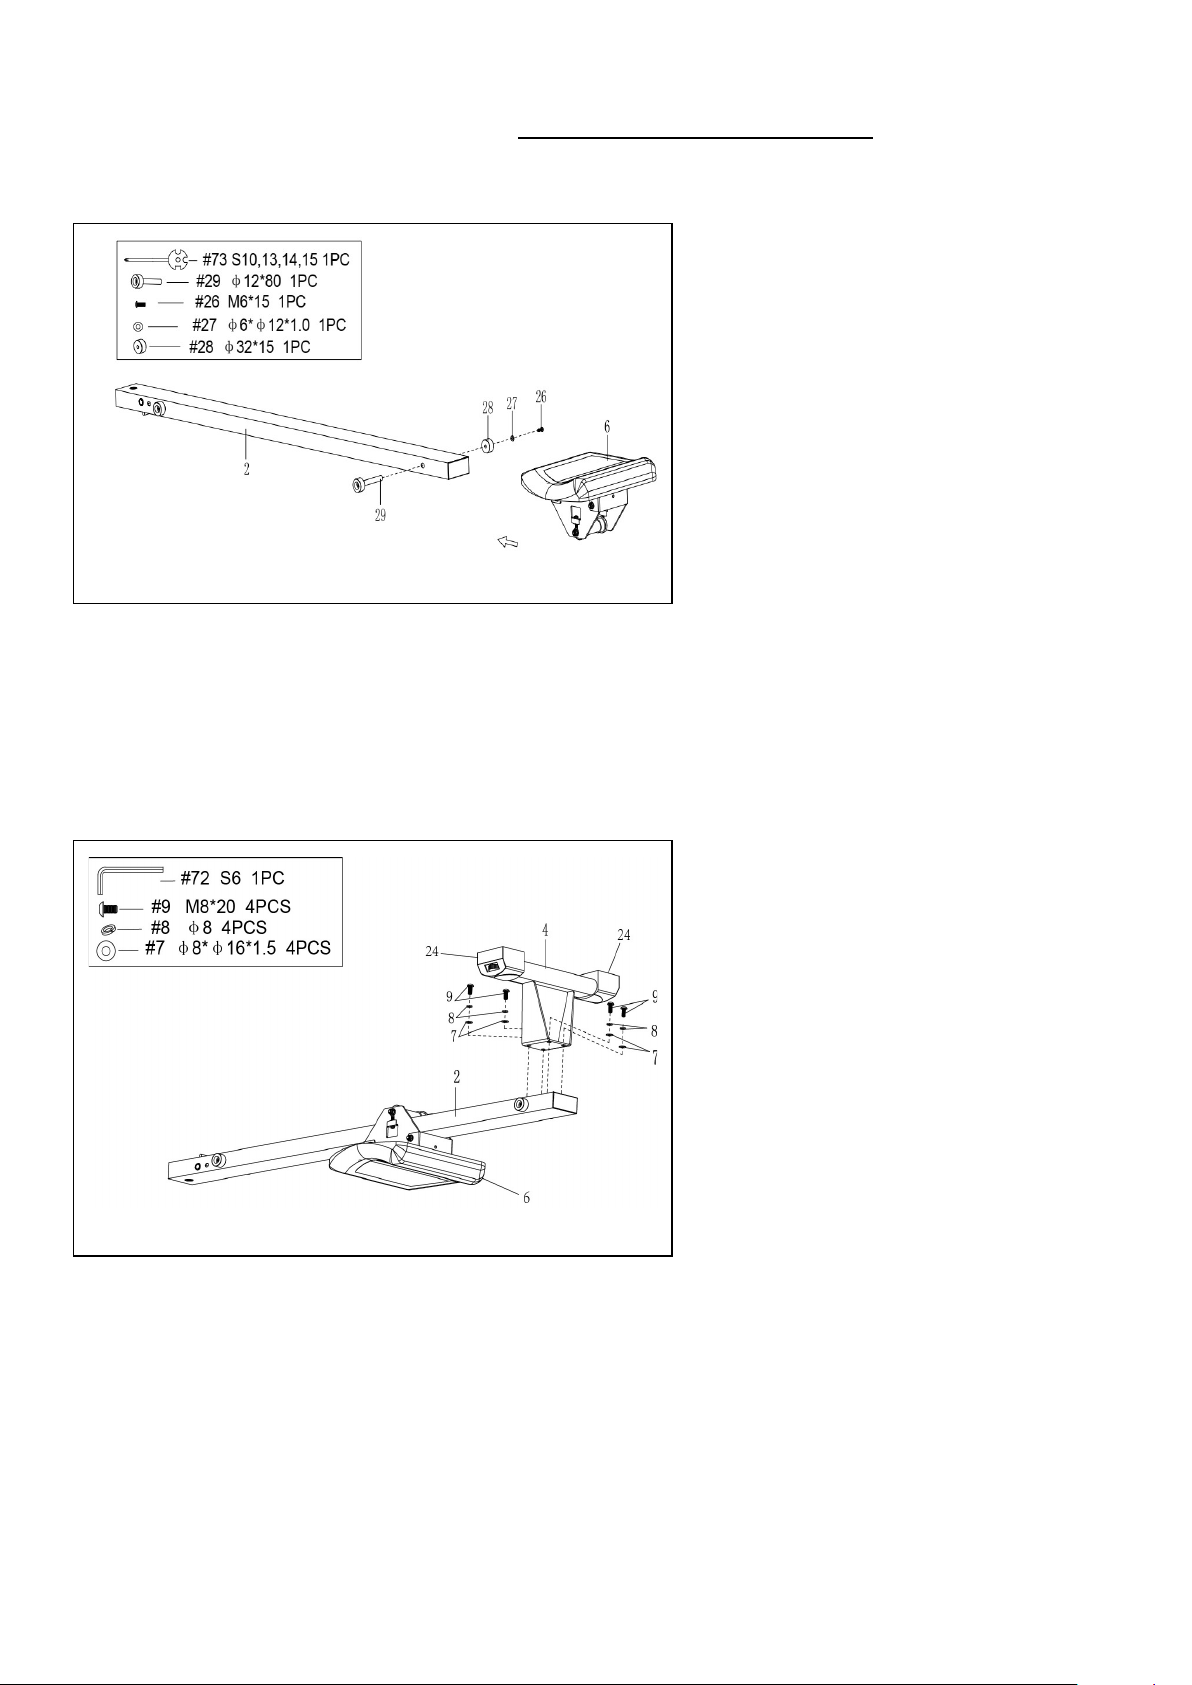
STEP 4:
Turn over the Sliding Rail (No. 2)
with Seat (No. 6). Attach the Rear
Stabilizer (No. 4) to the Sliding Rail
(No. 2) using 4 Bolts (No. 9), 4
Spring Washers (No. 8) and 4
Washers (No. 7). Tighten and secure
with an Allen Wrench (No. 72).
Note: There is an arrow label marked
on Rear Stabilizer (No. 4), please
attach it according to the arrow’s
direction.
Note:To prevent tipping, rocking and
swaying on uneven surface, simply
turn the dials on the End Caps (No.
24).
Loading ...
Loading ...
Loading ...