
Integration with your
Amazon Alexa Device
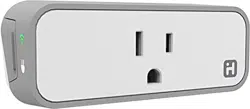
SMARTPLUG

Before you begin:
NOTE: If you have completed Amazon integration
via Wink, the following setup is not necessary. We
recommend that you maintain your current setup.
Getting Started: Integration with Alexa Devices
1. Make sure that you have already created an
iHome account in your iHome Control app
and that your SmartPlug(s) are connected to
WiFi and operational.
2. Make sure that your Amazon Device
(e.g. Echo, Dot, Tap) is set up and connected to
Wi-Fi before proceeding with the next step.
ALEXA INTEGRATION
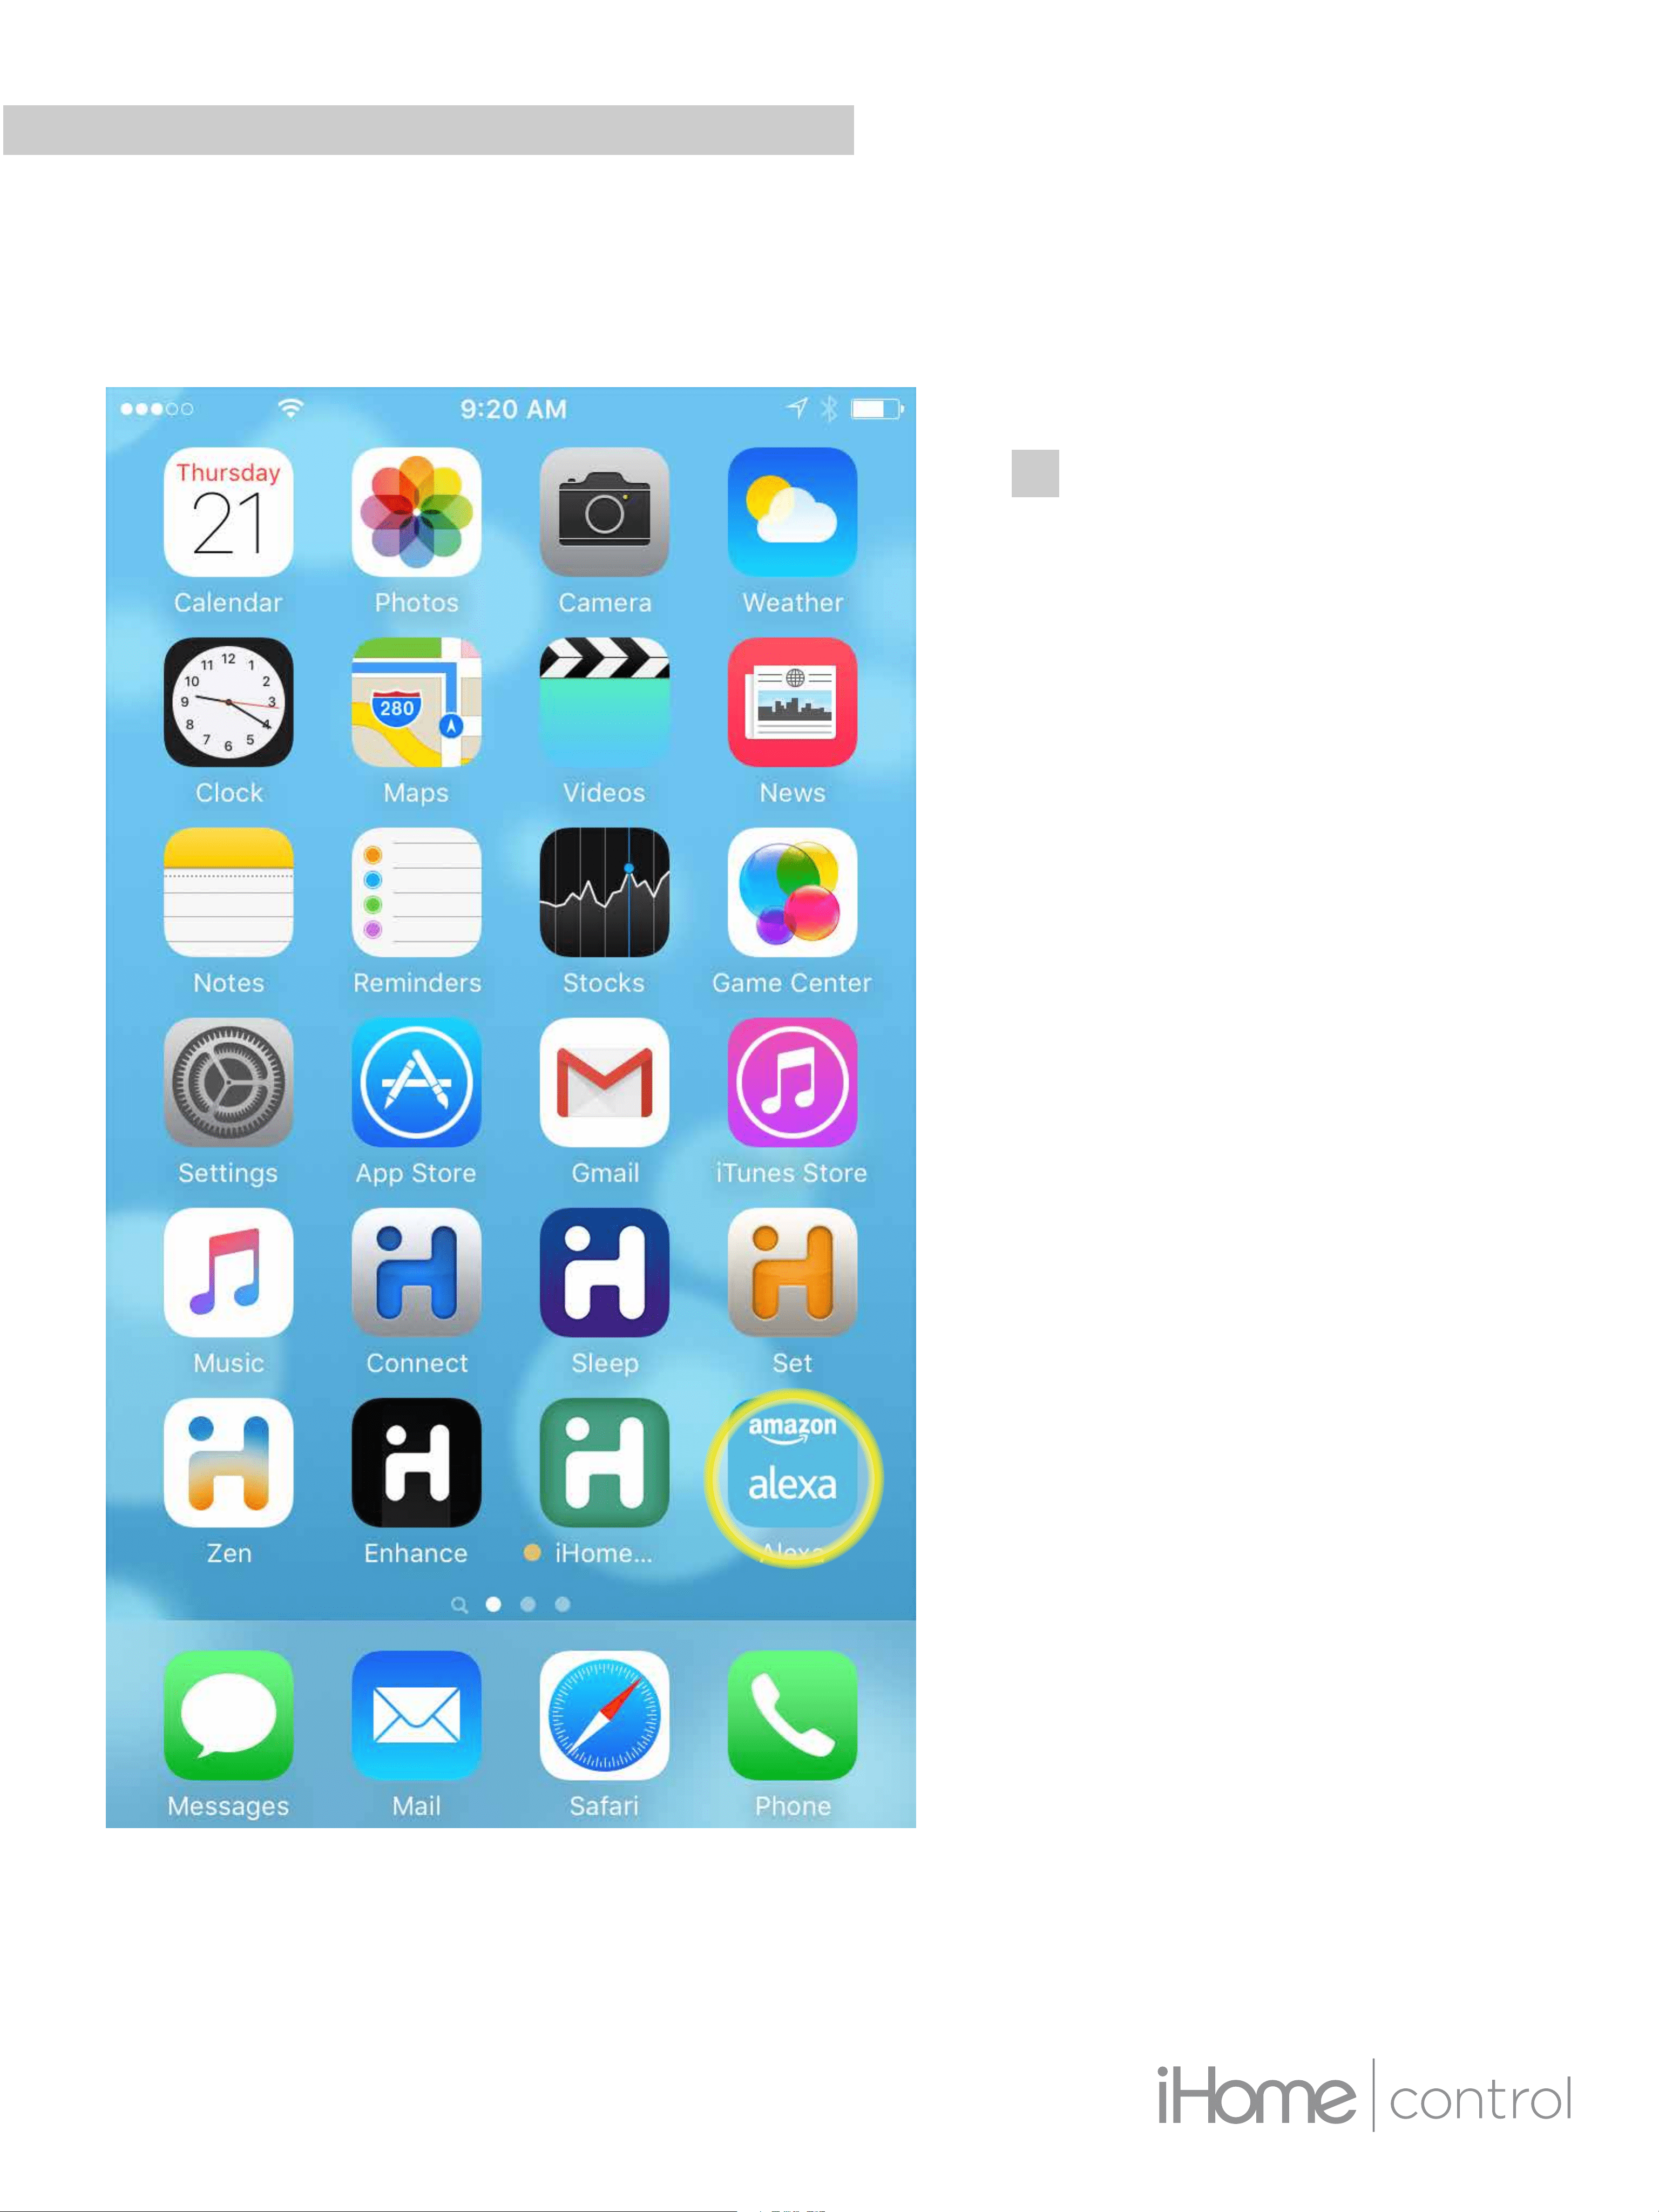
STEP 1
Open the “Amazon
Alexa” app
ALEXA INTEGRATION
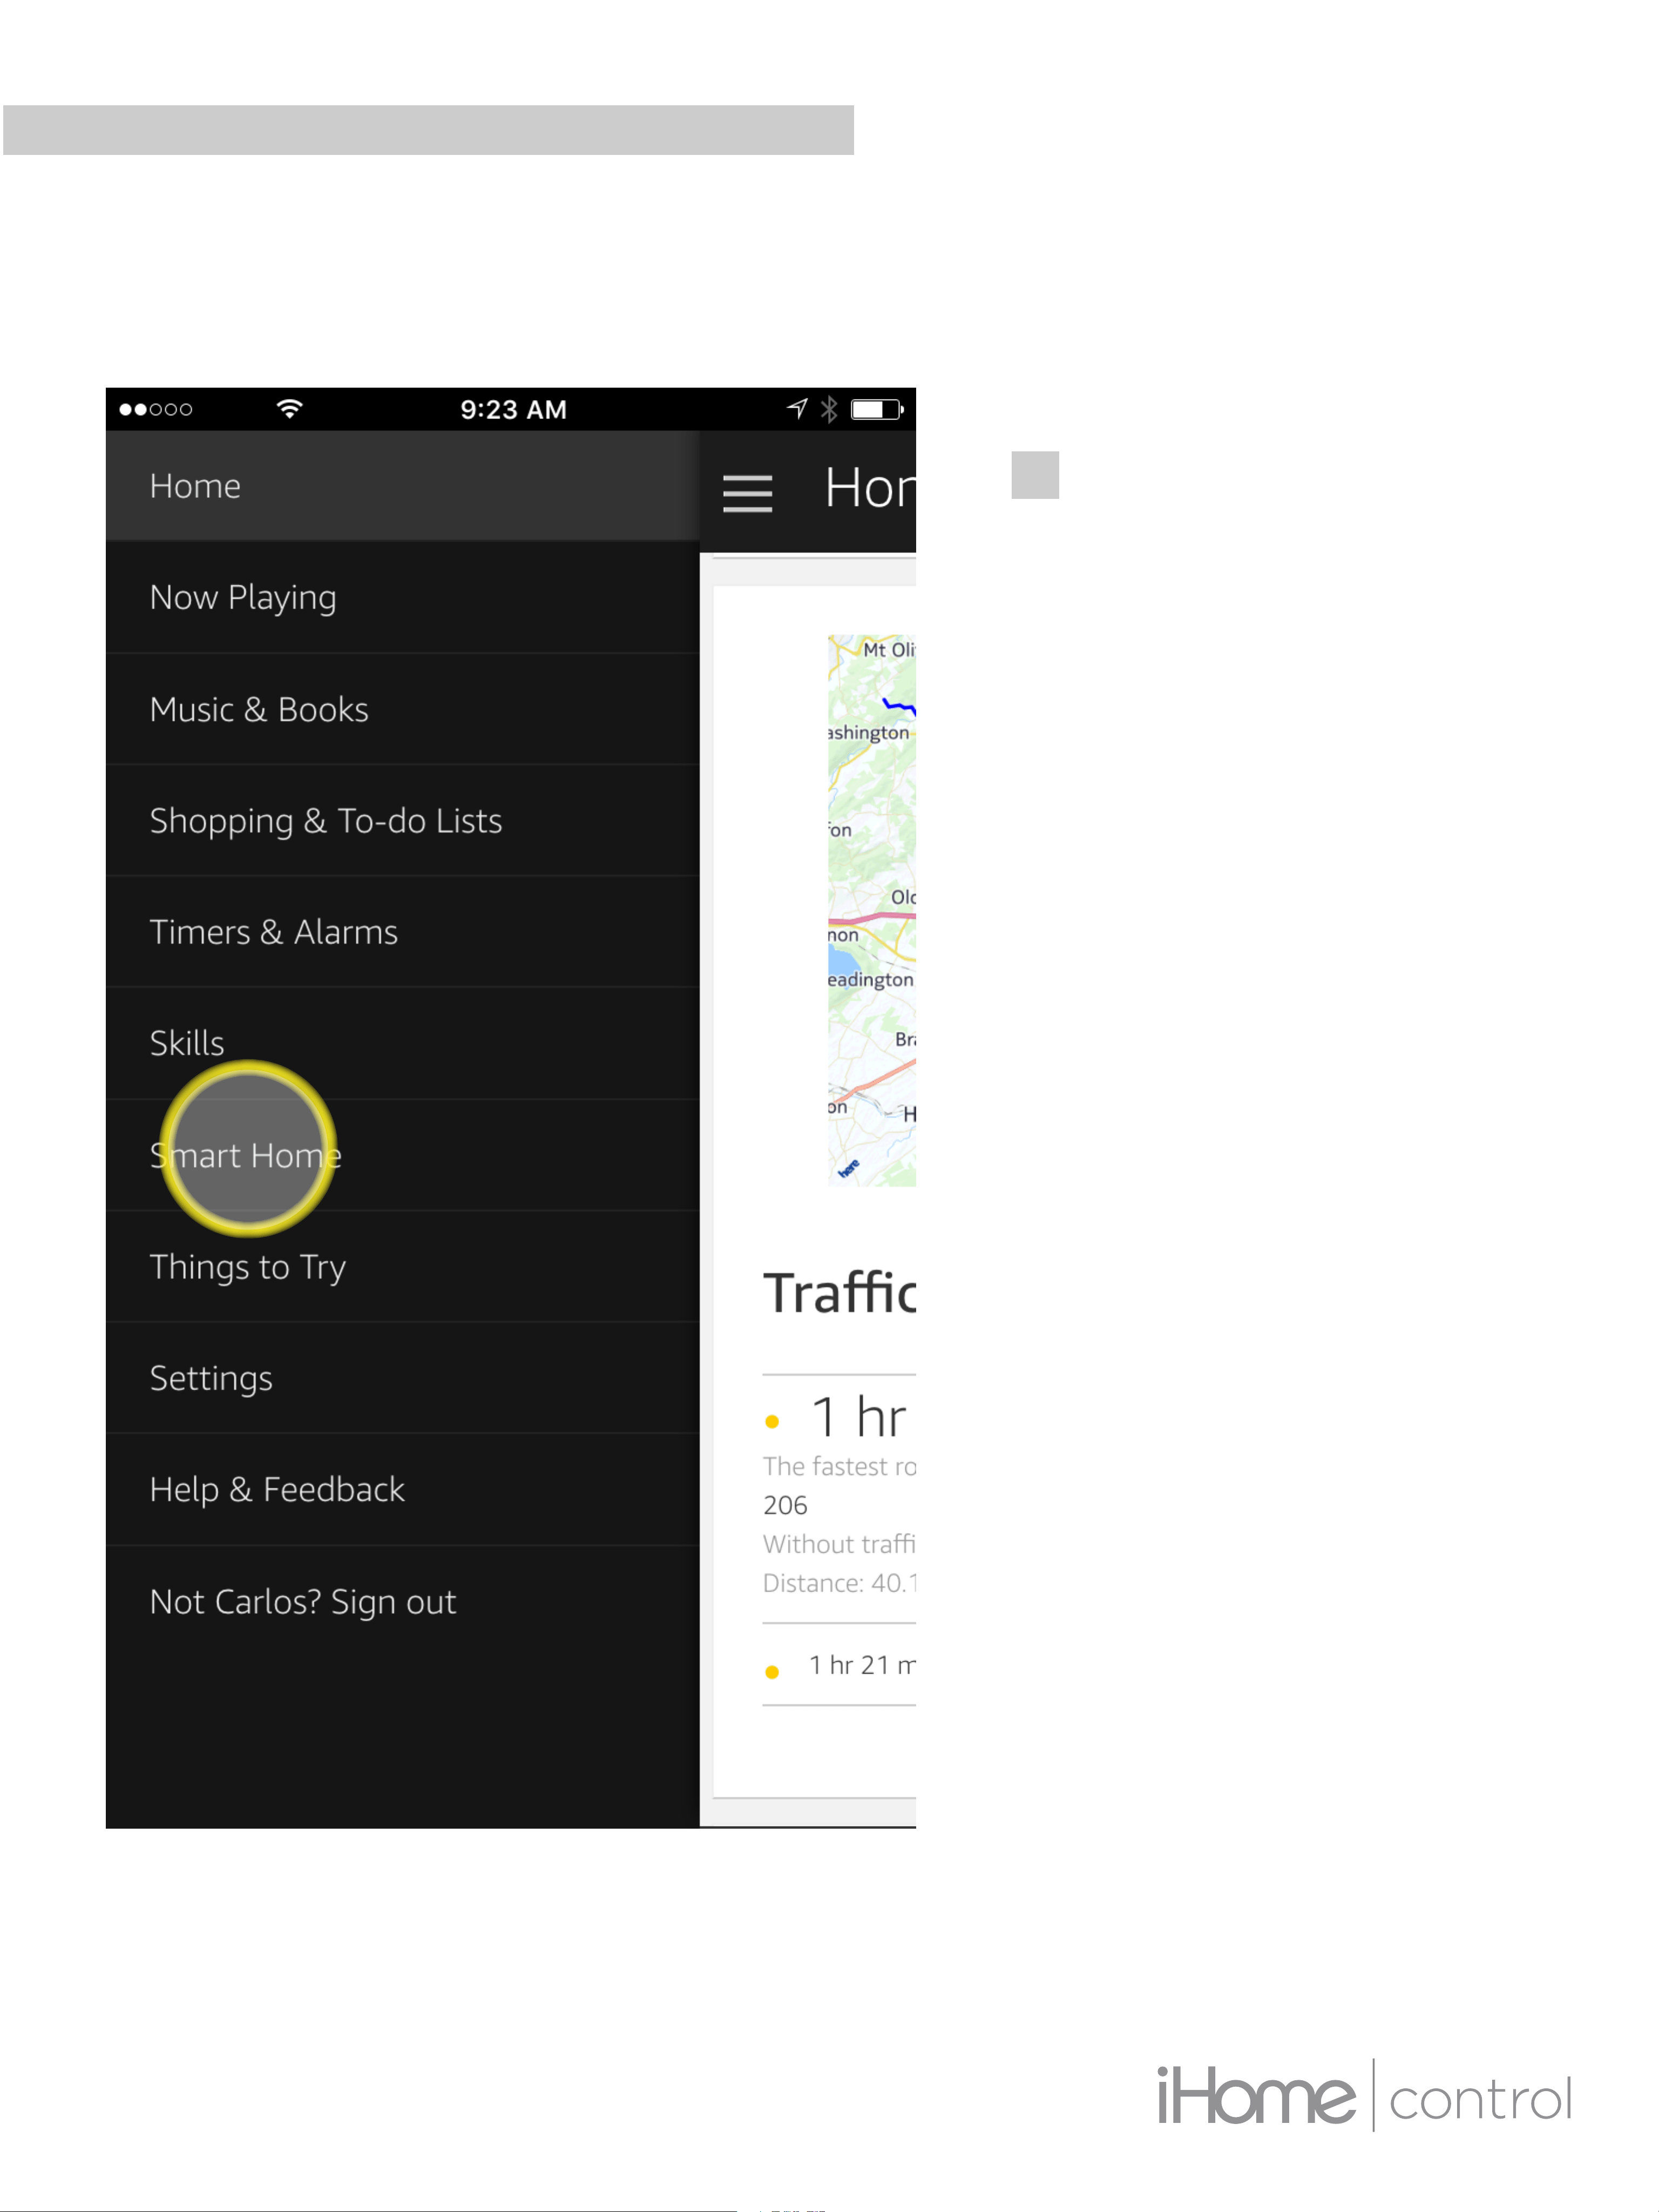
STEP 2
In the Alexa app go
to settings, select
“Smart Home”
ALEXA INTEGRATION
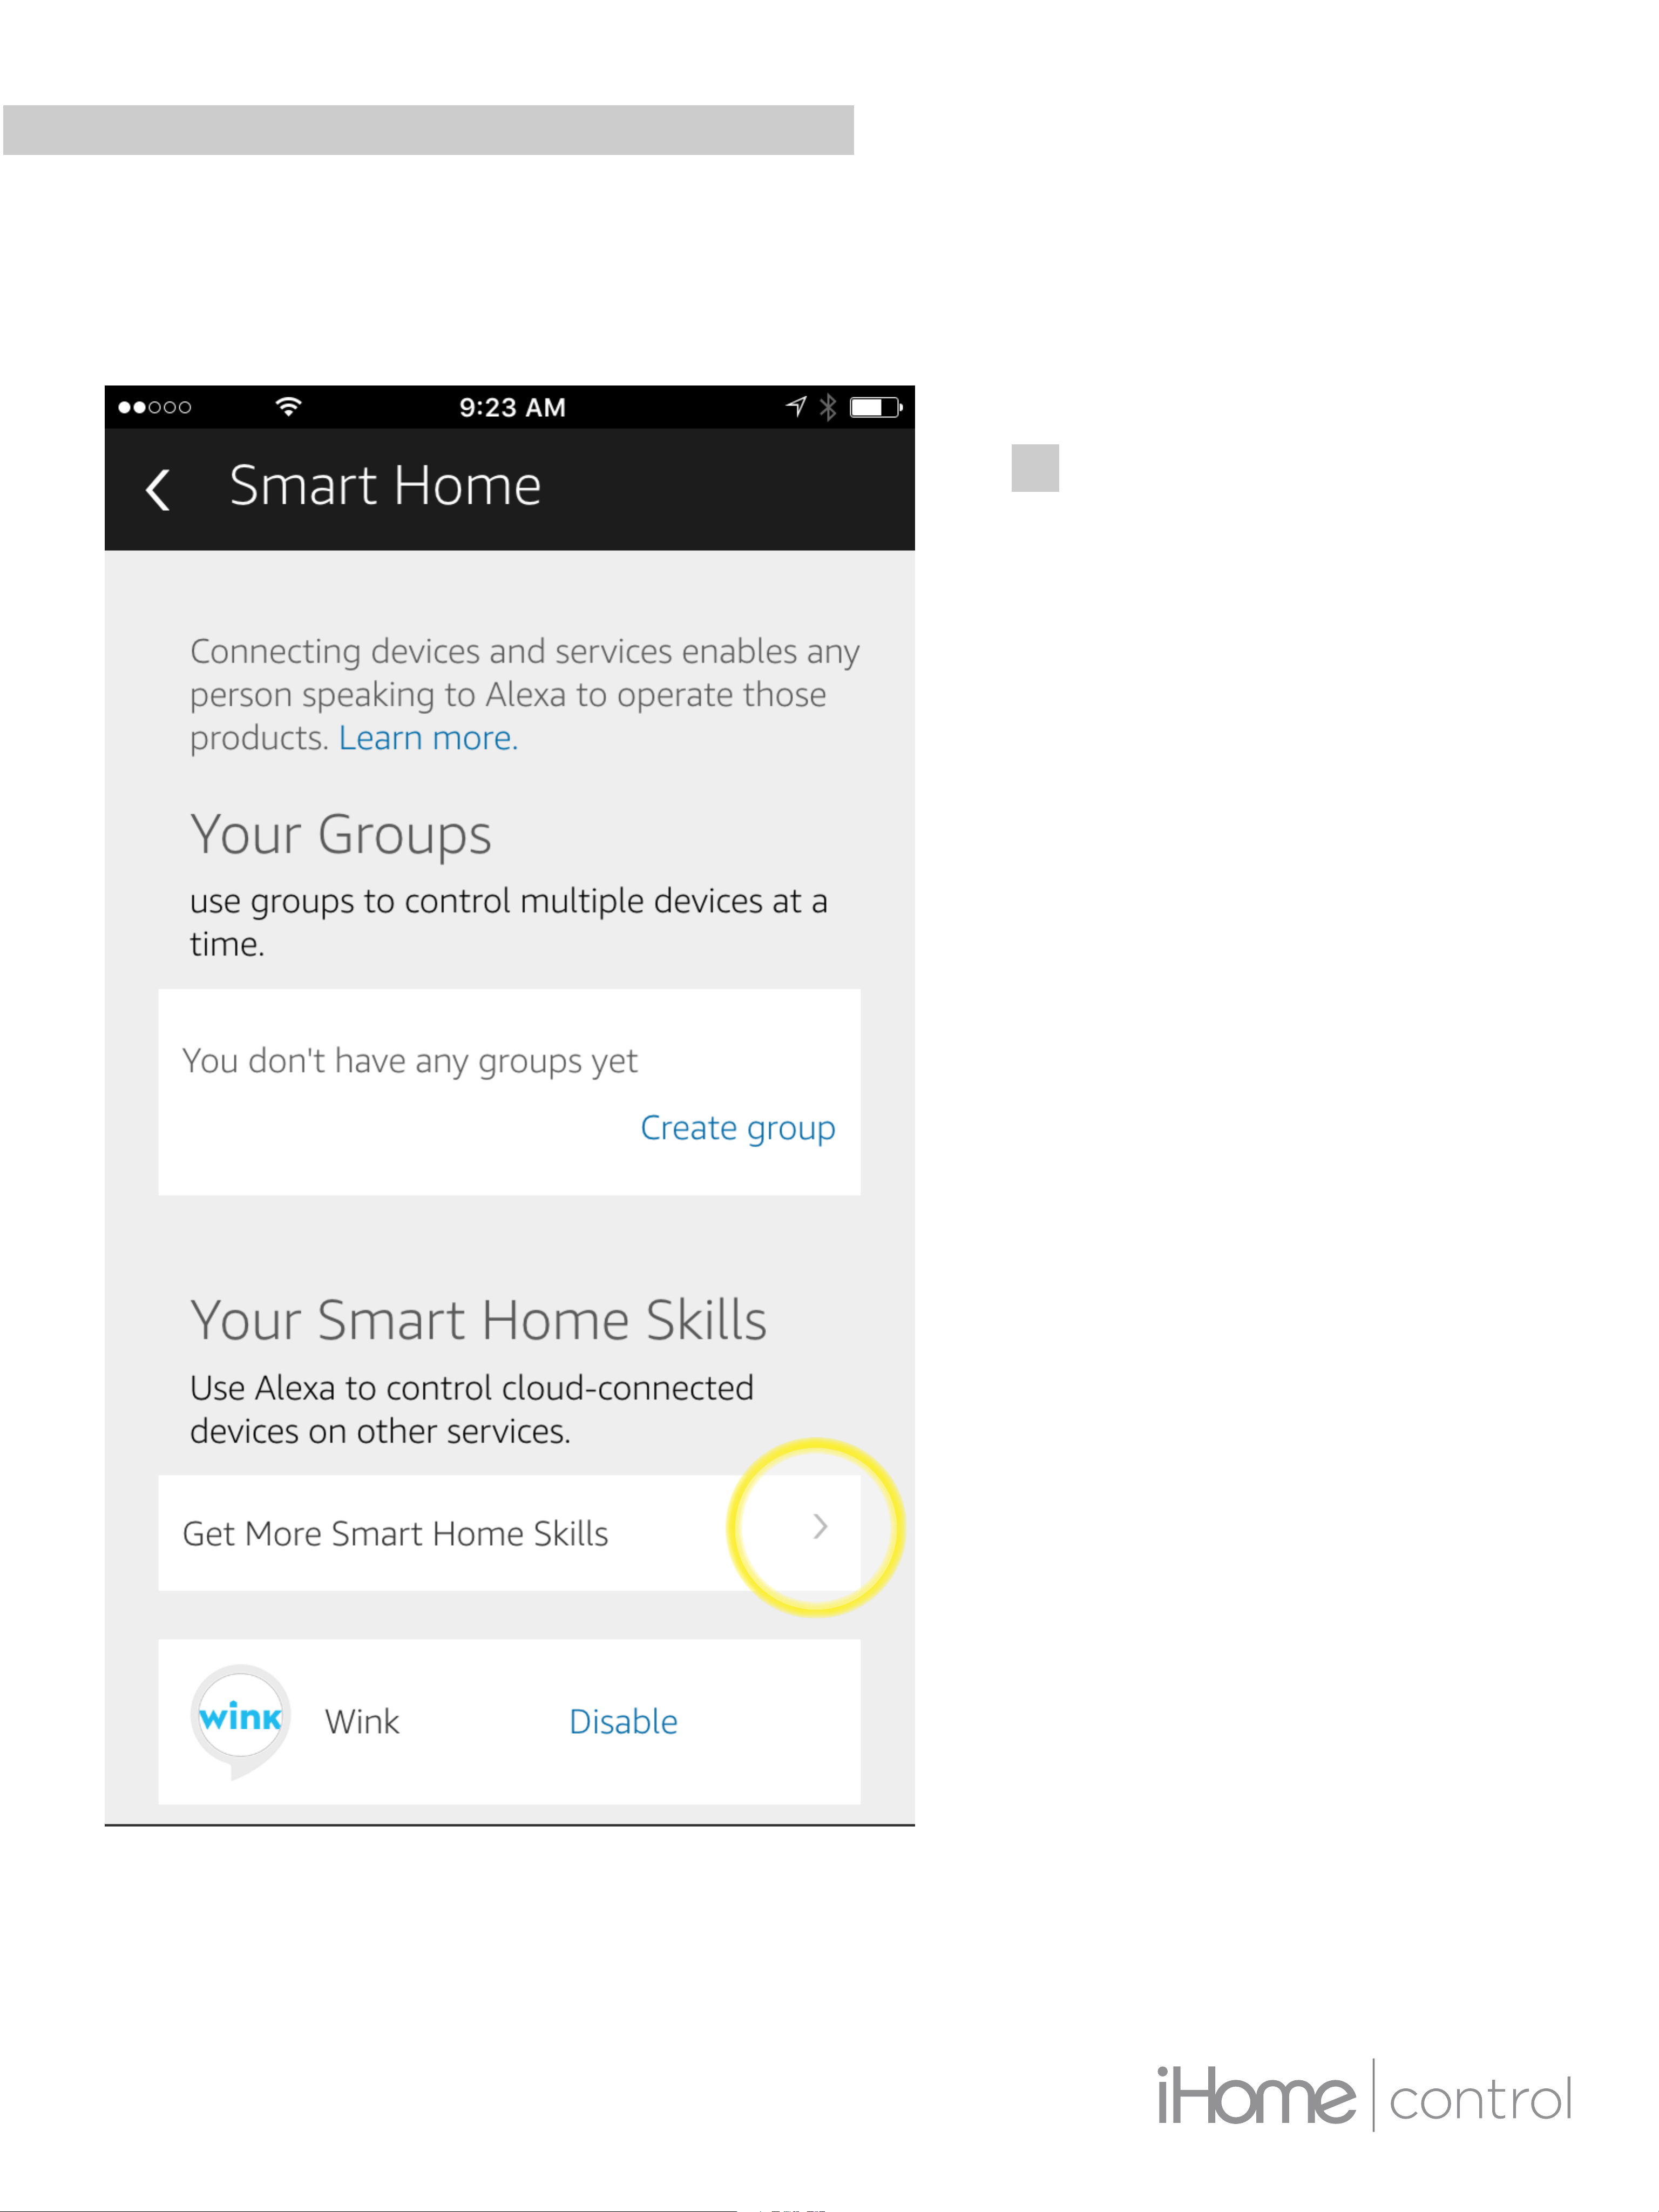
STEP 3
Select “Get More
Smart Home Skills”
ALEXA INTEGRATION
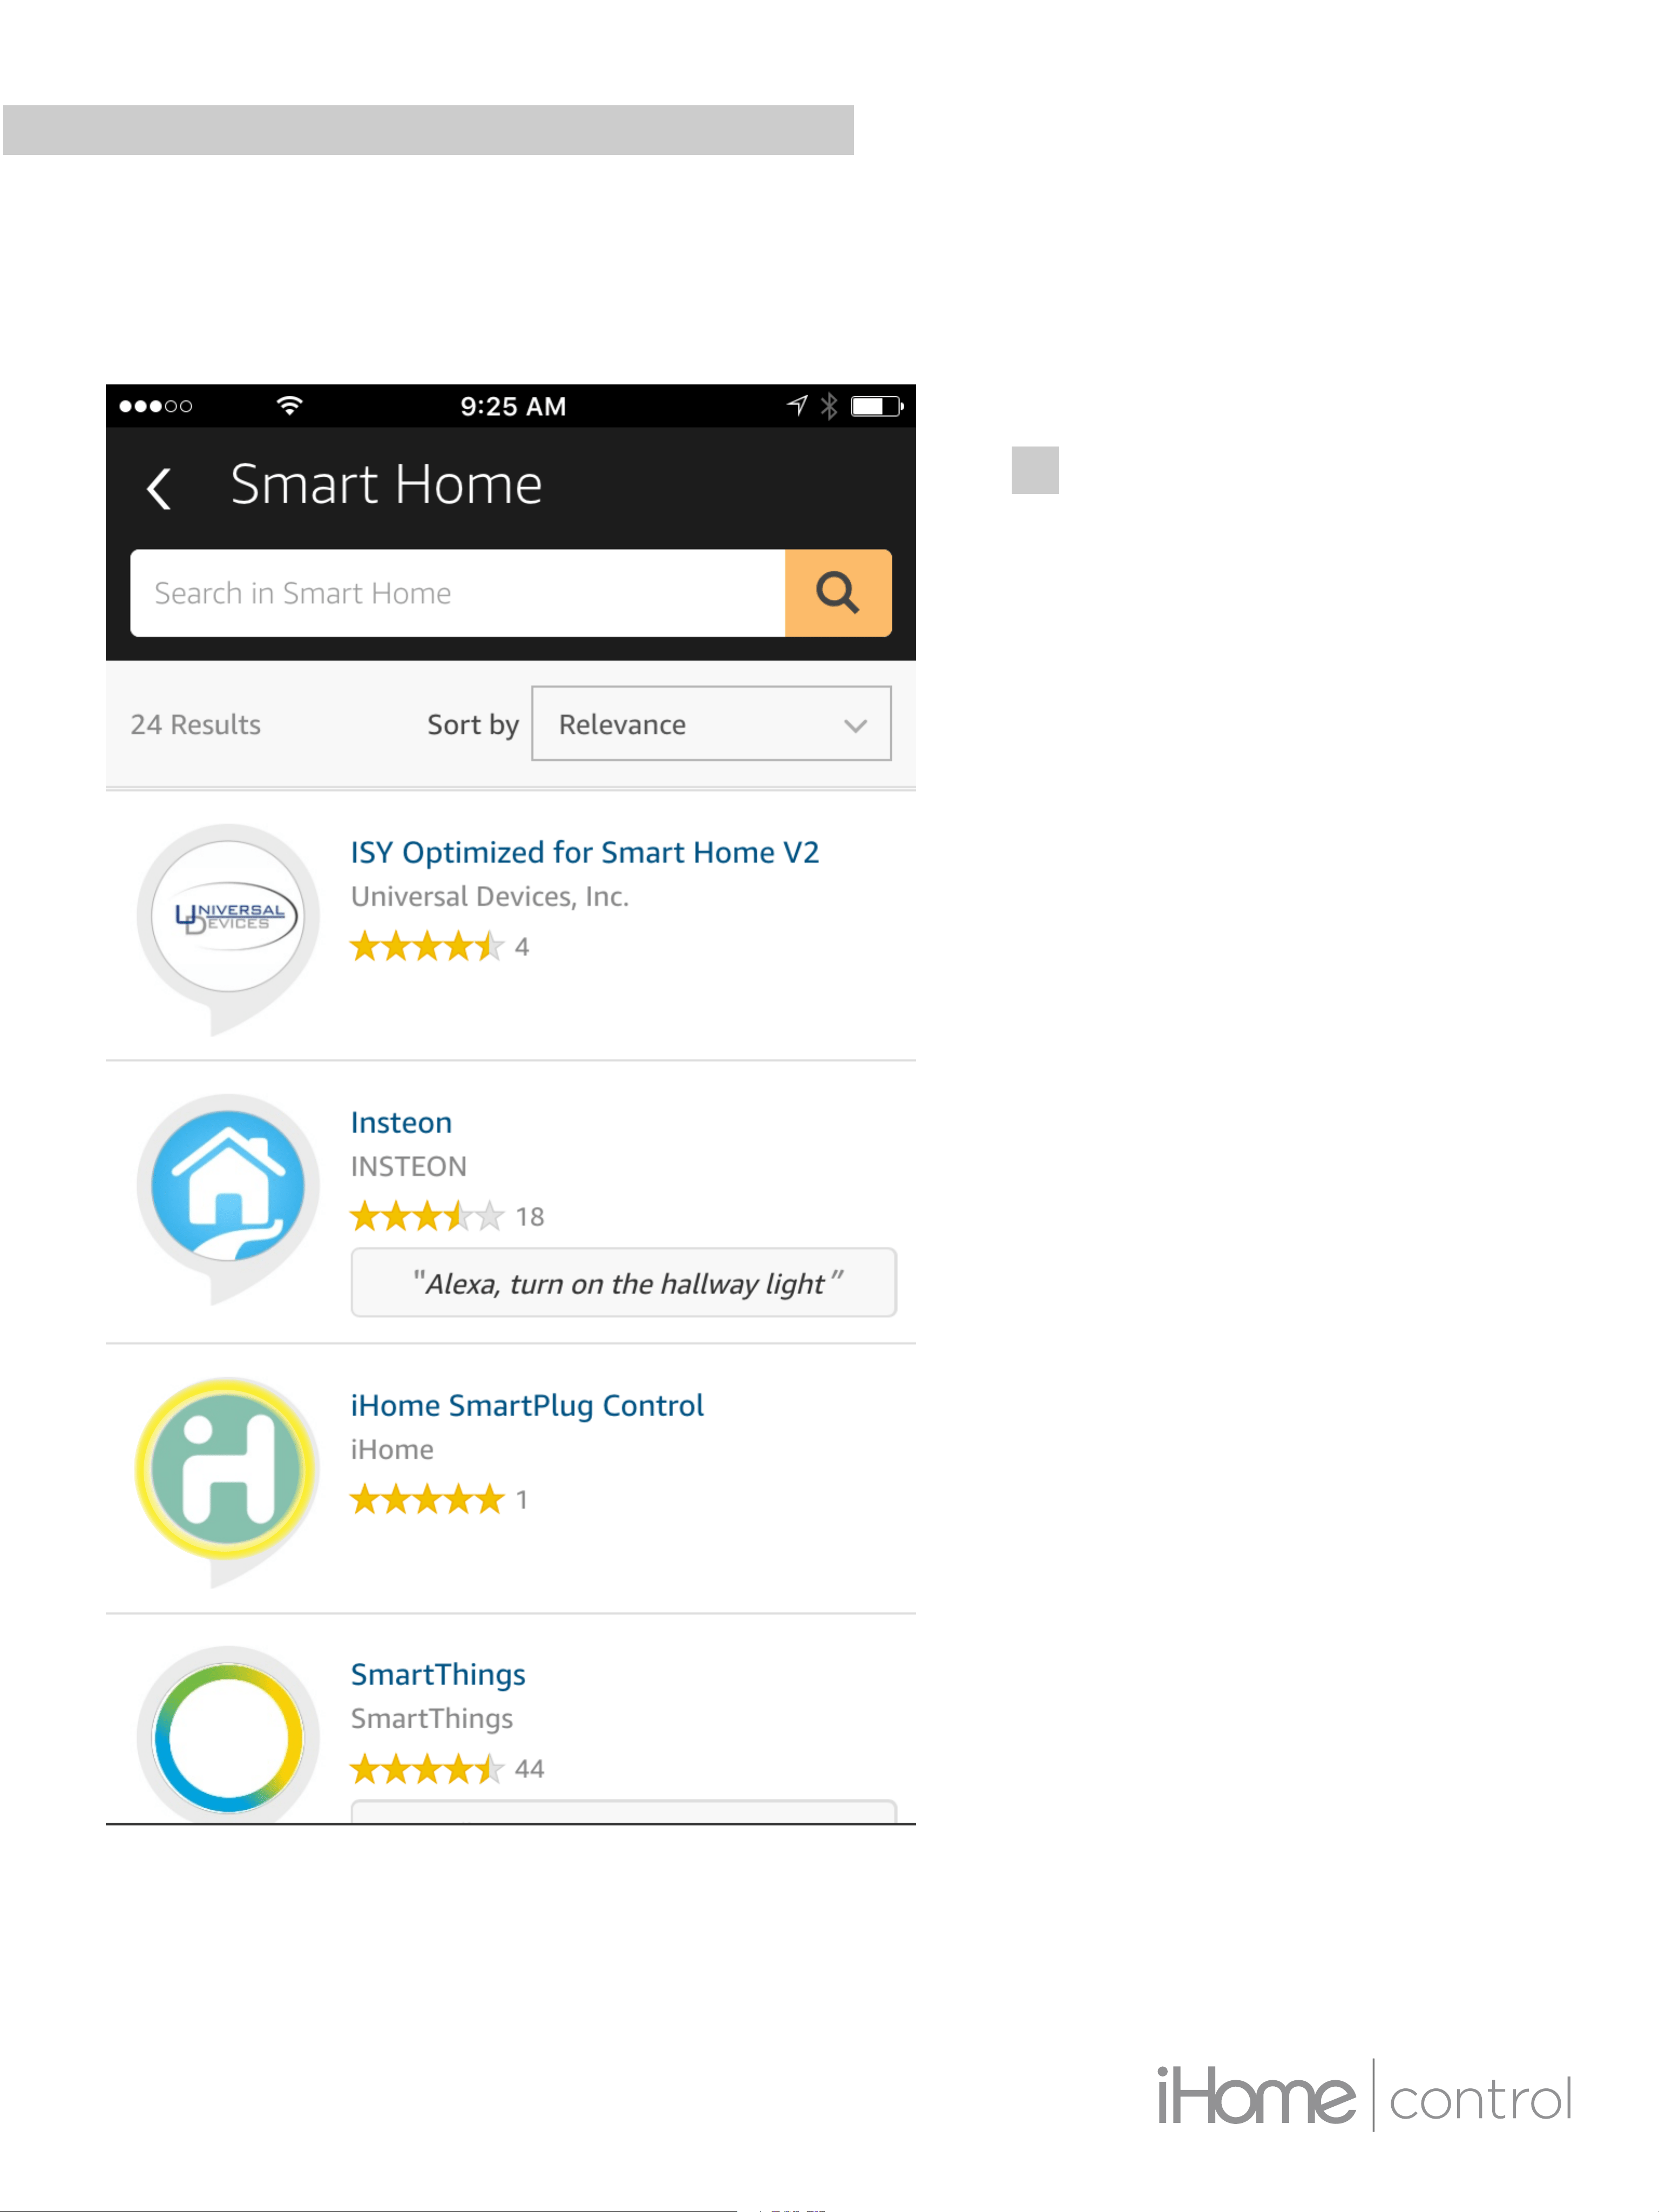
STEP 4
Search for “iHome”
and select “iHome
SmartPlug Control”
from the search
results
ALEXA INTEGRATION
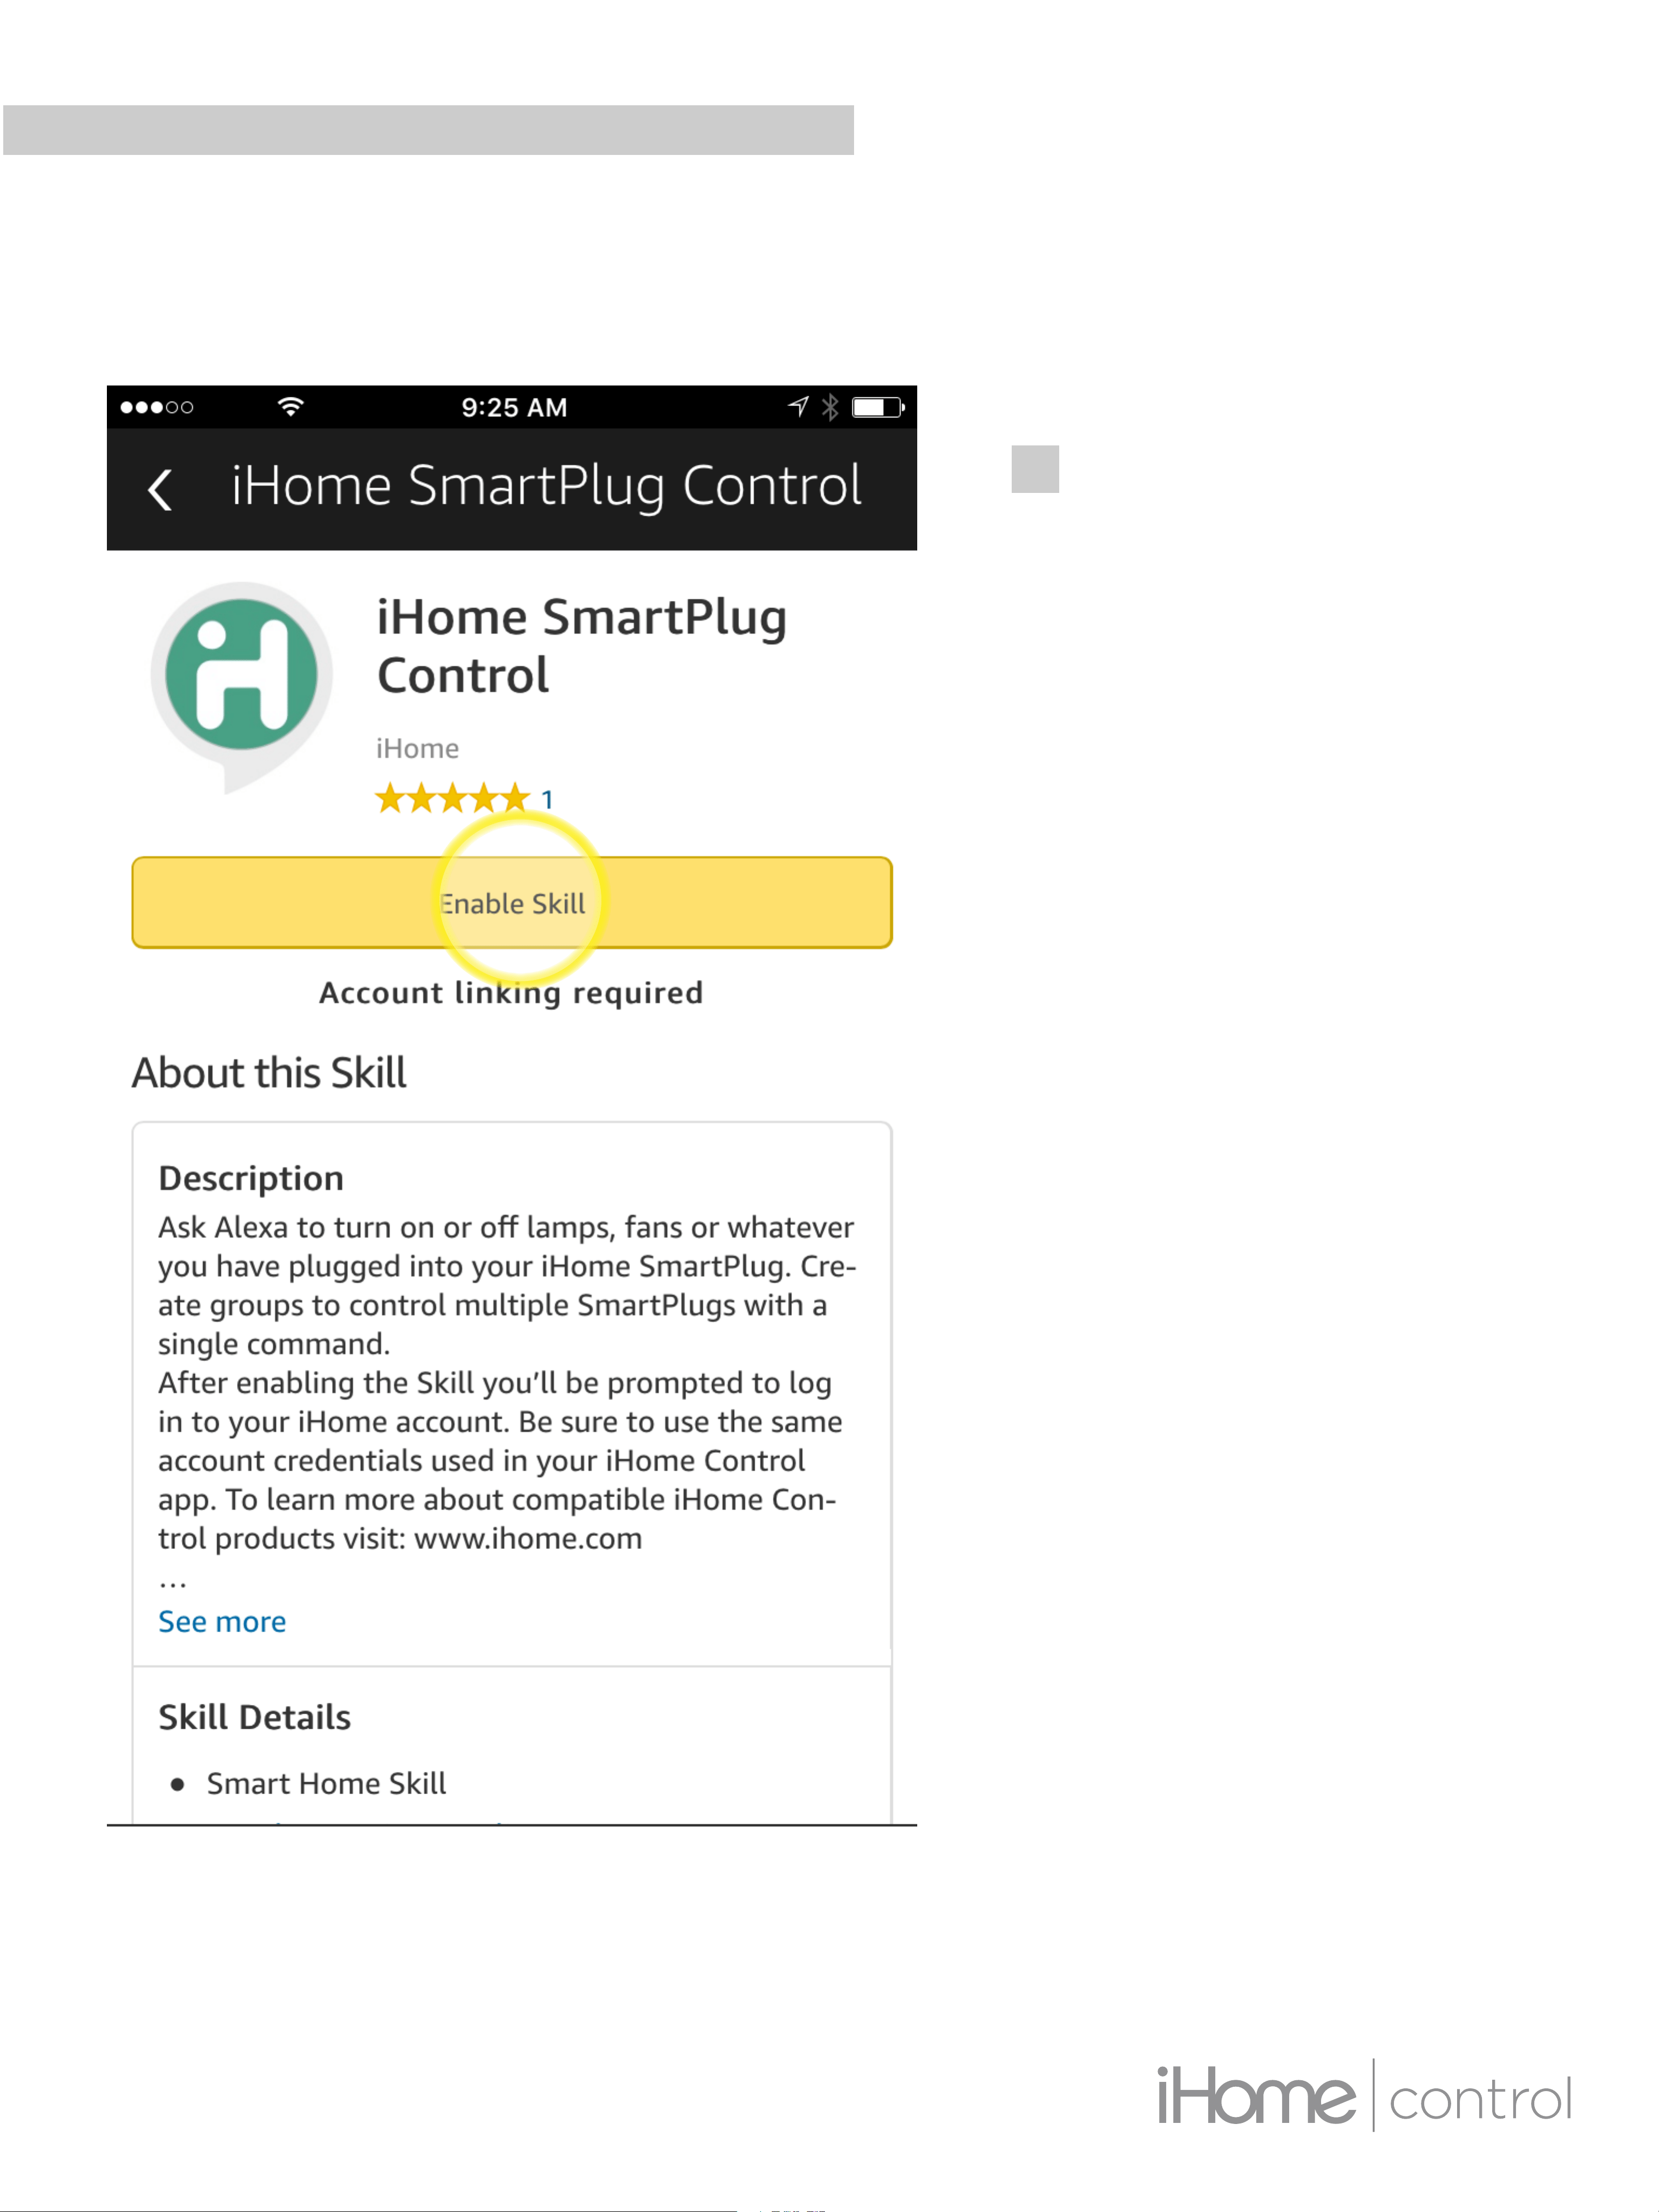
STEP 5
Select “Enable
Skill”
ALEXA INTEGRATION
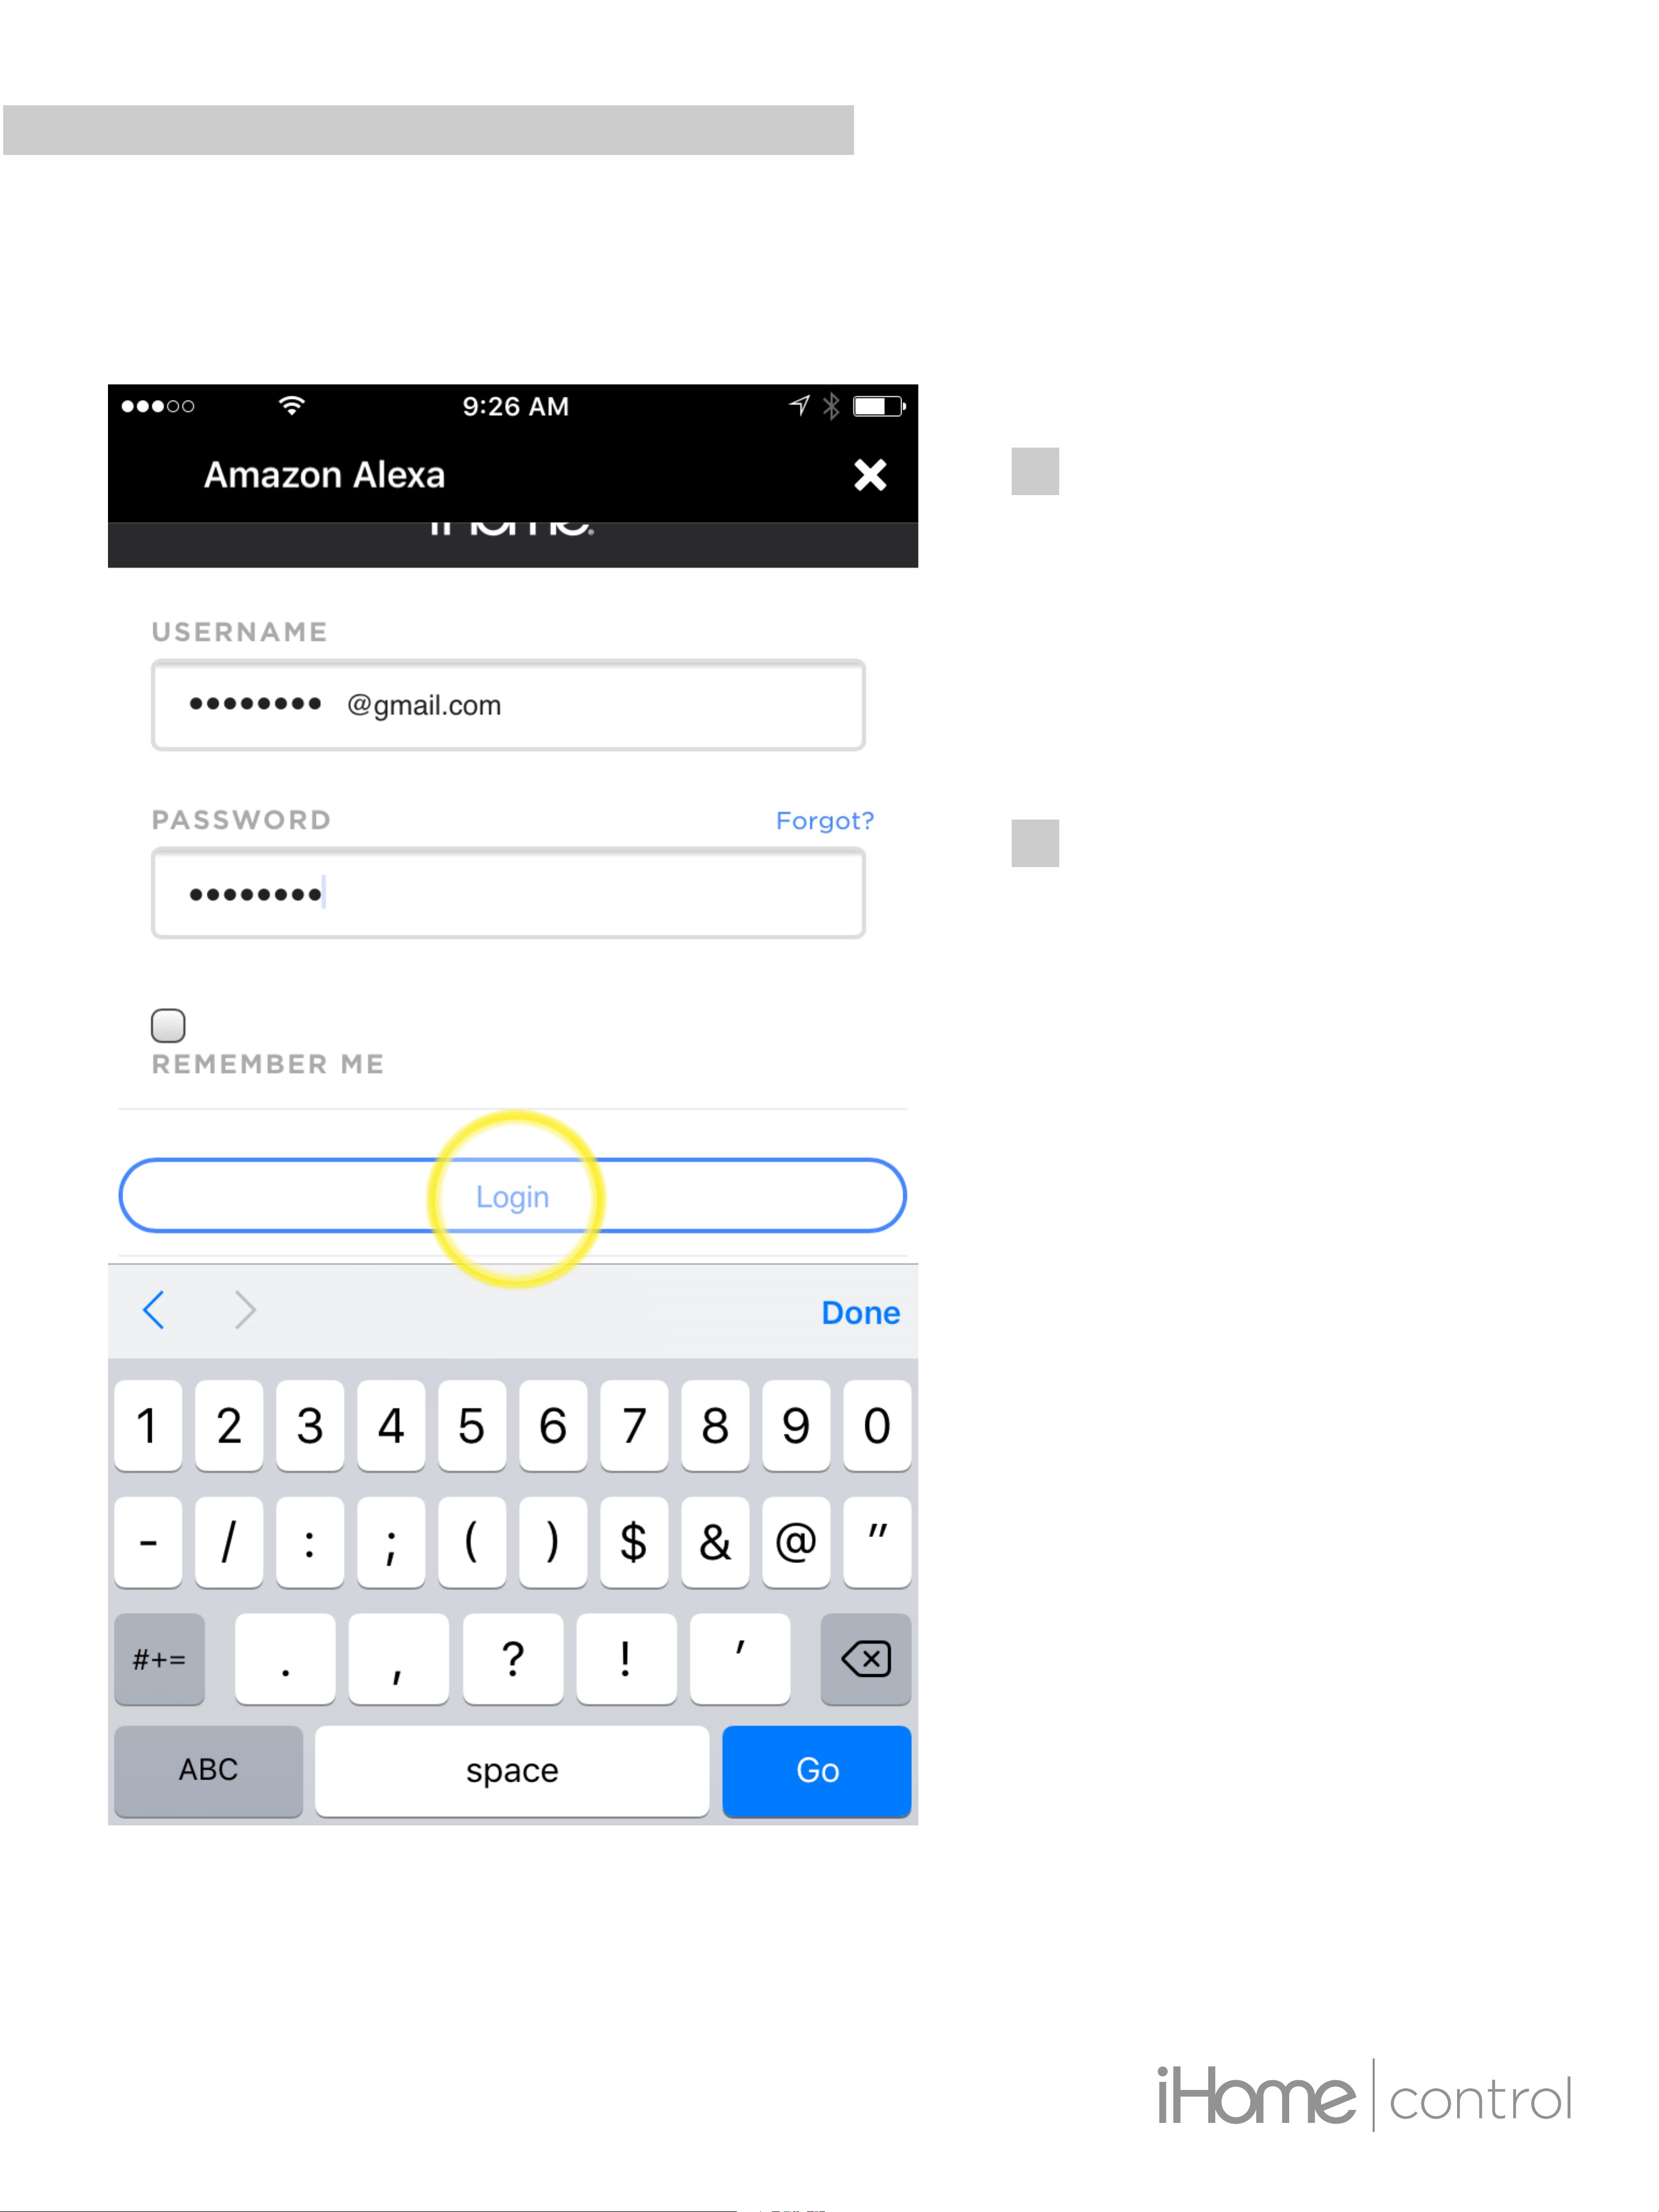
STEP 6
Enter your iHome
login credentials
(same account
used in iHome
Control app)
Select “Login”
ALEXA INTEGRATION
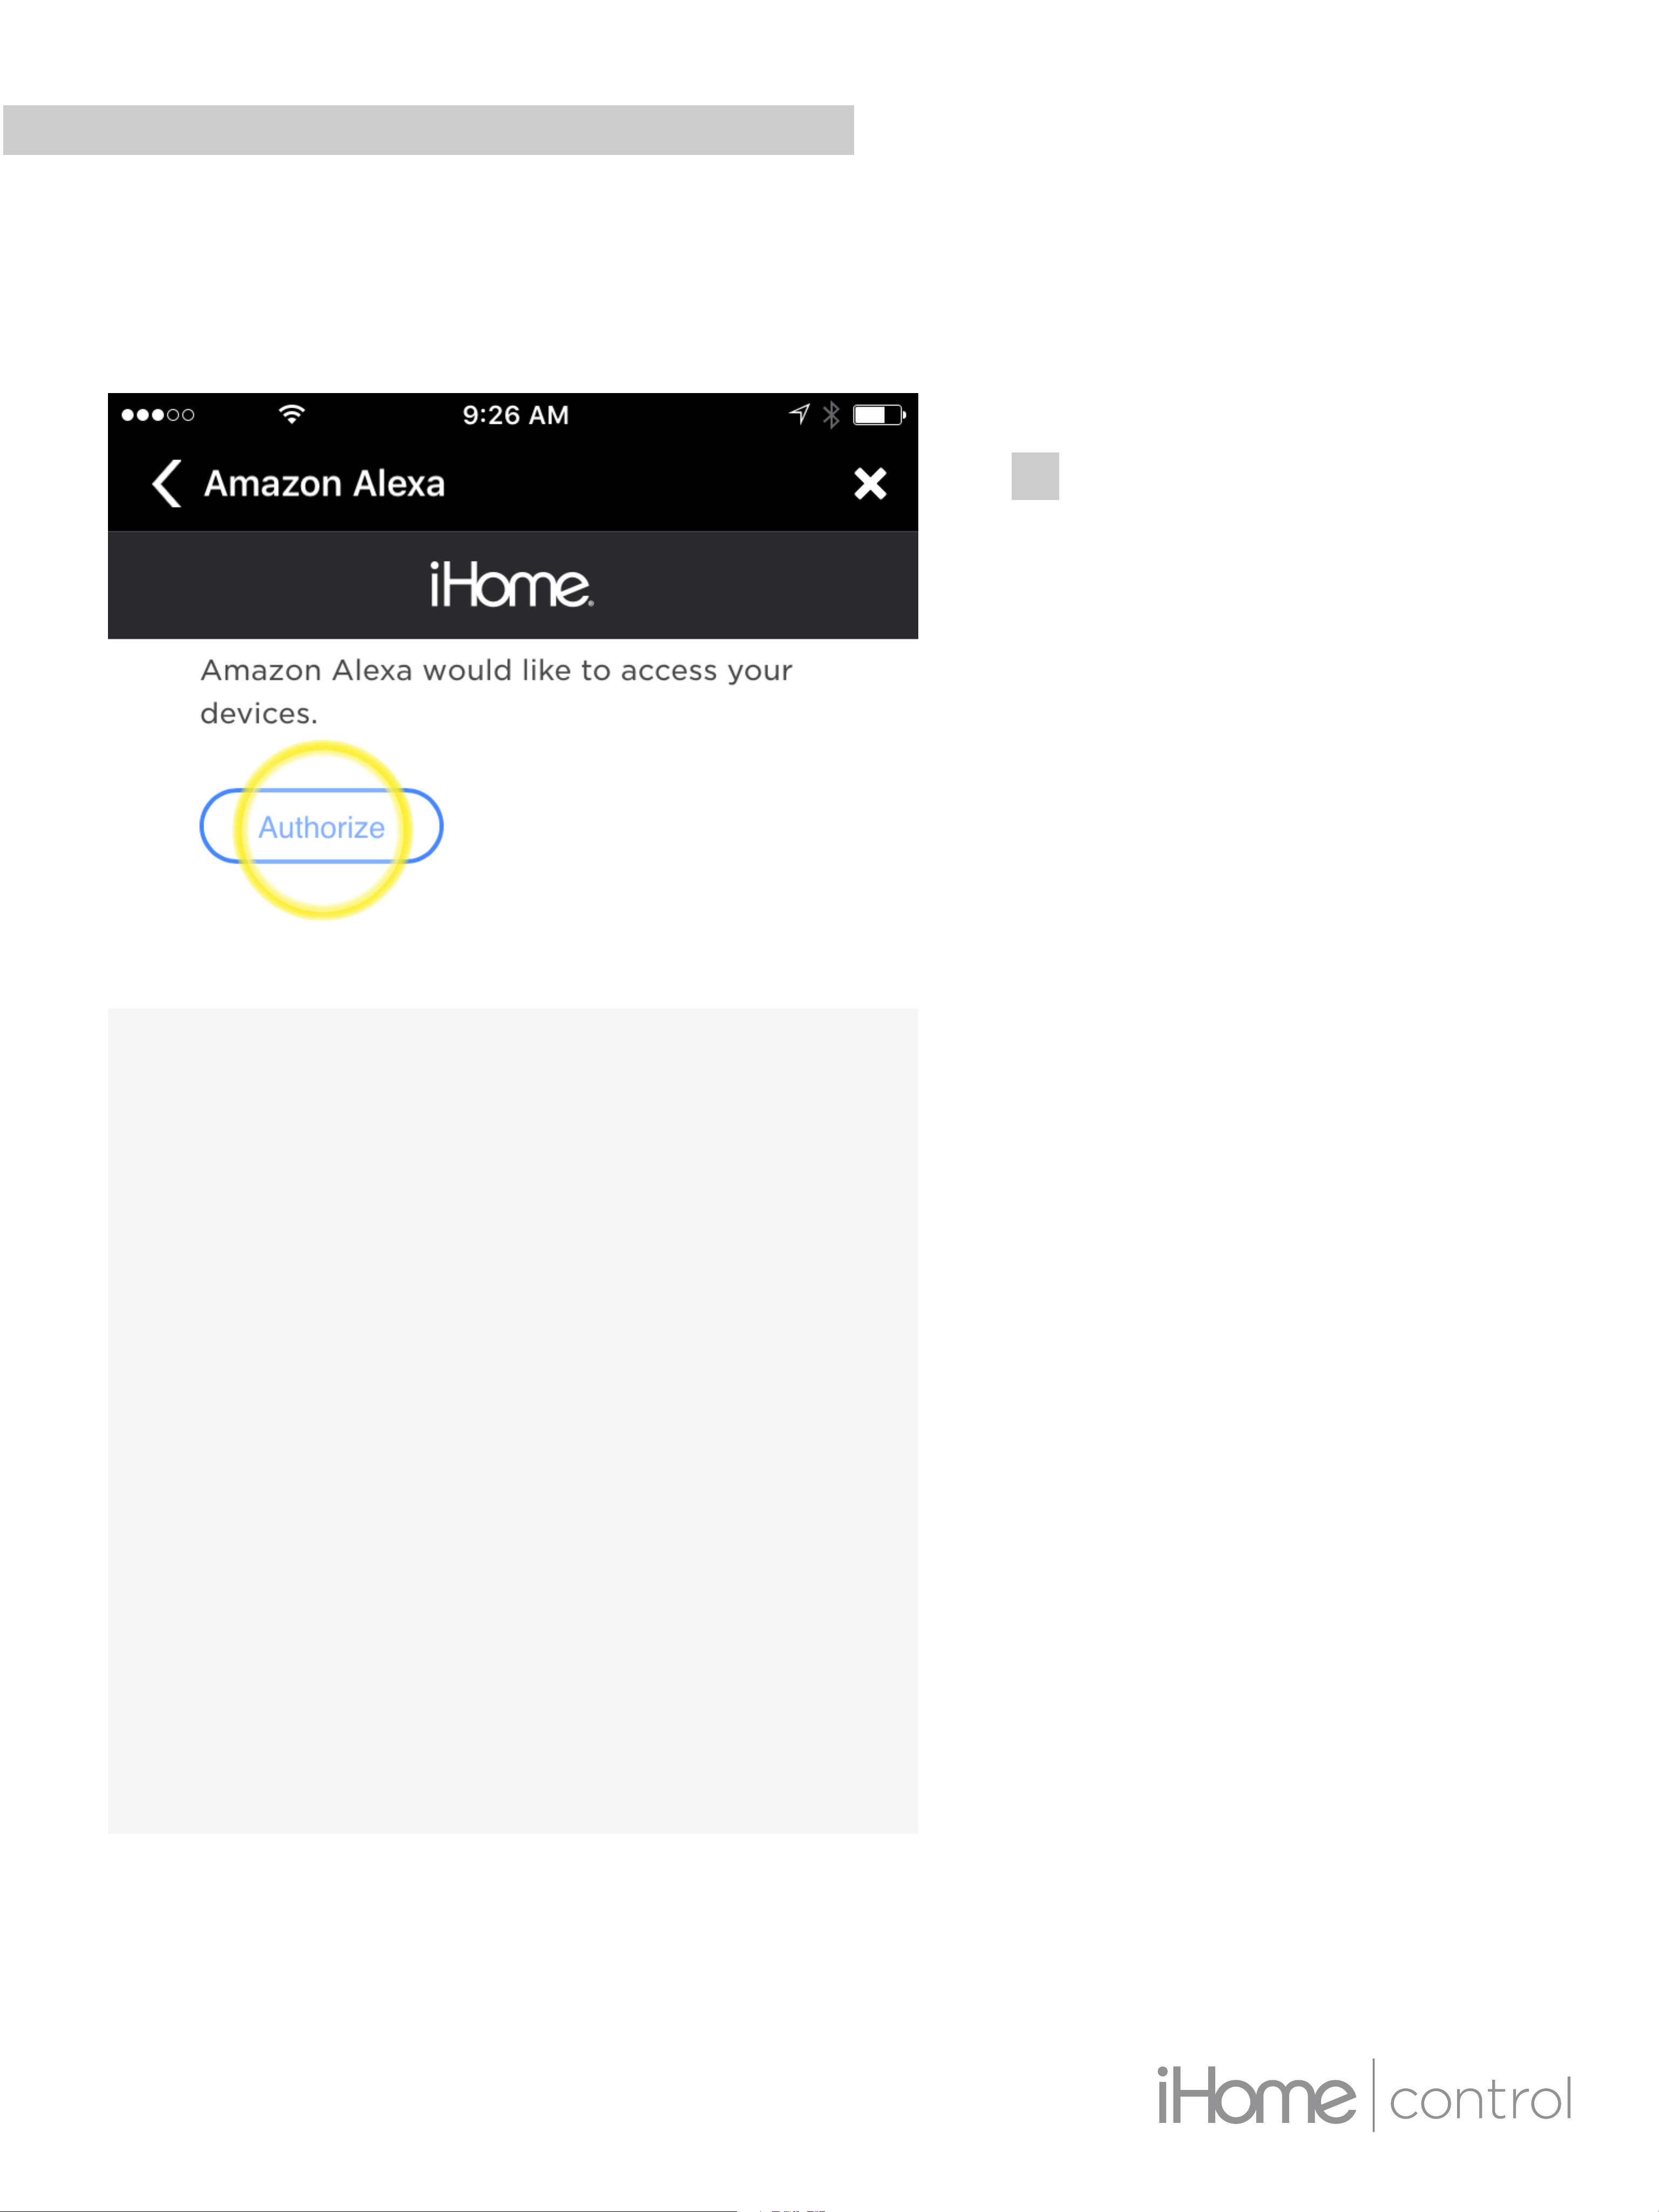
STEP 7
Select “Authorize”
ALEXA INTEGRATION
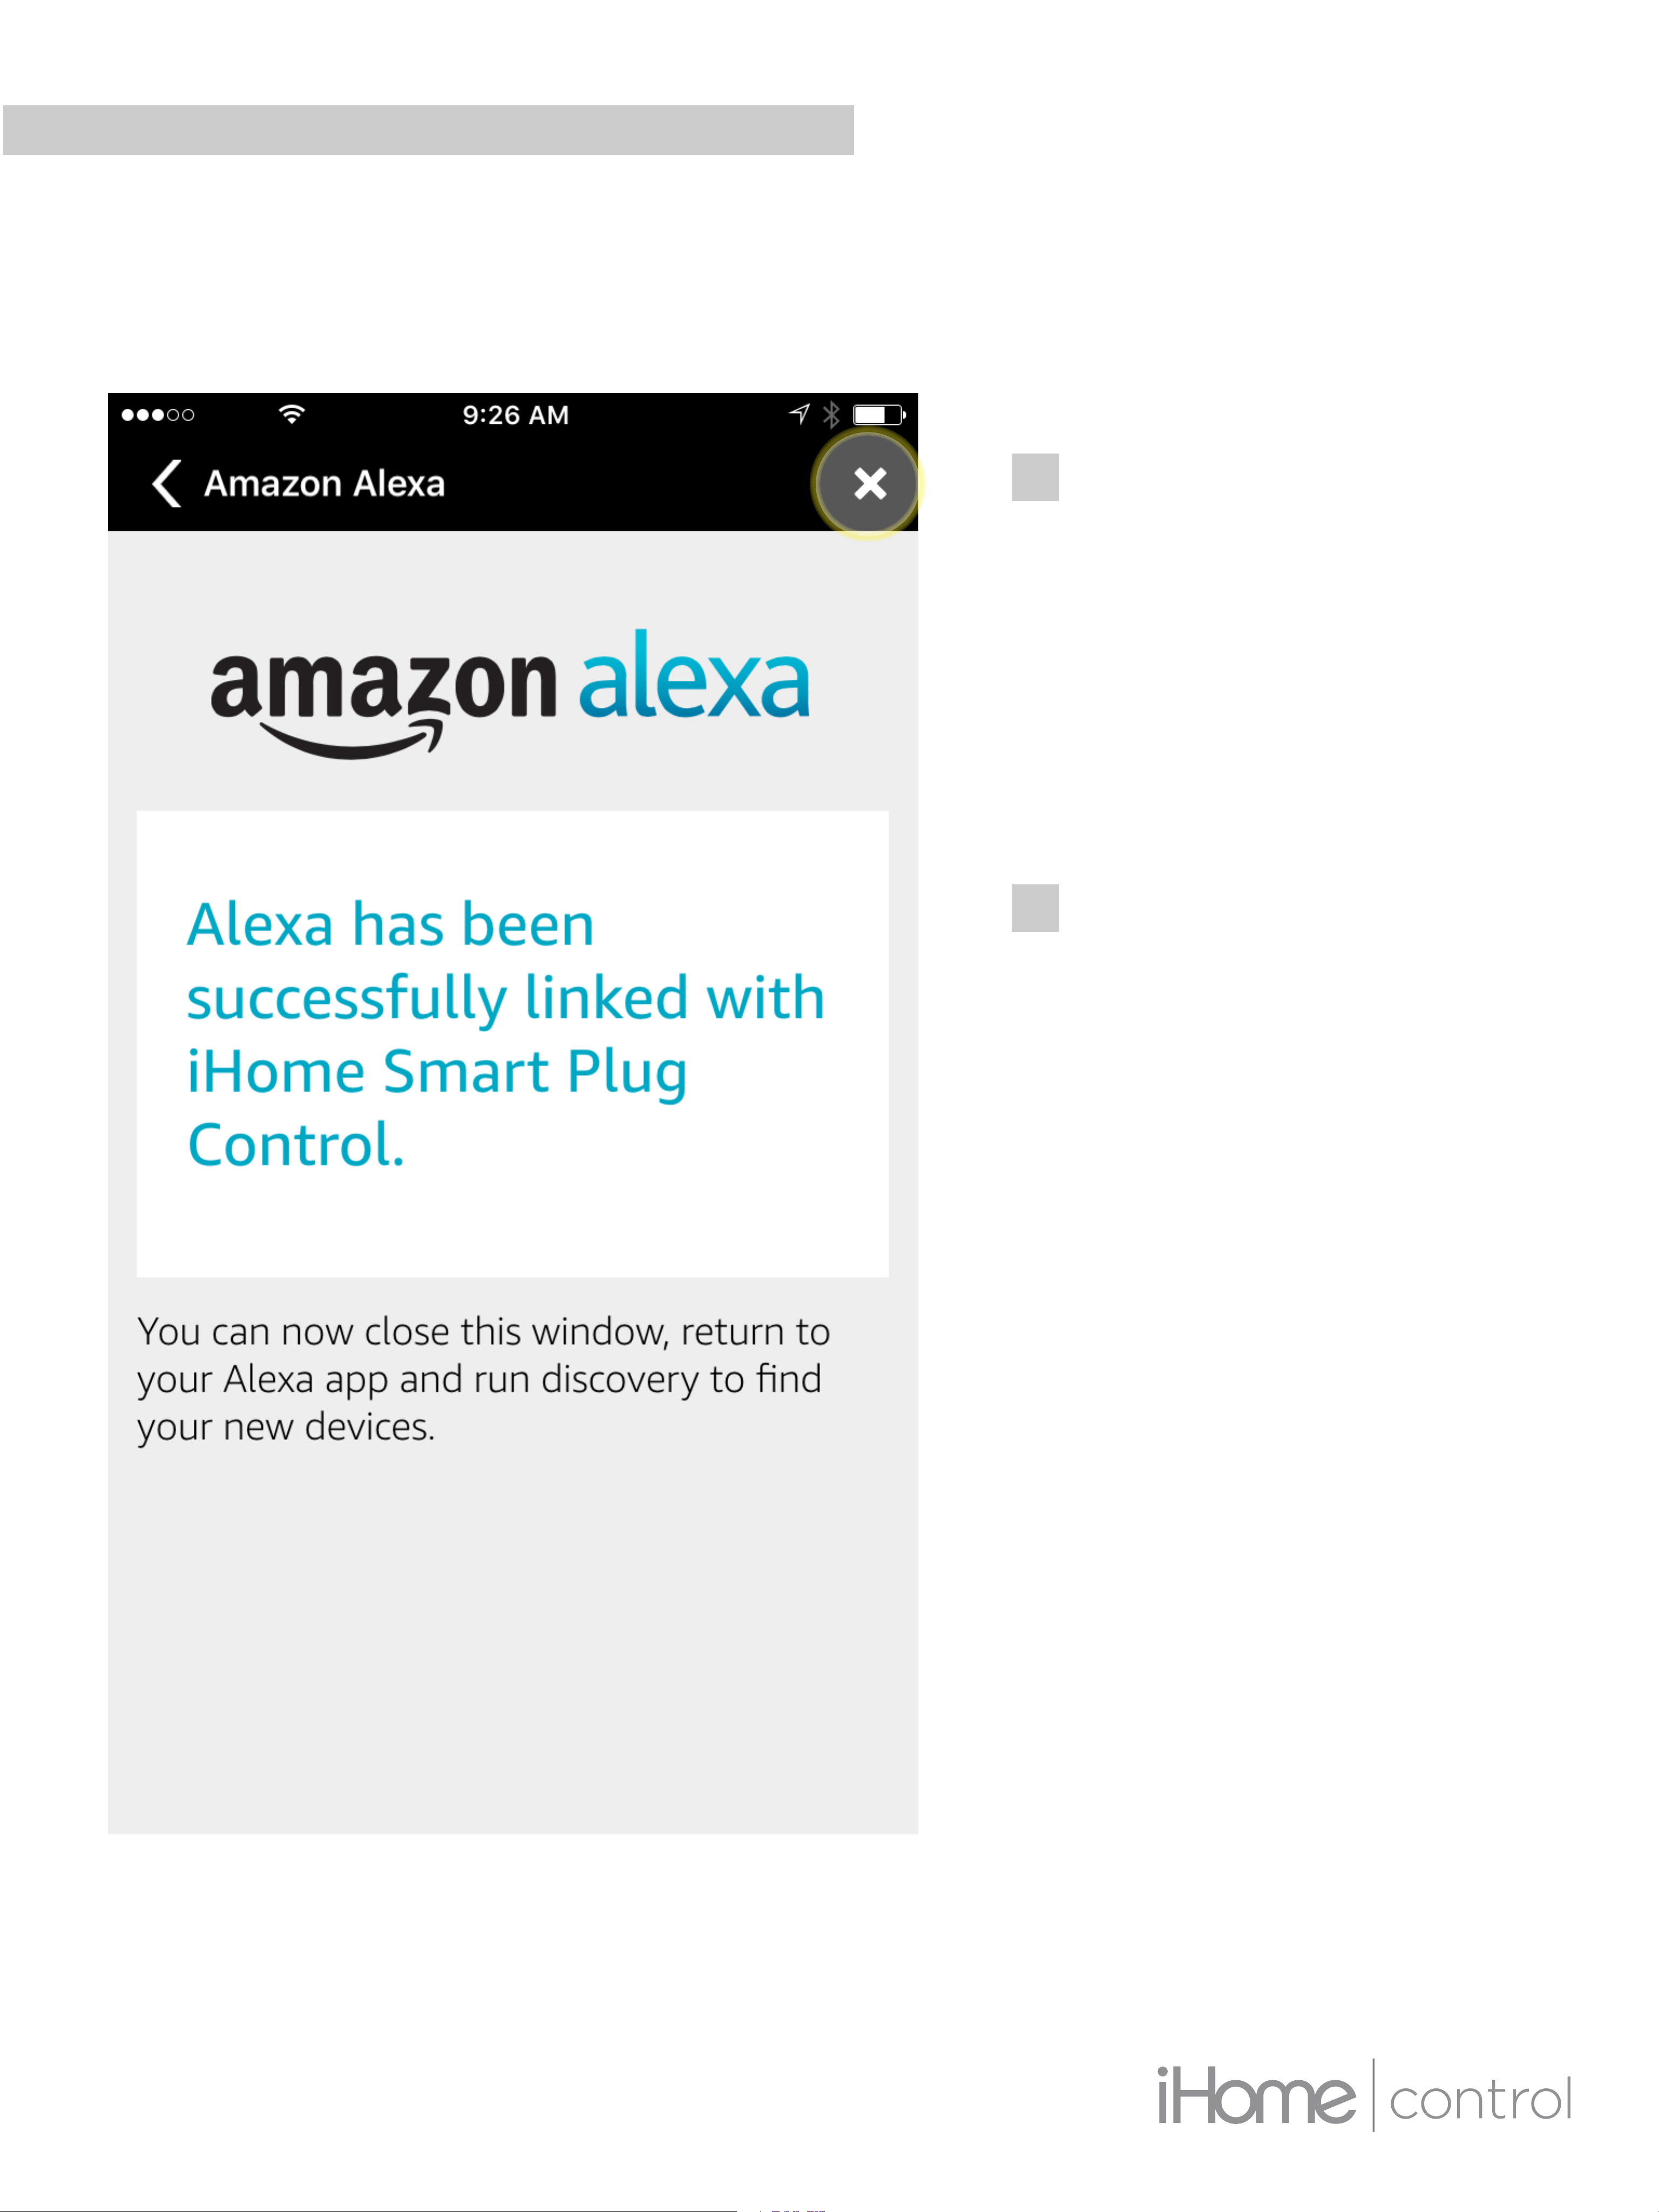
STEP 8
You will see the
message “Alexa
has been
successfully linked
with iHome Smart
Plug Control”
Tap “X” to close
this window.
ALEXA INTEGRATION
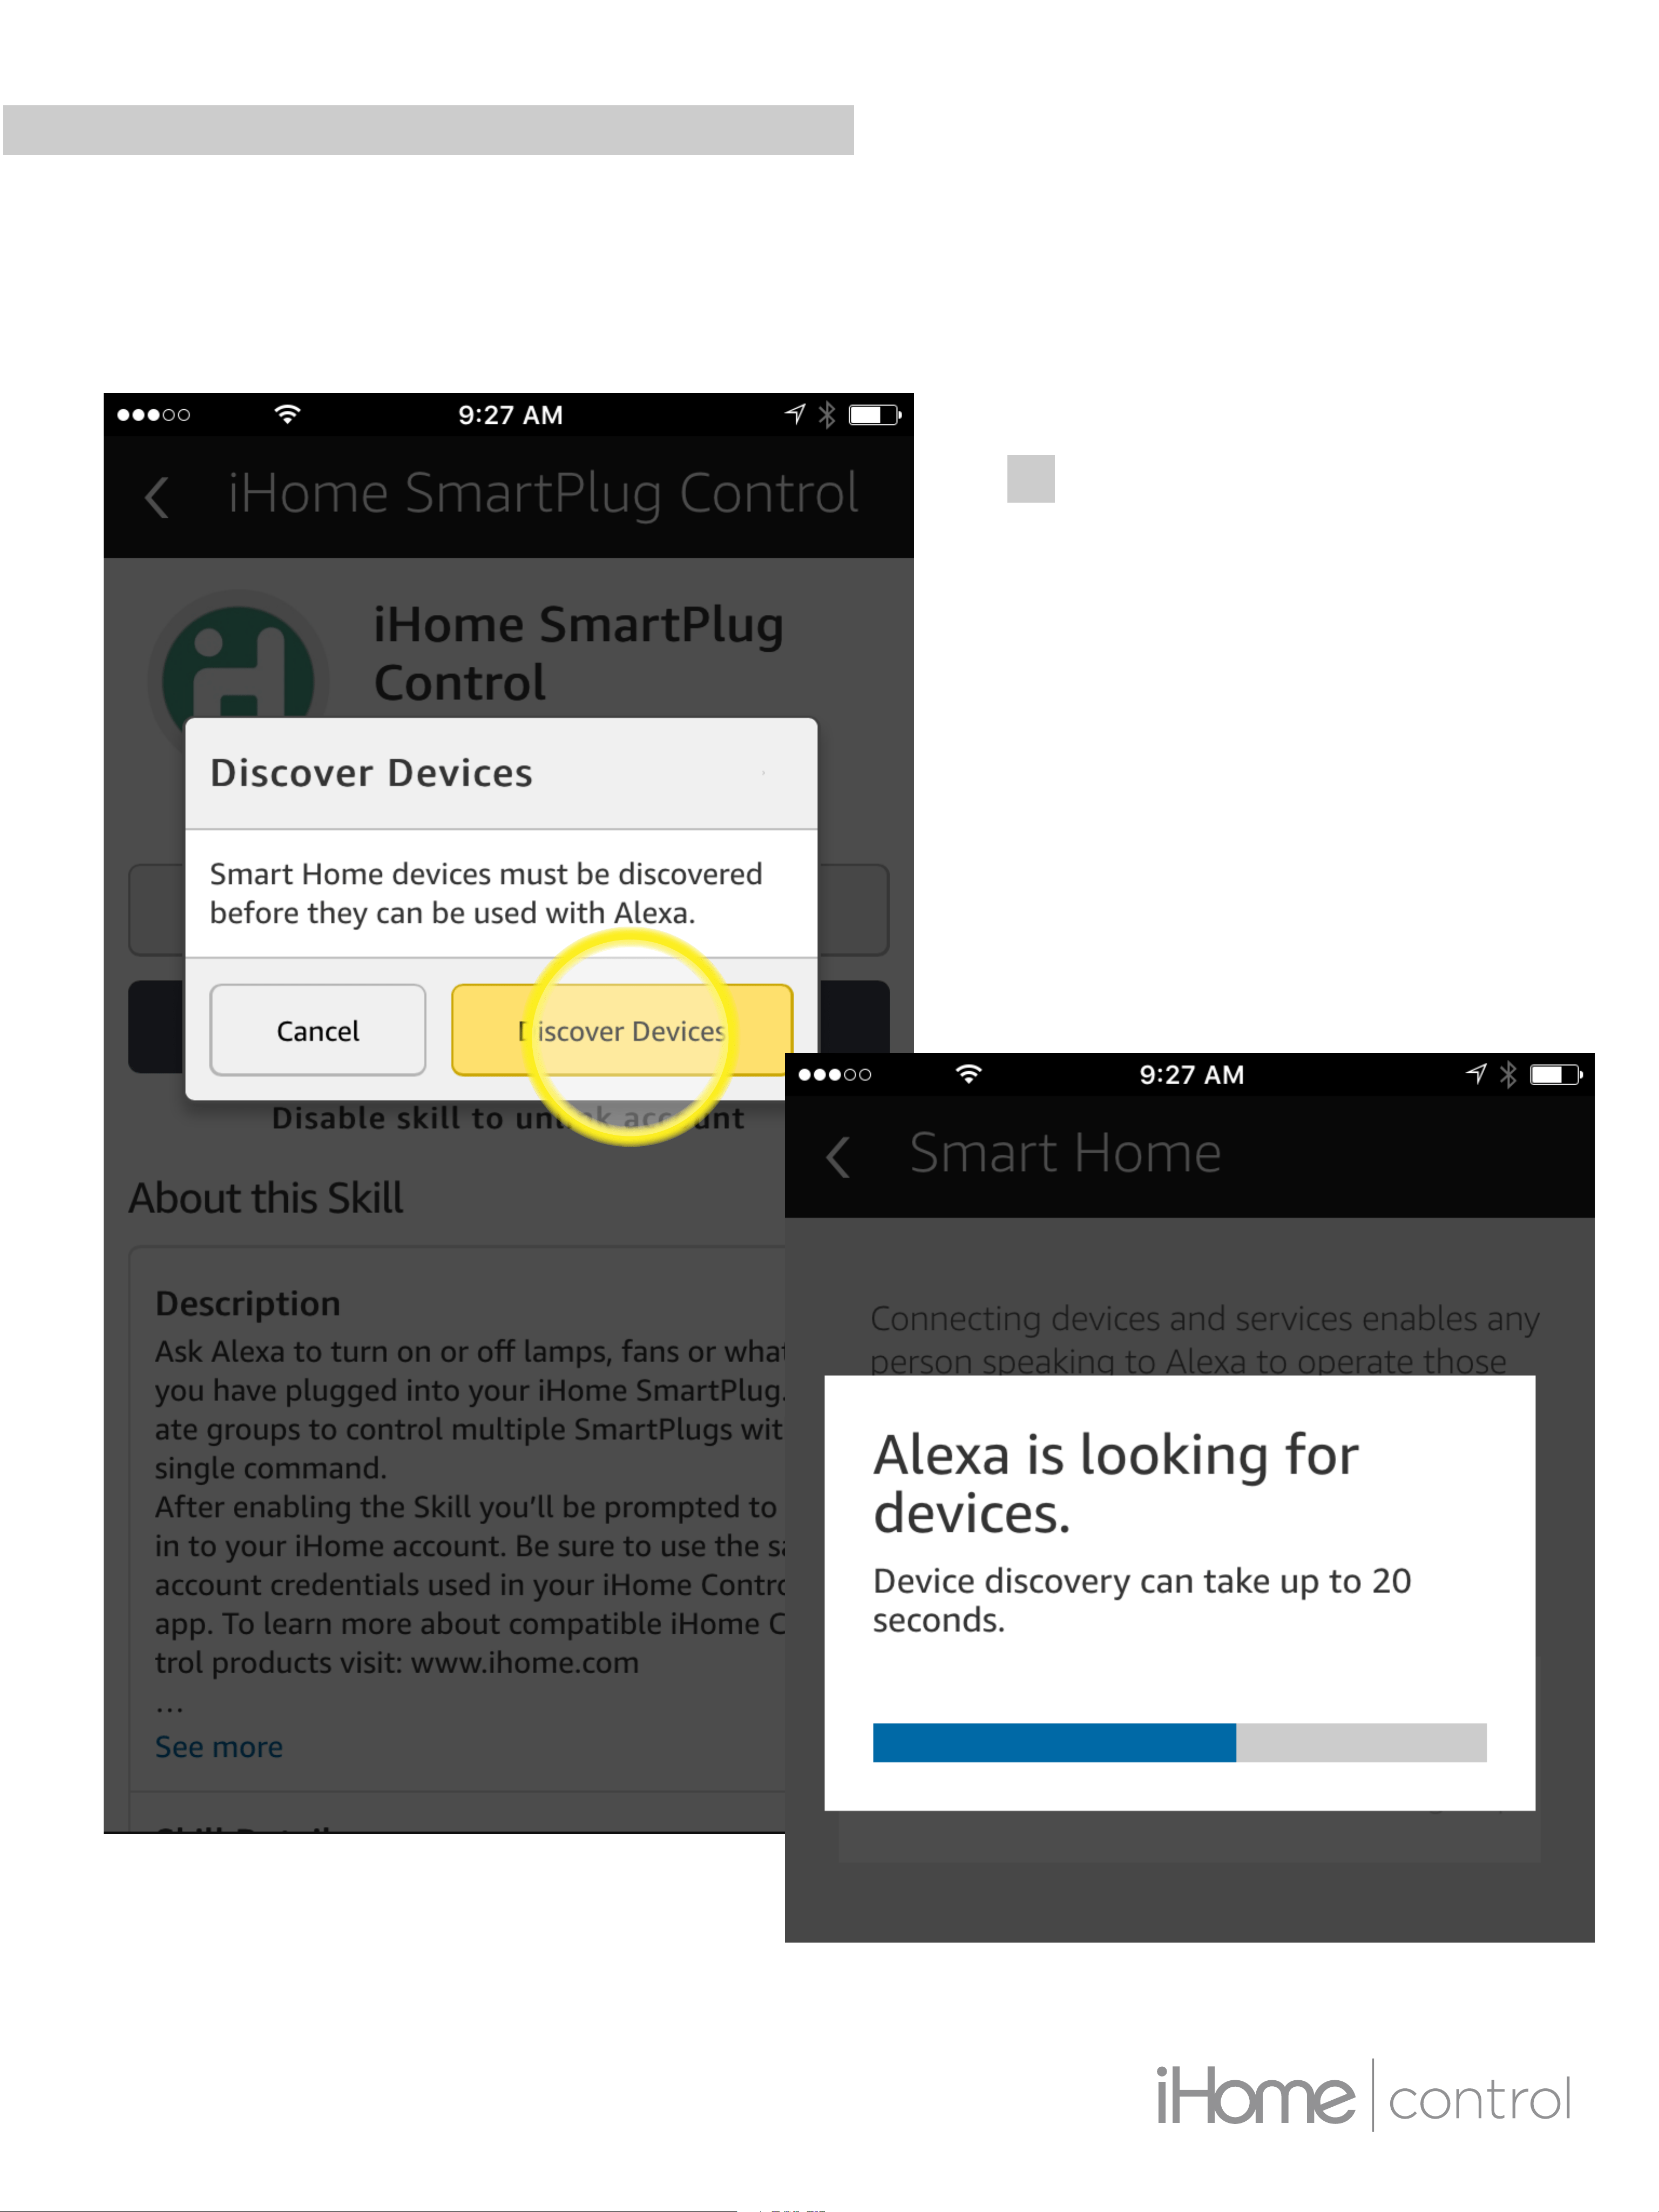
STEP 9
Select “Discover
Devices”
ALEXA INTEGRATION
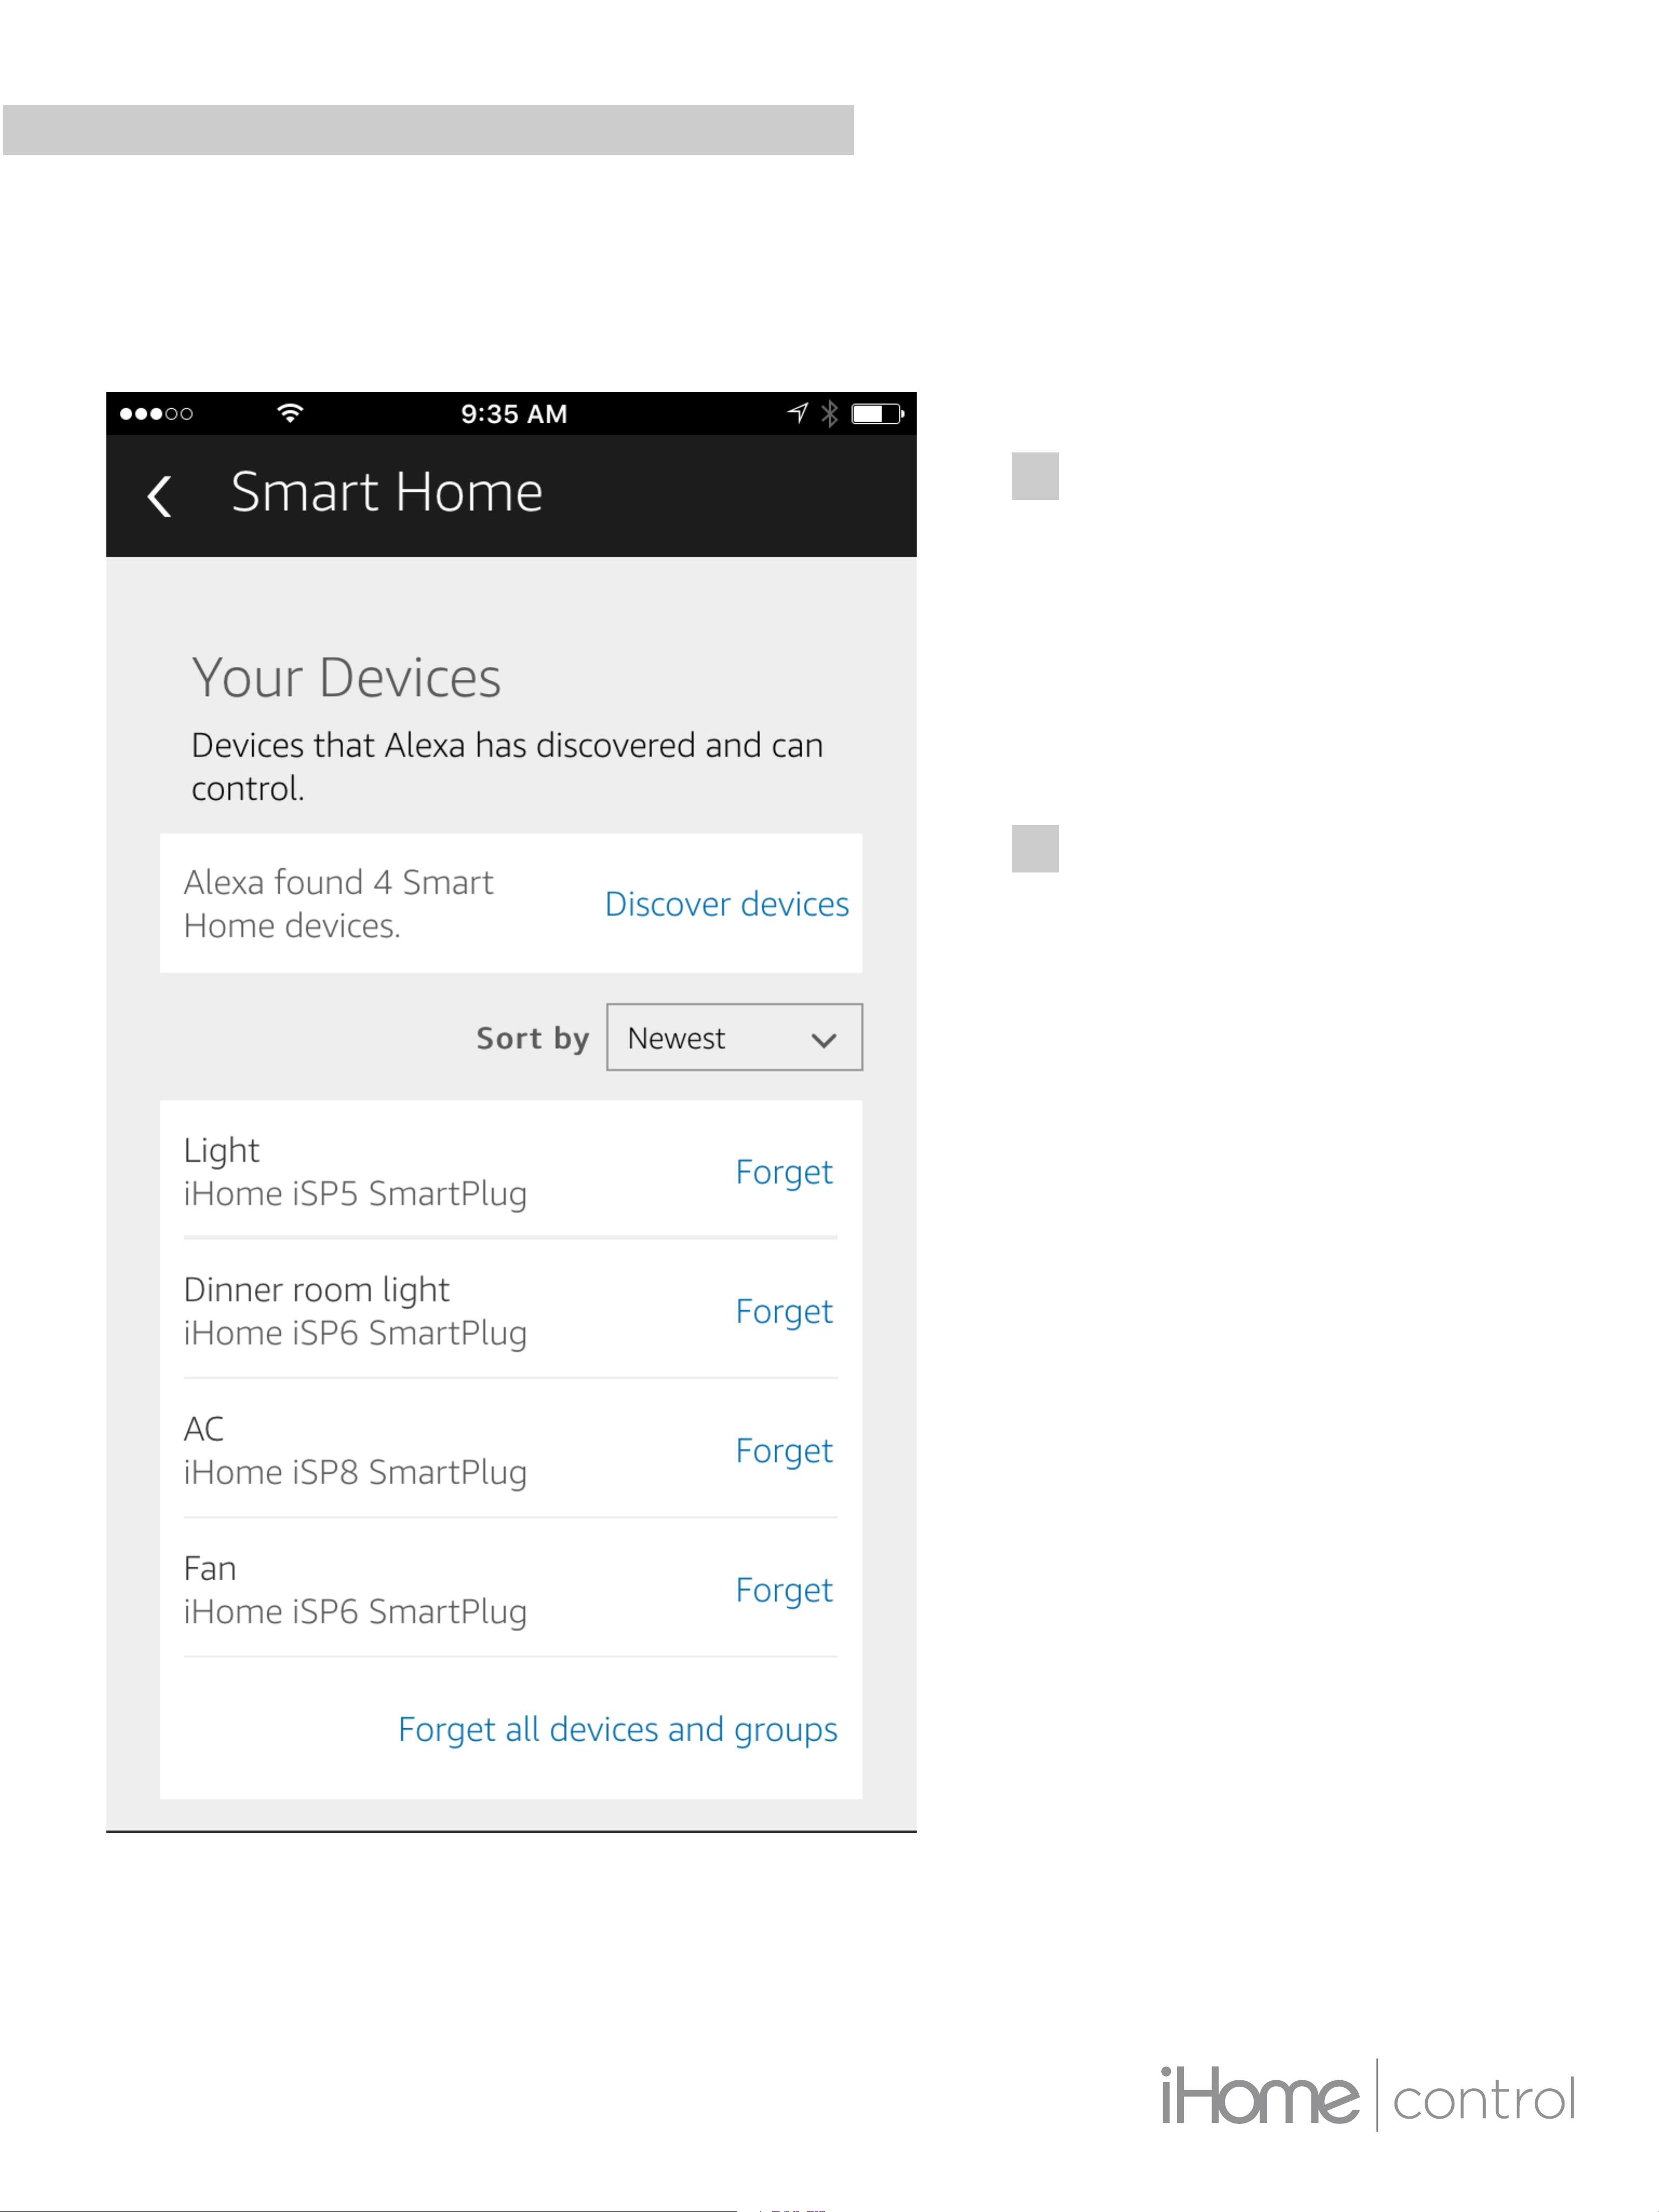
STEP 10
Scroll down to
“Your Devices” to
view a list of all
your iHome
SmartPlug devices.
You should now be
able to control your
SmartPlug(s) by
telling Alexa to turn
your device name
ON or OFF.
ALEXA INTEGRATION

ALEXA INTEGRATION
NOTE:
You can also group devices together and create a
dierent group name that Alexa can control with a
single voice command.
NOTE ON GROUPS:
If Alexa has diculty understanding your device
name(s), or if you want to control multiple devices
with a single command we recommend setting up a
new “Group” within your Alexa app. Groups can
have a single device, or multiple, and you will be able
to create a new name for the Group.