Loading ...
Loading ...
Loading ...
9
7
Stop the Engine
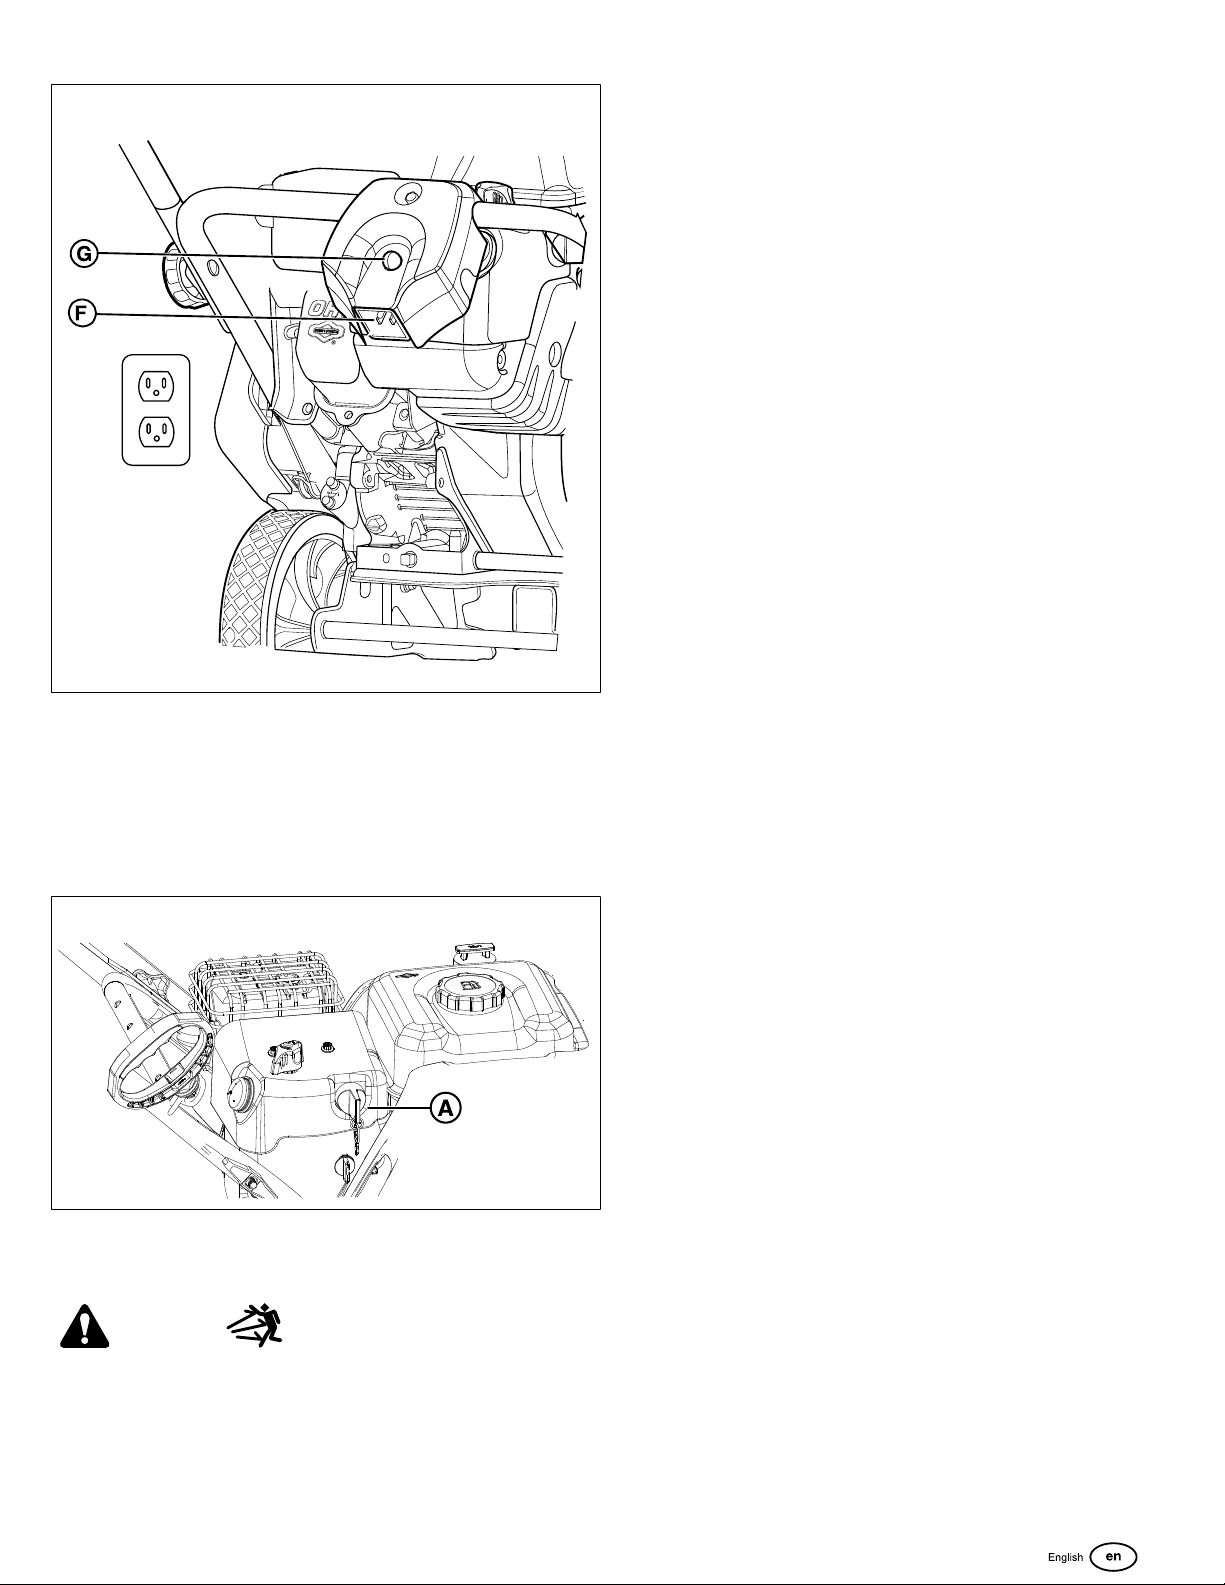
1. Turn the ignition key (A, Figure8) to the OFF
position.Remove the ignition key, or pull out the PUSH/
PULL key.
2. Keep the key in a safe location out of the reach of
children. The engine cannot start without the key.
8
Adjust the Discharge Chute and
Deflector
WARNING
Ice, gravel, or other unintended objects can be picked up by
the auger and thrown from the chute with force.
Objects thrown from the chute could cause death, serious
injury, or property damage.
• Always be aware of the direction the snow is being
thrown.
NOTICE Do not use the chute deflector or the chute
rotation handle to lift the unit. These were designed to make
needed adjustments only.
Chute Rotation - Lever Operated(If equipped)
1. Squeeze and hold the trigger on the chute control handle
(C, Figure9).
2. Push the handle forward or pull it rearward to rotate the
chute.
3. Release the trigger to lock the chute in the desired
position.
NOTICE Do not use too much force when you try to
operate the control.
Chute Rotation - Handle Operated(If equipped)
1. HOLD the chute control handle at the base of the chute
(D, Figure9).
2. Turn the handle left or right to rotate the chute. A tension
plate holds the chute in the desired position.
Chute Rotation - Switch Operated(If equipped)
1. Push the switch (E, Figure9) to rotate the chute.
2. Release the switch to lock the chute in the desired
position.
Chute Rotation - Crank Operated(If equipped)
1. Turn the crank (S, Figure9) clockwise to move the
discharge chute to the right.
2. Turn the crank counter-clockwise to move the discharge
chute to the left.
Deflector Adjustment
1. Squeeze and hold the trigger on the deflector control
handle (F, Figure9).
2. Move the deflector up or down to adjust the snow
discharge height and distance.
3. Release the trigger to lock the deflector in the desired
position.
Loading ...
Loading ...
Loading ...