Loading ...
Loading ...
Loading ...
94
Video Settings
2 Press M/m to select “Clock,” then press ENTER.
3 Press </, to select “Manual,” then press
ENTER.
4 Press M/m to set the month, then press ,.
Set the day, year, hour, and minutes in sequence.
Press </, to select the item to be set, then press
M/m to set the numbers. The day of the week is set
automatically.
5 Press ENTER to start the clock.
z Hint
To change the numbers in step 3, press < to return to the item to be
changed, and select the numbers by pressing M/m.
Language
◆OSD (On-Screen Display)
Switches the display language on the screen.
◆DVD Menu
Switches the language for the DVD menu.
◆Audio
Switches the language of the sound track.
When you select “Original,” the language given priority in the
disc is selected.
◆Subtitle
Switches the language of the subtitles recorded on the disc.
When you select “Audio Follow,” the subtitle language changes
according to the language you selected for the sound track.
z Hint
If you select “Others” in “DVD Menu,” “Subtitle,” or “Audio,” select
and enter a language code from “Language Code List” (page 108) using
the number buttons.
Note
If you select a language in “DVD Menu,” “Subtitle,” or “Audio” that is
not recorded on the DVD VIDEO, one of the recorded languages will be
automatically selected.
Video Settings
Choose the settings according to the TV, tuner, or decoder to be
connected.
Select “Video” in the Setup Display. To use the display, see
“Using the Setup Displays” (page 91).
The default settings are underlined.
TV Type
Selects the aspect ratio of the connected TV (4:3 standard or
wide).
Note
Depending on the disc, “4:3 Letter Box” may be selected automatically
instead of “4:3 Pan Scan” or vice versa.
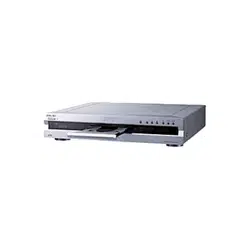
Settings - Clock
Select a method for setting the clock.
If you select "Auto", this recorder will look for a
time signal when you turn it off.
Auto Manual
Settings - Clock - Present Time
Set the time and date manually.
2003/
1
/
112:Wed 00 AM
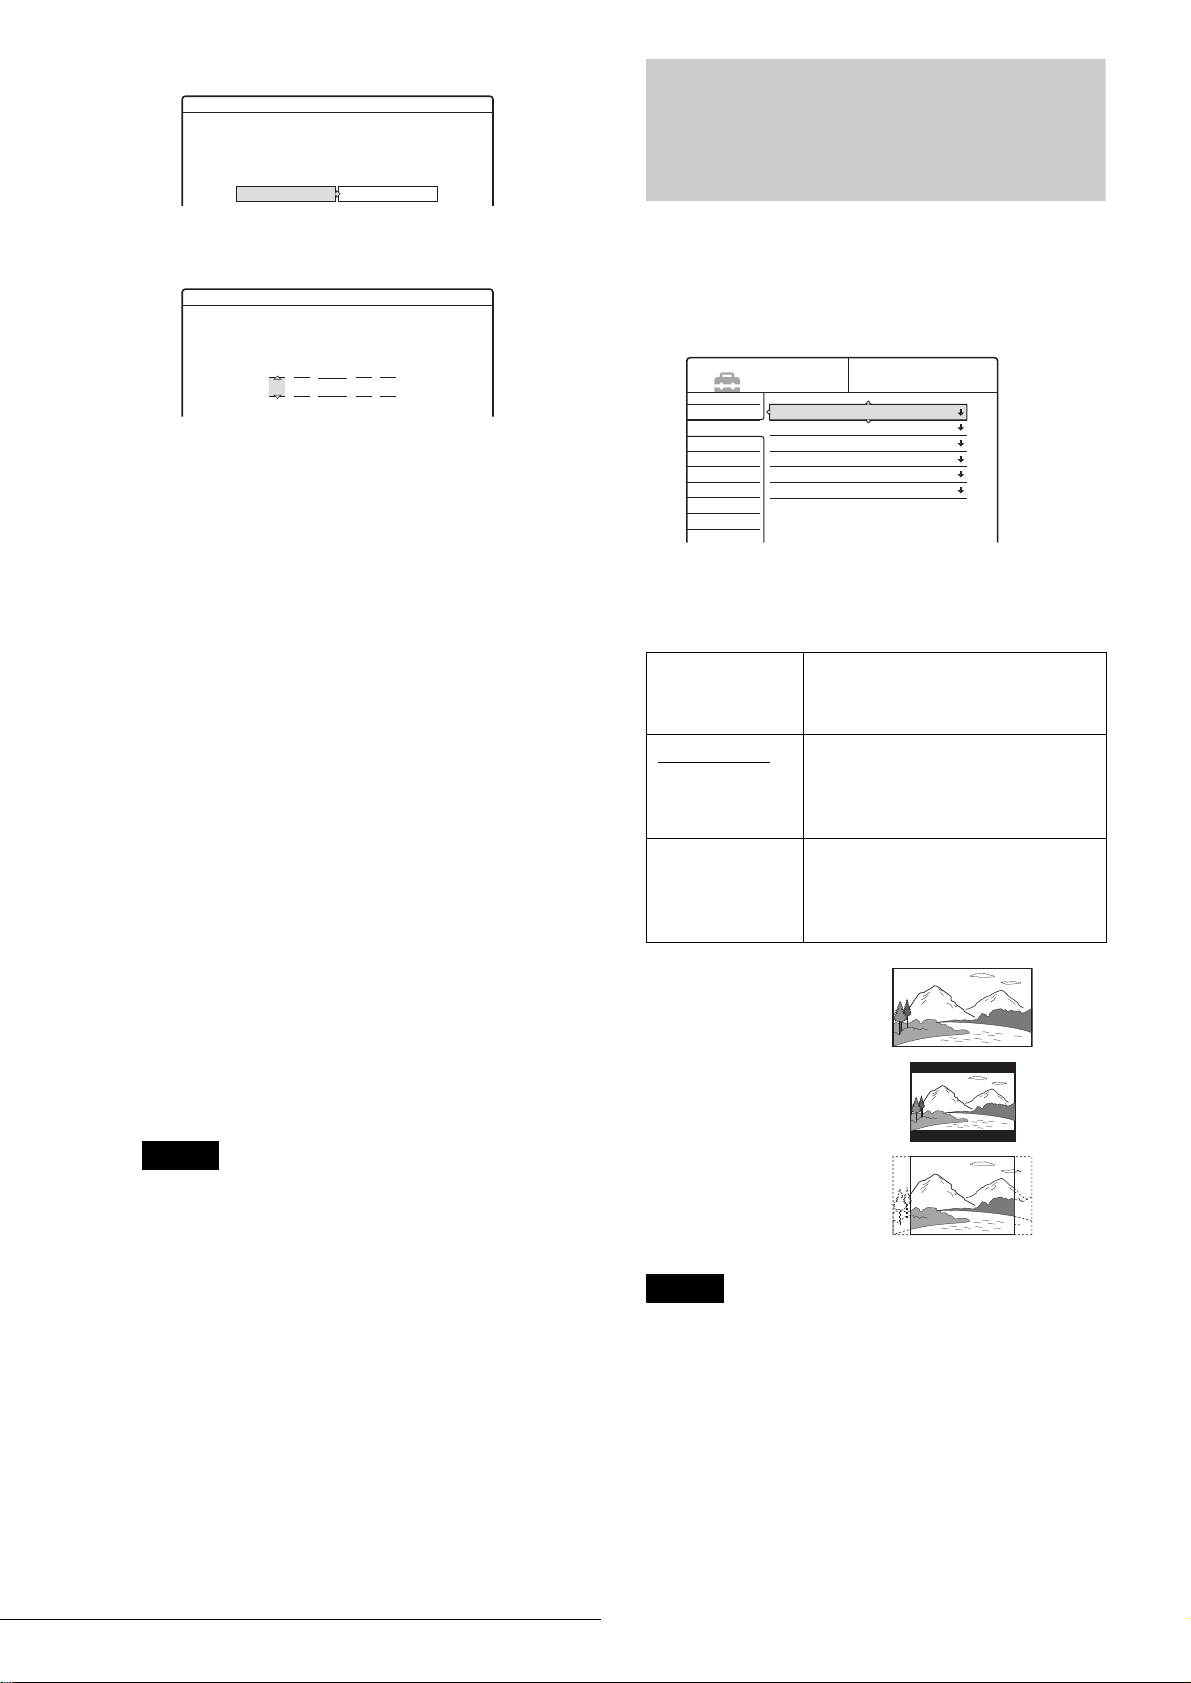
16:9 Select this when connecting to a wide-
screen TV or TV with a wide mode
function.
4:3 Letter Box
Select this when connecting to a 4:3
screen TV. Displays a wide picture
with bands on the upper and lower
portions of the screen.
4:3 Pan Scan Select this when connecting to a 4:3
screen TV. Automatically displays a
wide picture on the entire screen and
cuts off the portions that do not fit.
Settings
Video
Audio
Features
Options
Easy Setup
TV Type :
Pause Mode :
Component Black Level :
Progressive Mode :
Line1 Input :
Line3 Input :
4 : 3 Letter Box
Auto
On
Auto
Video
Video
SETUP
16:9
4:3 Letter Box
4:3 Pan Scan
Loading ...
Loading ...
Loading ...