Loading ...
Loading ...
Loading ...
11
Guide to Parts and Controls
Guide to Parts and Controls
For more information, see the pages in parentheses.
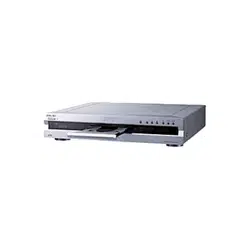
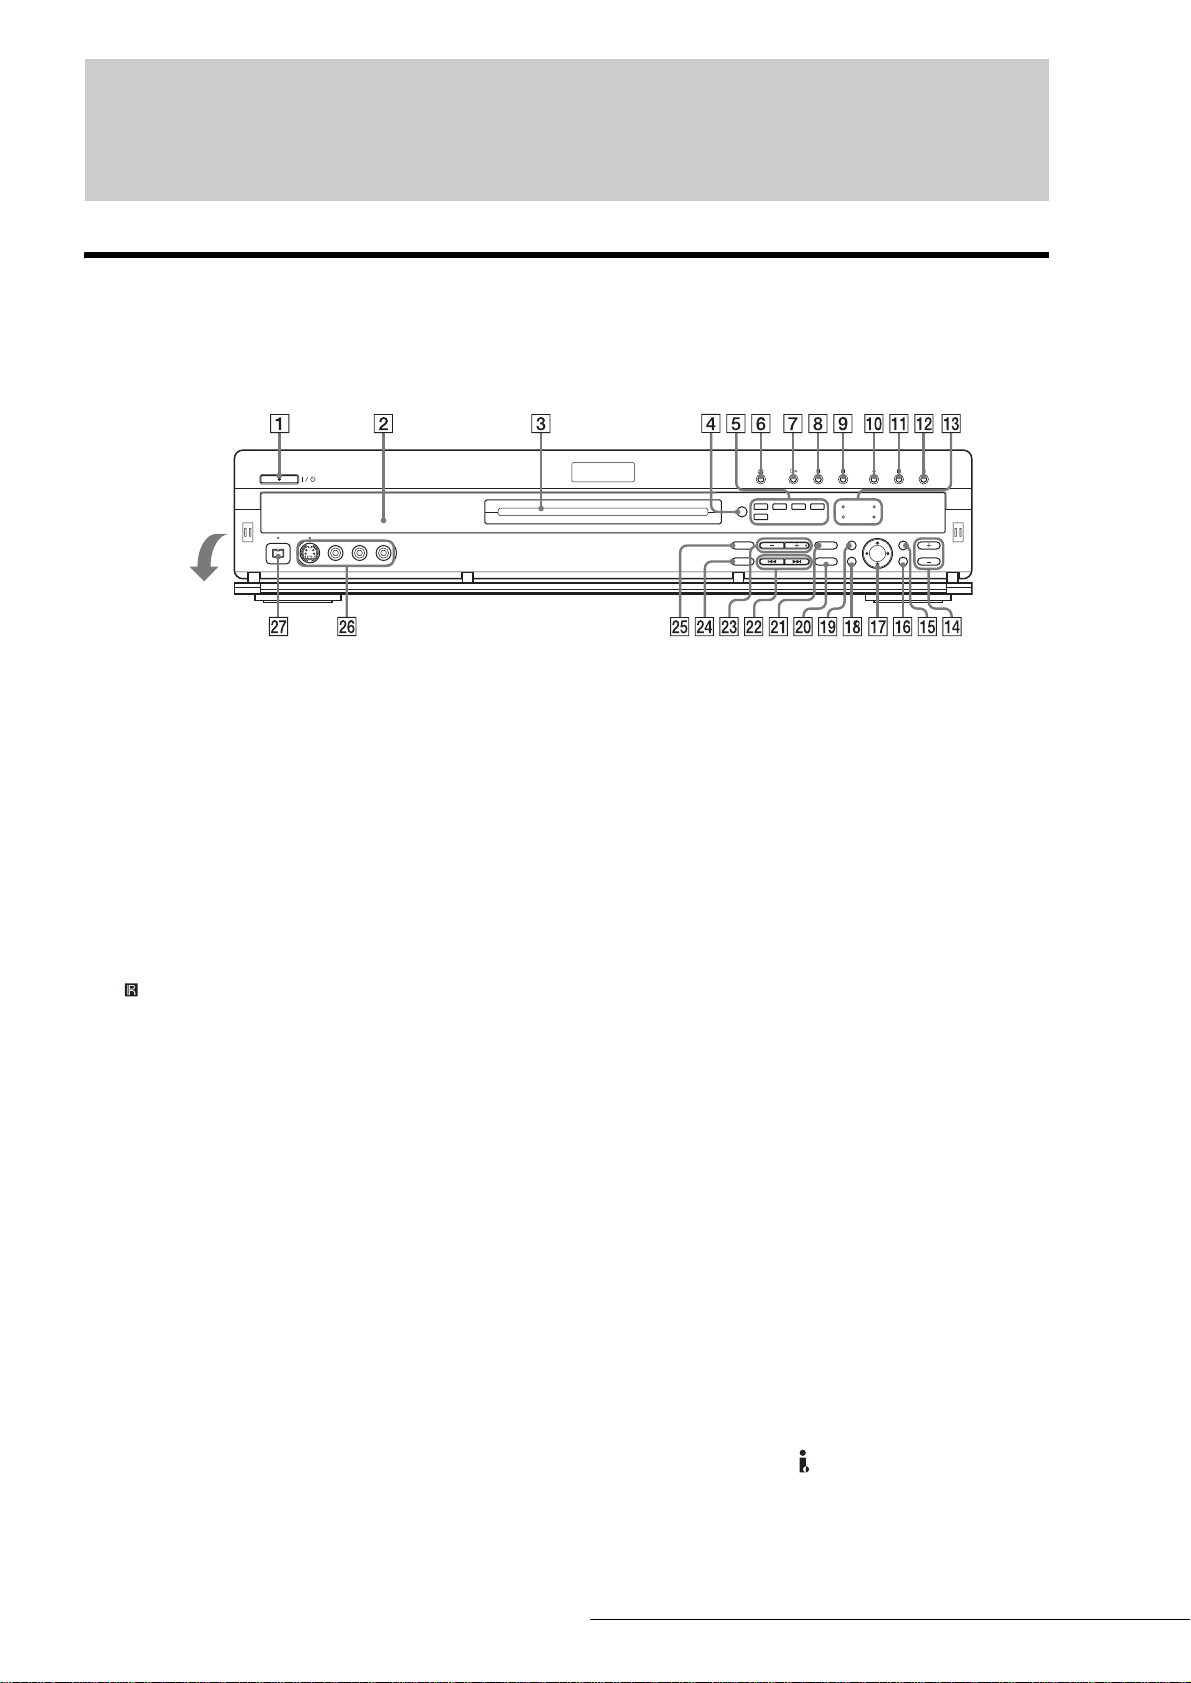
Front panel
Buttons on the recorder have the same
function as the buttons on the remote if
they have the same or similar names.
A @/1 (on/standby) button/
indicator (22, 38)
Turns the recorder on and off.
Lights up in green when the
power is on.
B Front panel display (14, 57)
Displays the playing status,
title/chapter/time, etc.
C Disc tray (38)
Opens to accept a disc.
D (remote sensor) (22)
Accepts the remote control
signal.
E Disc type indicators
Lights up to indicate the disc/
format type of the current disc.
F A (open/close) button (38)
Opens or closes the disc tray.
G H (play) button/indicator (50)
Plays a disc.
H X (pause) button/indicator
(52)
Pauses playing a disc.
I x (stop) button (51)
Stops playing a disc.
J z REC button/indicator (38)
Starts recording.
K X REC PAUSE button/indicator
(39)
Pauses recording.
L x REC STOP button (39)
Stops recording.
M SYNCHRO REC indicator (47)
Lights up when the Synchro
Rec function is set to on.
TIMER REC indicator (40)
Lights up when a timer
recording is set.
FINALIZED indicator (73)
Lights up if an inserted disc has
been finalized.
PROGRESSIVE indicator (51)
Lights up when outputting
progressive signals.
N ZOOM +/– buttons (32)
Switches the information
displayed in the Title List
menu.
O CURSOR MODE button (32)
Switches the cursor/page mode
in the Title List, etc.
P TOOLS button (32)
Displays the TOOLS menu.
Q </M/m/,/ENTER button
(33)
Selects items or settings.
R RETURN button (33)
Returns to the previously
selected display, etc.
S SYSTEM MENU button (31)
Displays the System Menu on
the TV screen.
T ONE TOUCH DUB button (78)
Records the contents of a DV/
Digital8 format tape with a
single touch of the button.
U REC MODE button (38)
Selects the recording mode.
V ./> (previous/next)
buttons (52)
Goes to the next title/chapter/
track, or goes back to the
previous title/chapter/track.
W CHANNEL +/– buttons (38)
Selects the channel or input
line.
X PROGRESSIVE button (51)
Switches the output signal,
progressive or interlace.
Y INPUT SELECT button
(38, 75, 88)
Selects equipment connected to
the line inputs.
Z LINE 2 IN (S VIDEO/VIDEO/
AUDIO L/R) jacks (88)
Connects external equipment.
wj DV IN jack (76)
Connects digital equipment
with a DV jack.
Open the
panel.
,continued
Loading ...
Loading ...
Loading ...