Loading ...
Loading ...
Loading ...
5
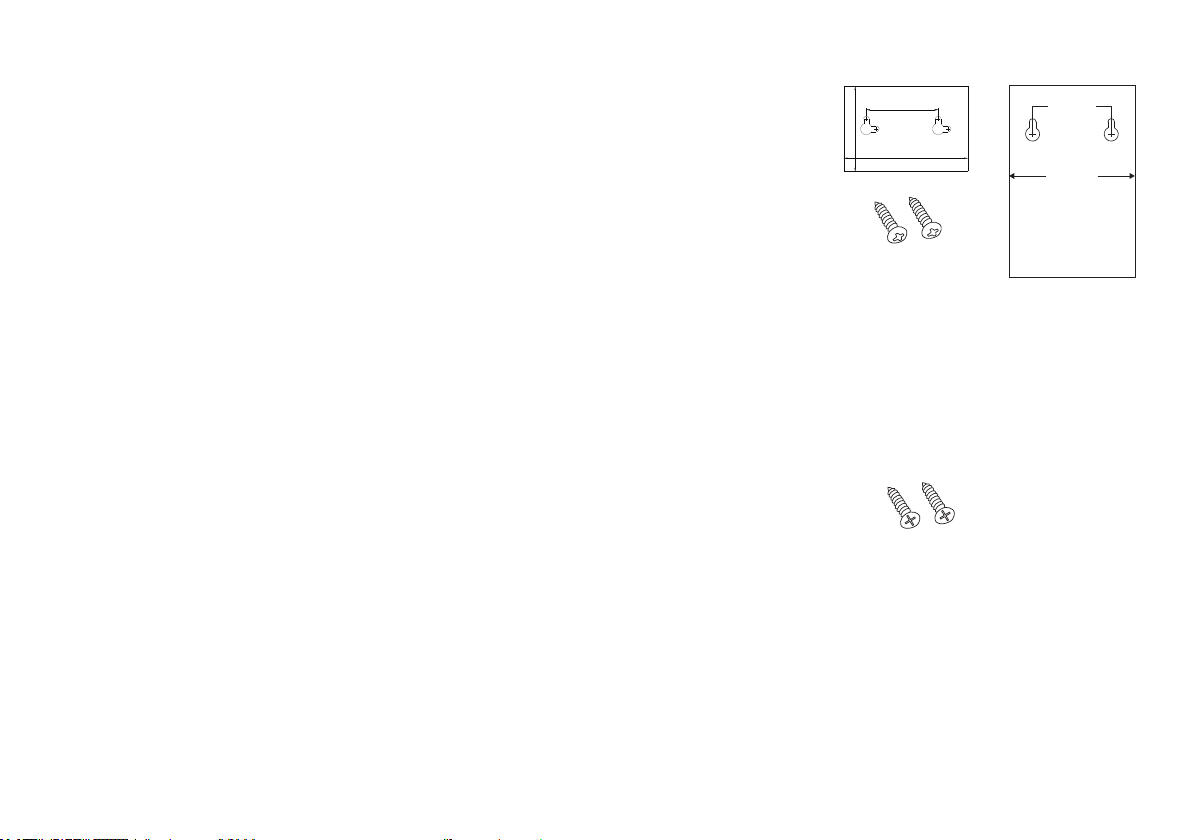
Option 2: Drywall screws with anchors (included)
1. Place the mounting template(s) on the wall where you want to mount the
control unit and/or smart module. IMPORTANT: Make sure there are no
electrical wires where you plan to drill.
2. Draw x’s on the wall where indicated by the mounting template(s). Drill a
1/4” pilot hole at each x for the anchors. Tap in gently as needed.
3. Install the dry-wall anchors at the marked location with a #2 Phillips
screwdriver
4. Mount the drywall screws in the anchors. Leave some space between the
screw heads and the wall so that you can mount the control unit and/or
smart module on the screws.
5. Mount the control unit and/or smart module on the screws.
Option 3: Masonry screws (included)
1. Place the mounting template(s) on the wall where you want to mount the
control unit and/or smart module.
2. Draw x’s on the wall where indicated by the mounting template(s).
3. Use a 5/32” masonry drill bit to drill pilot holes where you marked the x’s.
The holes should be about 1-1/2” deep.
4. Mount the masonry screws where you drilled the pilot holes. Leave some
space between the screw heads and the wall so that you can mount the
control unit and/or smart module on the screws.
5. Mount the control unit and/or smart module on the screws.
45mm(1.77")
72mm(2.83")
MOUNTING TEMPLATE
USE FOR FLAT
WALL MOUNT ONLY
FOR THE CONTROL UNIT
Control Unit
Mounting Template
Drywall
screws
Masonry
screws
MOUNTING TEMPLATE
USE FOR FLAT
WALL MOUNT ONLY
( 2 ")
( 3.45")
( 2.36")
50.8mm
87.5mm
60.0mm
Smart Module
Mounting Template
Loading ...
Loading ...
Loading ...