Loading ...
Loading ...
Loading ...
8
exhaust version, follow these rules : Do not
connect the exhaust hood to chimneys,
ues, and air ducts serving the room. Before
venting into exhaust ues and ducts no
longer in use, ask for approval of person or
agency responsable for the building. The
evacuated air must not be let into a warm
airduct. For the evacuation of the exhausted
air please note ocial instructions.
INSTALLATION
The hood may be in recirculating or in
exhaust version (see A-B-C pag.2). Decide
from the outset which type is to be instal-
led. For better eciency, we recommend
installing the hood in the exhaust version (if
possible).
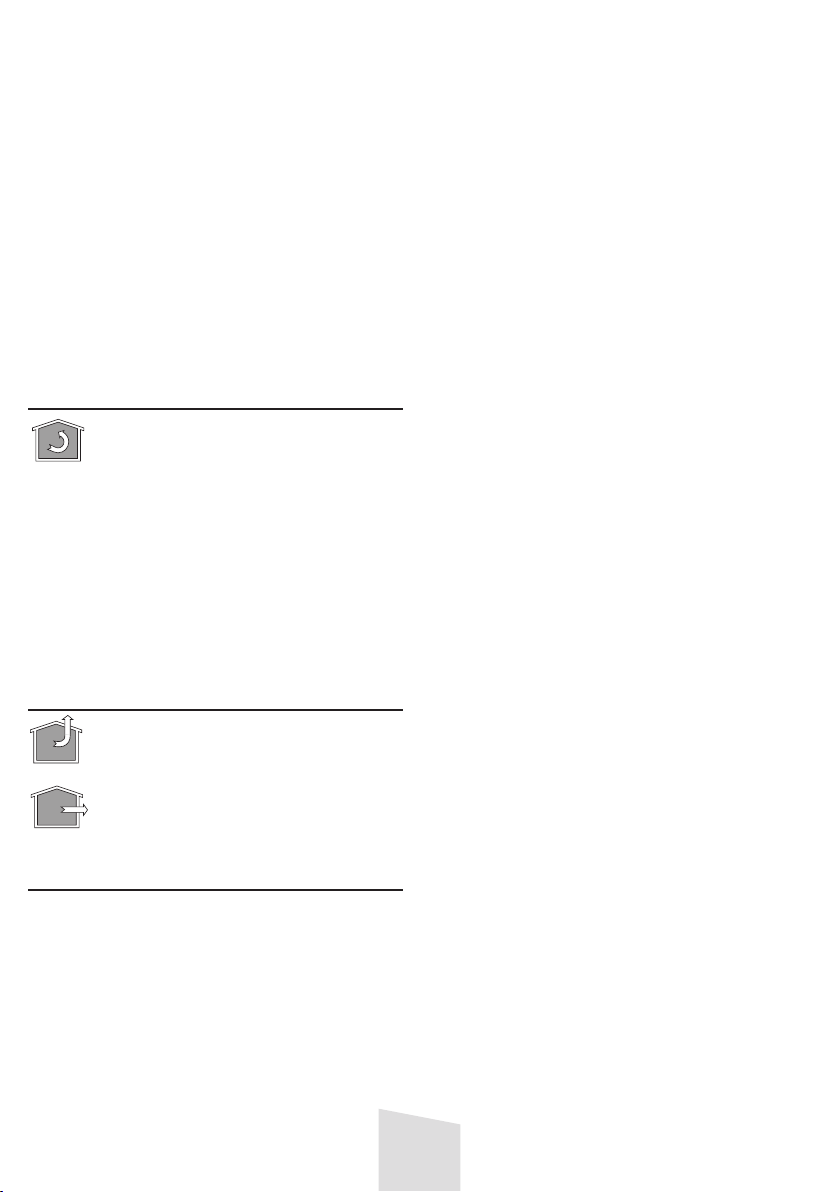
RECIRCULATING VERSION (A)
The hood puries the air and
recycles the clean air back into
the room. For this version, the
following is required: a theft-proof
cover, a reducer and charcoal lter.
In the version with ue, the upper
ue must have the air evacuation
slots positioned in the upper part
and the deector must be used in
place of the anti-theft cover. The
upper ue air evacuation slots must
be positioned at the top.
EXHAUST VERSION (B) (C)
The hood puries the air and eva-
cuates it to the outside through an
exhaust duct or hole (diameter
5”
29/32).
Roof Venting (B)
Wall Venting (C)
AIR VENT
(for exhaust versions)
! Prepare the hole and the air vent duct (5”
29/32 diameter - The component is not in-
cluded in the product, but can be purchased
separately).
! Use a duct of the shortest possible length.
! Use a duct with as few elbows as possible
(maximum elbow angle: 90°).
! Avoid drastic changes in the duct cross-
section.
! Use a duct with an as smoothest possible
interior.
! The duct must be made of certied mate-
rial.
! Do not connect the hood to smoke exhaust
ducts for the products of combustion (boi-
lers, replaces, stoves, etc).
! For the air vents comply with the pro-
visions laid down by the competent au-
thorities. In addition, the air must not be
evacuated through a hole in the wall unless
specically intended for this purpose.
! Fit air intakes in the room to prevent the
hood from creating a negative pressure
in the room (which must not exceed 0.04
mbar); if the hood is used at the same time
as non-electrical equipment (gas-, oil- and
charcoal-red stoves, etc.) the exhaust gas
may be sucked in by the heat source.
ASSEMBLY
! WARNING: Very heavy product; hood
handling and installation must be carried
out by at least two persons.
! WARNING: Wear gloves and goggles when
carrying out installation and maintenance
operations.
! WARNING: Failure to install the screws
or xing device in accordance with these
instructions may result in electrical hazards.
!The minimum distance between the sup-
porting surface for the cooking equipment
on the hob and the lowest part of the range
hood must be not less than 25” 19/32 from
electric cookers and 29” 17/32 from gas
or mixed cookers. If the instructions for
installation for the gas hob specify a greater
distance, this must be adhered to.
! Wall anchors are provided to secure the
hood to most types of walls/ceilings. Howe-
ver, a qualied technician must verify suita-
bility of the materials in accordance with the
type of wall/ceiling. The wall/ceiling must
be strong enough to take the weight of the
hood. Do not tile, grout or silicone.
! In case of doubt, contact an authorized
service provider.
Loading ...
Loading ...
Loading ...