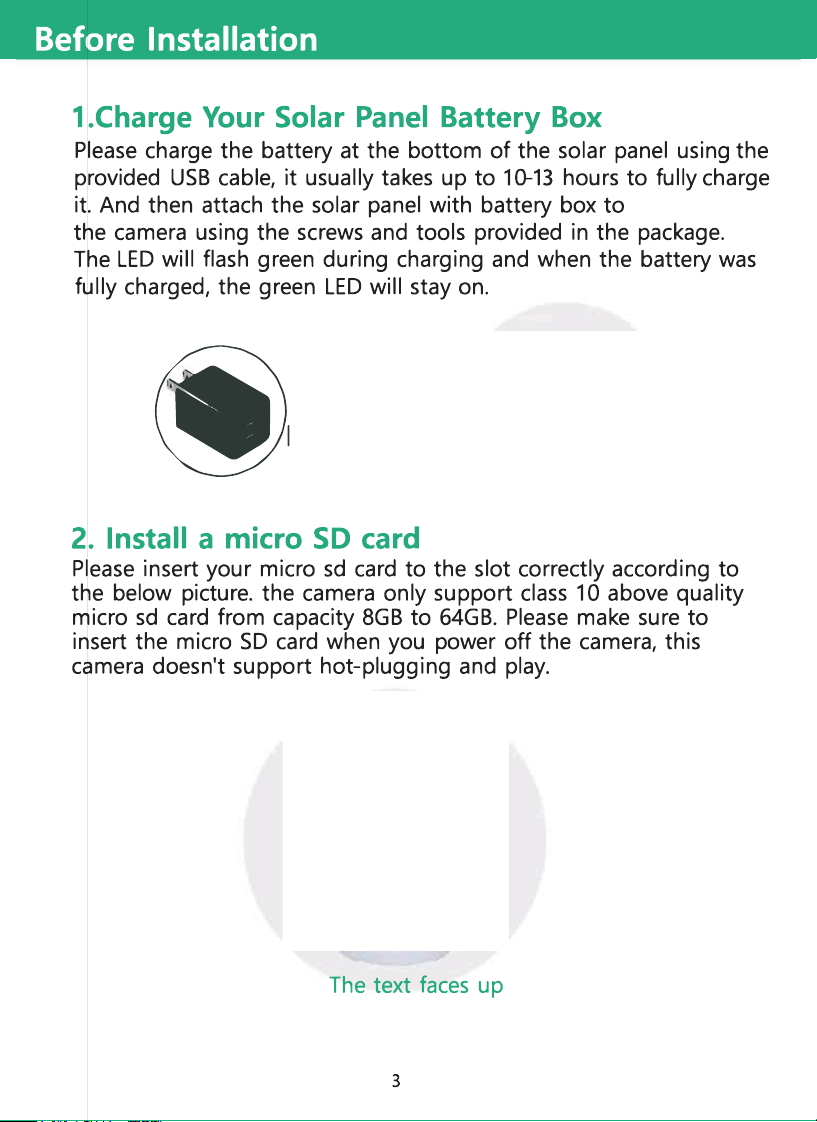
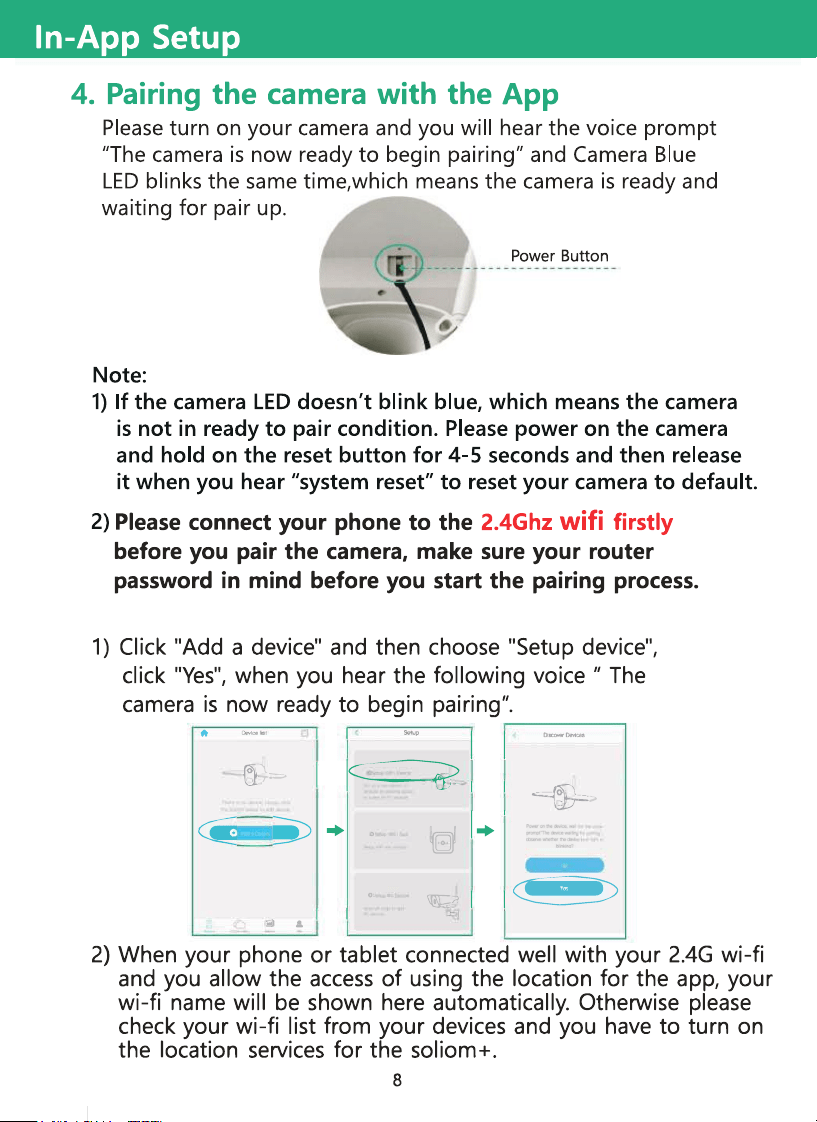
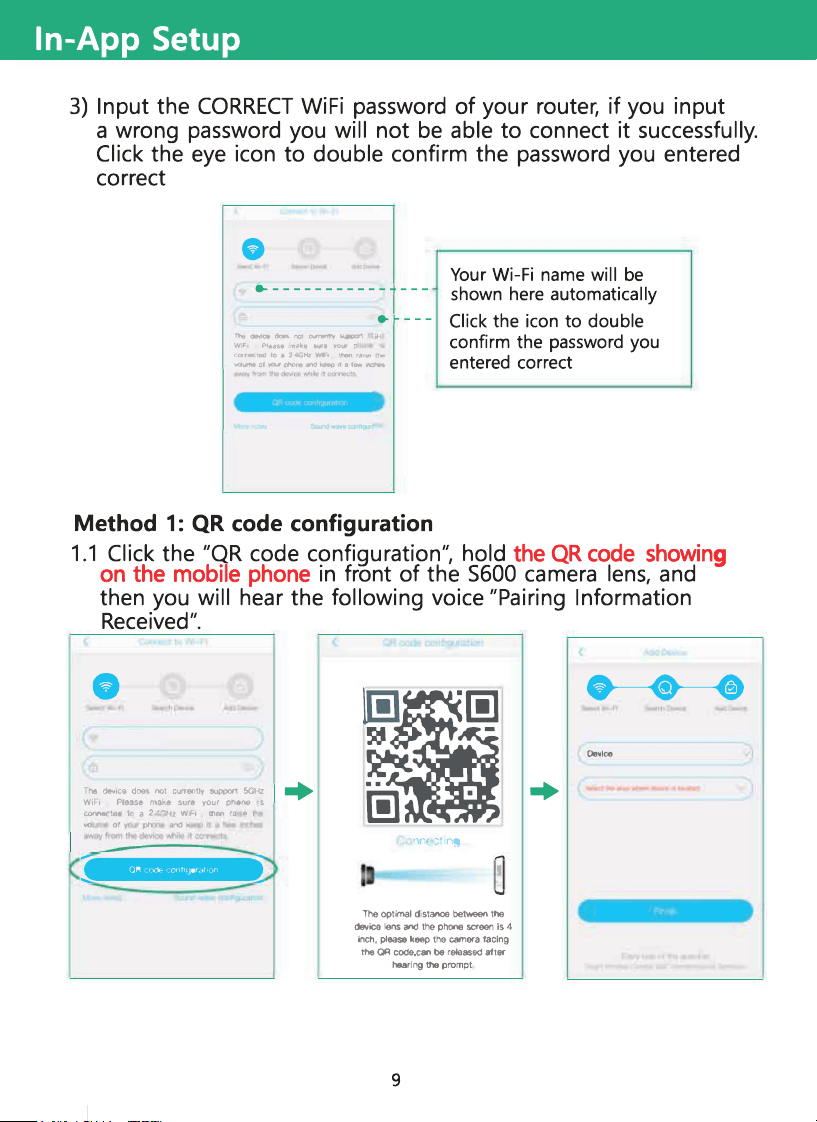
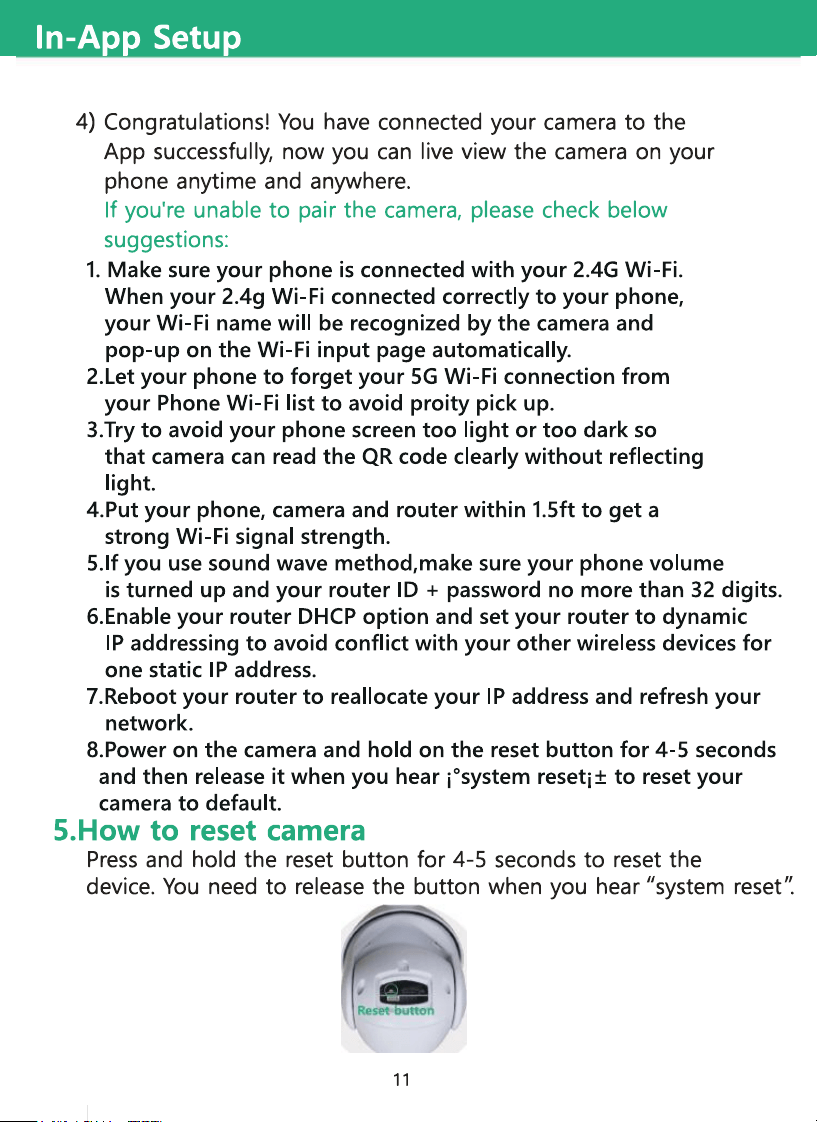
3513001230
powered off.

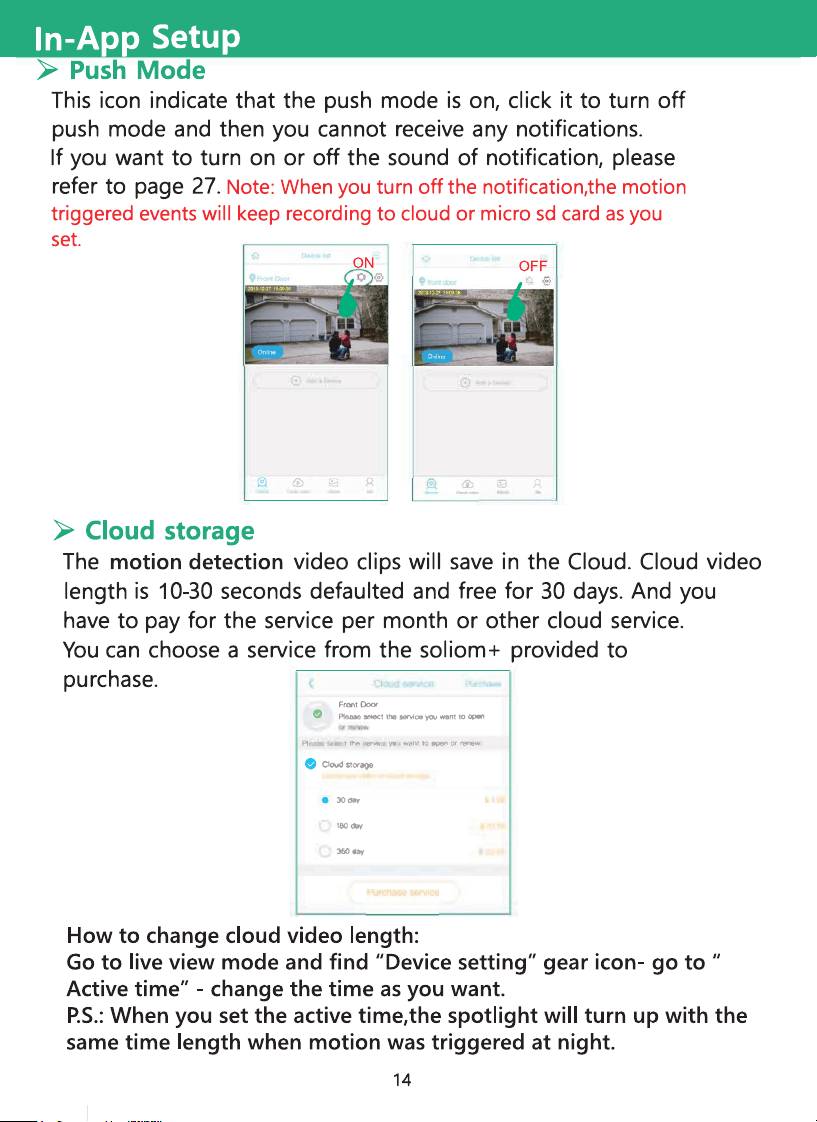
motion detection
motion detection
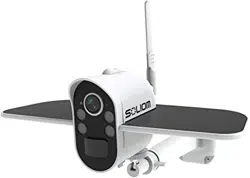
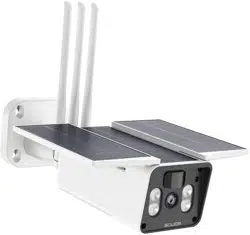
Point the antenna to sky, do not point
it to earth. The antenna is not
waterproof upside down.
Technical Specifications
'
mage Quali t
y
Resolution
1080P
;pecifications
Lens angle
FOV 90
°
�ens
Video format
H.264
V
I
ideo
Frames per
�pecifications
second
SD card
support
Output
l
udio
lntput
Communications
WiFi
Battery capacity
1 Sfps
8GB-Max 64GB
Built-in speaker
Built-in microphone
2.4GHz
other 3pcs
9000mAh(support
18650
to
battery
insta I
extend the capacity
)
Batter
y
Standby time
Max 6 months
Power
2
W(run)/
consumption
0.012W (standby
)
Temperature
-20
°
C-+
60
°
C(-4
°
F-140
°
F
)
j
"
p
v
p
i
lica
b
le
ronment
Humidity
20%
-
85%%
(Non-condensing)
S
S
y
u
s
p
t
p
e
p
m
or t
Android 2.3 above
/
iOS 7.0 above
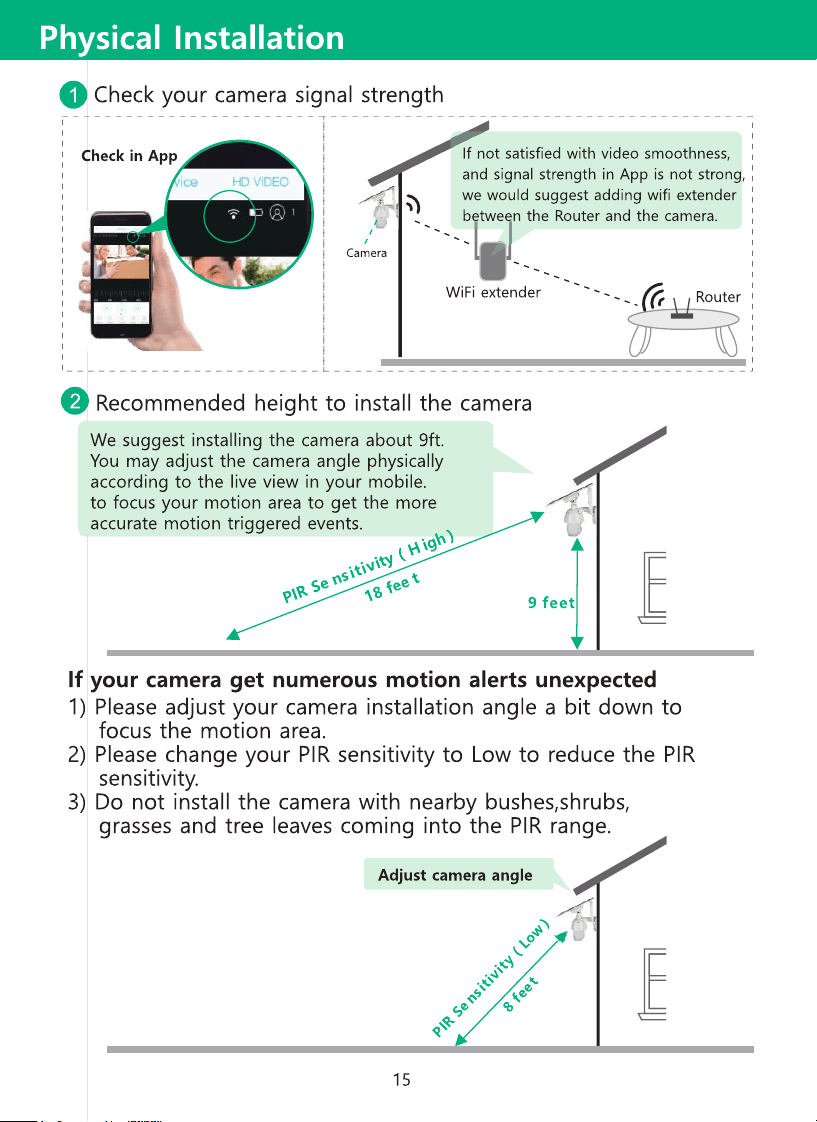
PIR angle
120
°
PIR
PIR range
18ft
ight Vision
Range
Up to 32ft
。
-
by

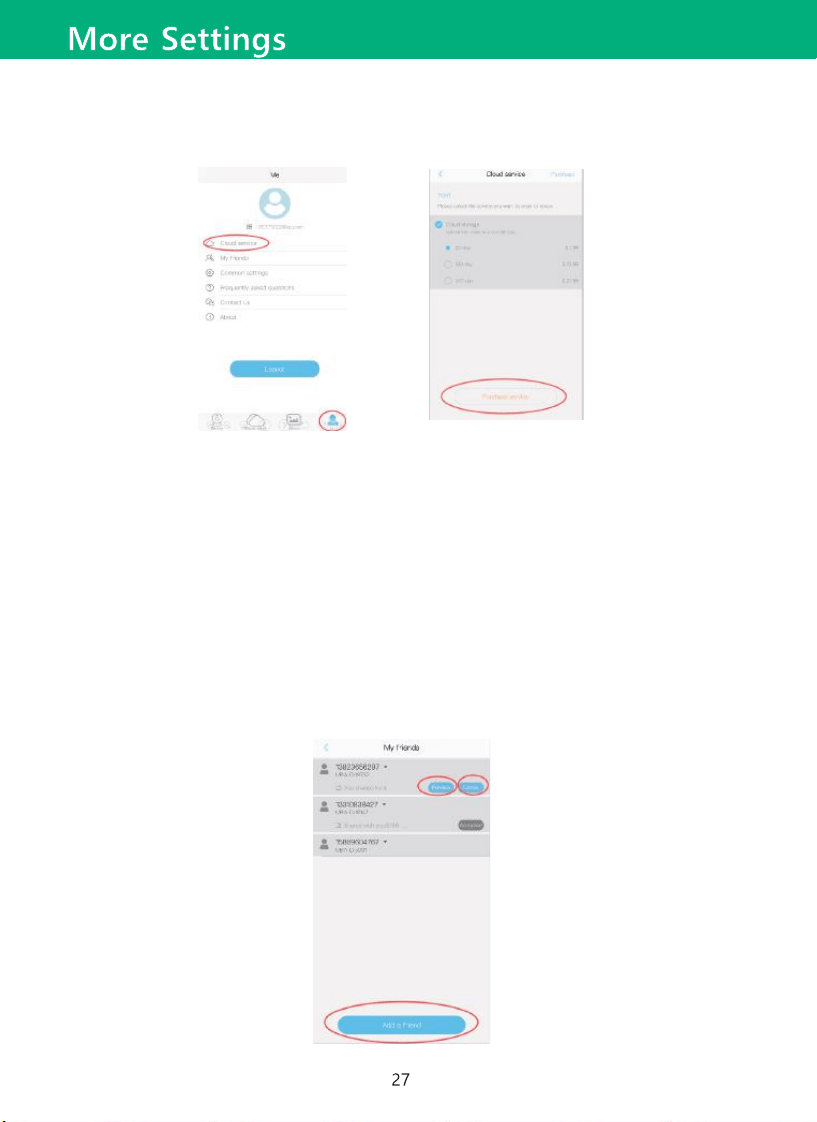
1. Cloud service:
Click Cloud service and then choose the package to buy your cloud storage.
Note:
1)Each camera will be binded with one cloud storage service.(But not in
account base)
2)If you would like to make a return for Soliom cameras,please send email
to: [email protected] to refund your cloud fee.
2.My friends:
Click it to Add a friend you want to share with your camera or check you
shared account or shared with you camera list and make any permission
modifications here.
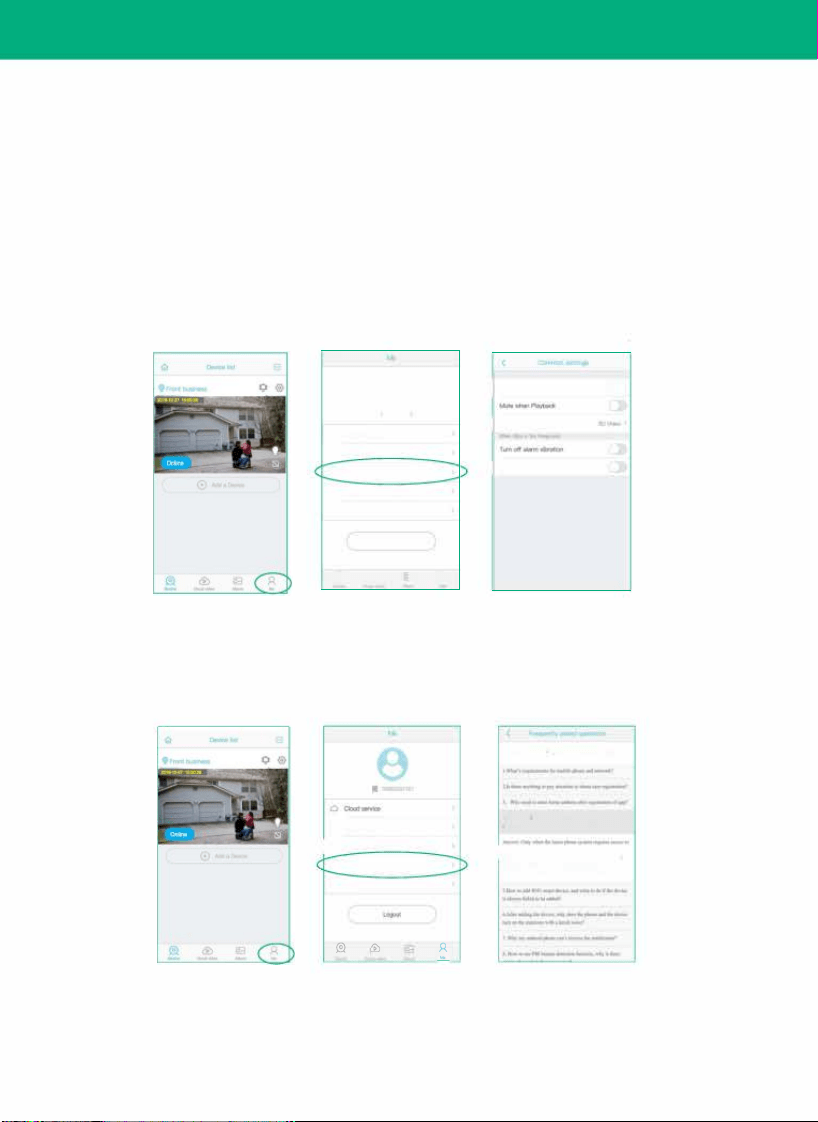
More Settings
3.Common settings:
1) Mute when viewing device: Switch to mute sound when live view camera
as default
2) Mute when playback: Switch to mute sound when playback recorded
videos as default
3) Default resolution: Click to change from SD to HD resolution as default
4) Alarm Vibrate: Switch to enable vibrate or not when notification comes in.
5) Alarm Ring: Switch to enable Ring or not when notifications comes in
6) Talk voice change: Enable to change your voice to the camera end to scare
off any intruders in case.
。
I
1�-�-
0
• 一渭
I�d一
o--
只岭旧盯撼
畸®-
叫
I T �
中 衄“一
0
处
U窄习具
, 只
Note:
You can turn on or off the notification alarm vibrate,alarm ring and talk voice
change for any Andriod devices,these functions are not compitabe with iOS
platform owing to the iOS system restriction.
4. Frequently asked questions:
只凶妇心
叫I®-
®---
O
心
6l
@
,.,.,一"''"'"'妯··-·--�
· 嘱... 肉__酝...一-�一
一·--臧__
叫
I�.::亡
·-----·--· 叨一
衄一白一.血___
从
_
_
5. Contact us:
Please contact us either ways shown here.our tech support staffs will get
back to you within 12 hours.
28