Loading ...
Loading ...
Loading ...
6
8. INSTALL WALL EXTENSION (OPTIONAL)
AWWPD Series
Wall extension must be installed before the hood (see instructions packed with wall extension).
9. INSTALL HOOD
CAUTION
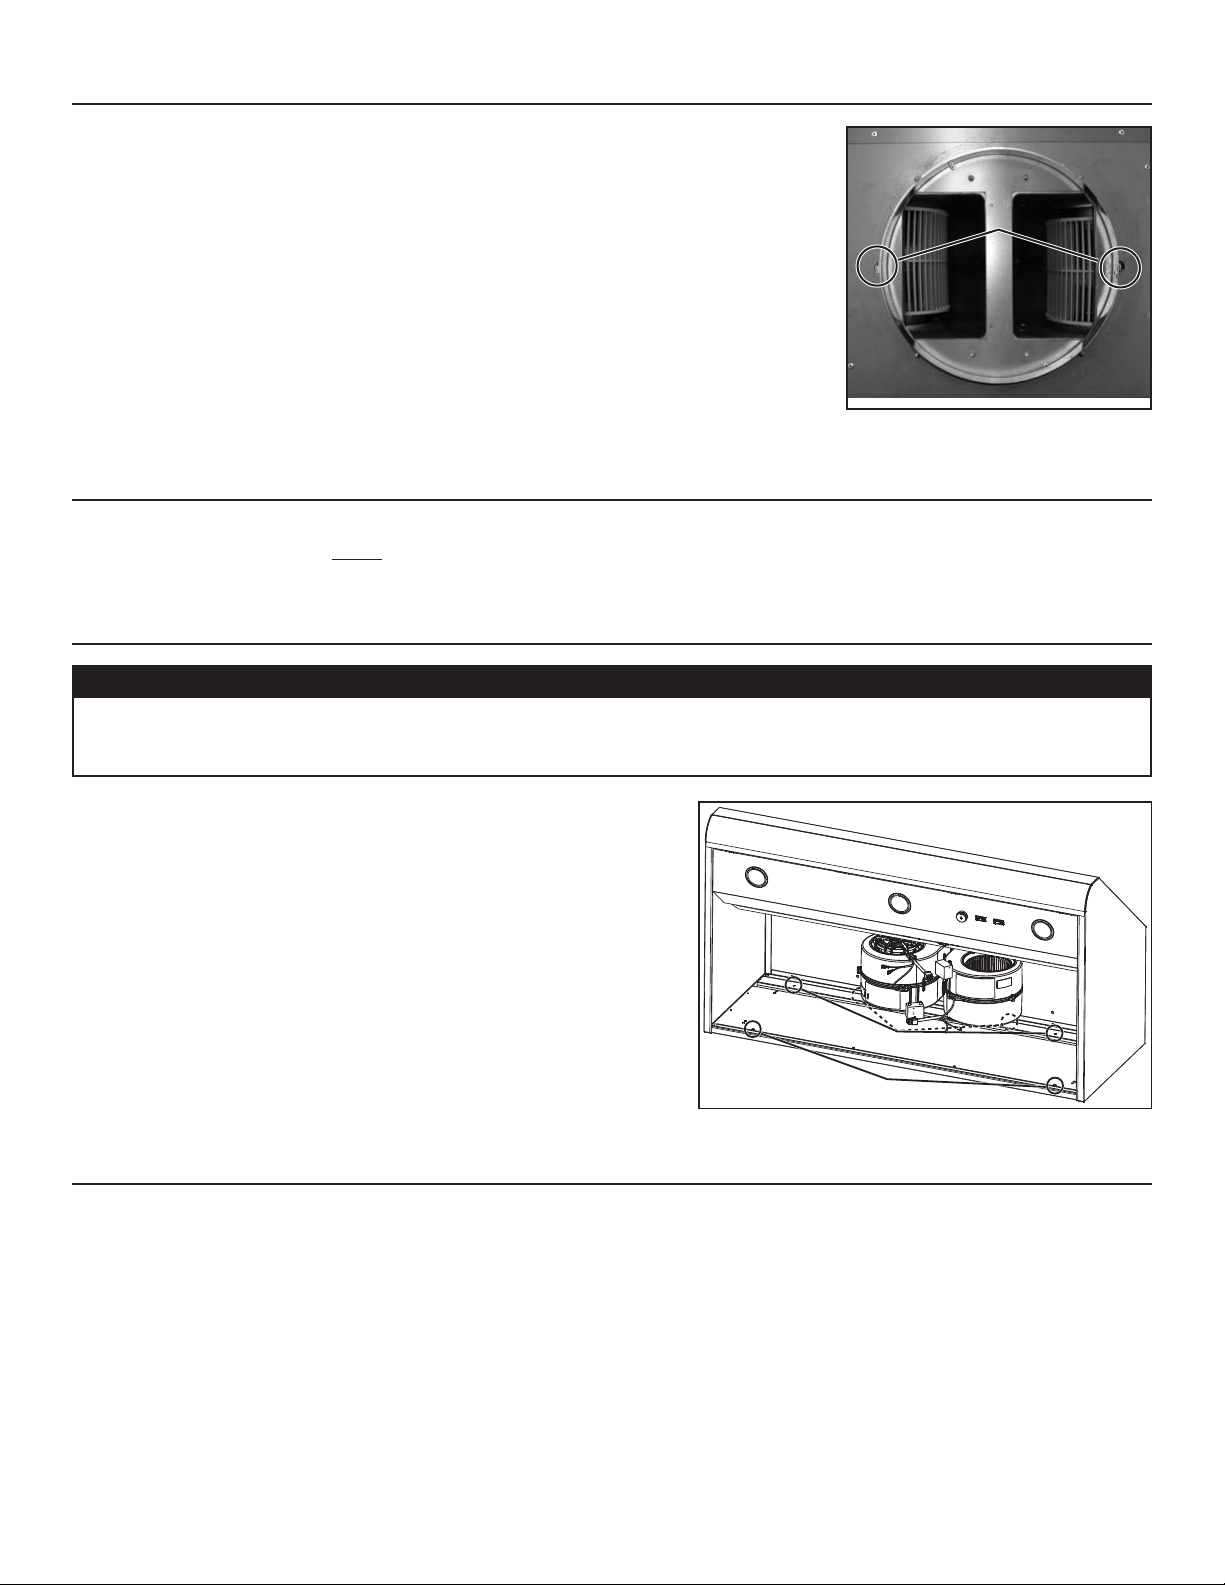
• Although not recommended, if blowers need to be removed, reinstall them using 10-32 locknuts included in parts bag
(maximum torque of 20 lb).
• Hold the hood until it is completely secured to the wood mounting strip.
HD0463
M
OUNTING
SCREW
LOCATIONS
W
ALL
ANCHOR
LOCATIONS
Insert the house wiring in the hood through the wire clamp (previously installed
in step 6) and tighten the wire clamp to secure the wiring.
Rest the back cavity of the hood on the wood mounting strip.
Attach 10” round duct to adapter.
Secure the hood to wood mounting strip using 4 no. 10 x 2’’ hex head screws
(for 36’’ width hood) or 6 screws (for 42’,’ 48’’ and 60’’ width hoods) at locations
shown at right. Drill two 3/16’’ diameter holes into the wall for wall anchors
through the existing holes in the lower back of the hood at locations shown
at right. Then, install both wall anchors with both no. 8 x 5/8’’ screws and both
washers provided.
10. INSTALL DECORATIVE FLUE (OPTIONAL)
AEWPD Series
Refer to the instructions included with the optional decorative flue.
7. INSTALL ADAPTER
HJ0069
MOUNTING SCREW LOCATIONS
Remove adapter from inside hood.
Using both no. 8 x 3/8” zinc-plated screws from parts bag, assemble the adapter on the top of the
hood.
Seal all joints with metal foil duct tape to eliminate air leaks.
Loading ...
Loading ...
Loading ...