Loading ...
Loading ...
Loading ...
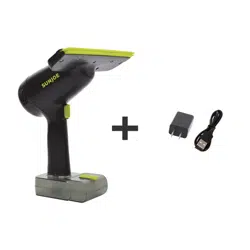
4. With a little pressure applied, slide the squeegee along the
surface. The appliance will vacuum all the liquid and leave
a clean and smooth surface (Fig. 5).
5. After the vacuuming is done, shut o the appliance by
pressing the On/O switch again. If there's still water
residual left on the surface, wipe with dry cloth.
Drain the Waste Water Tank
1. It's recommended to empty the waste water tank every
time after using. Turn o the vacuum and make sure the
tool is stopped completely.
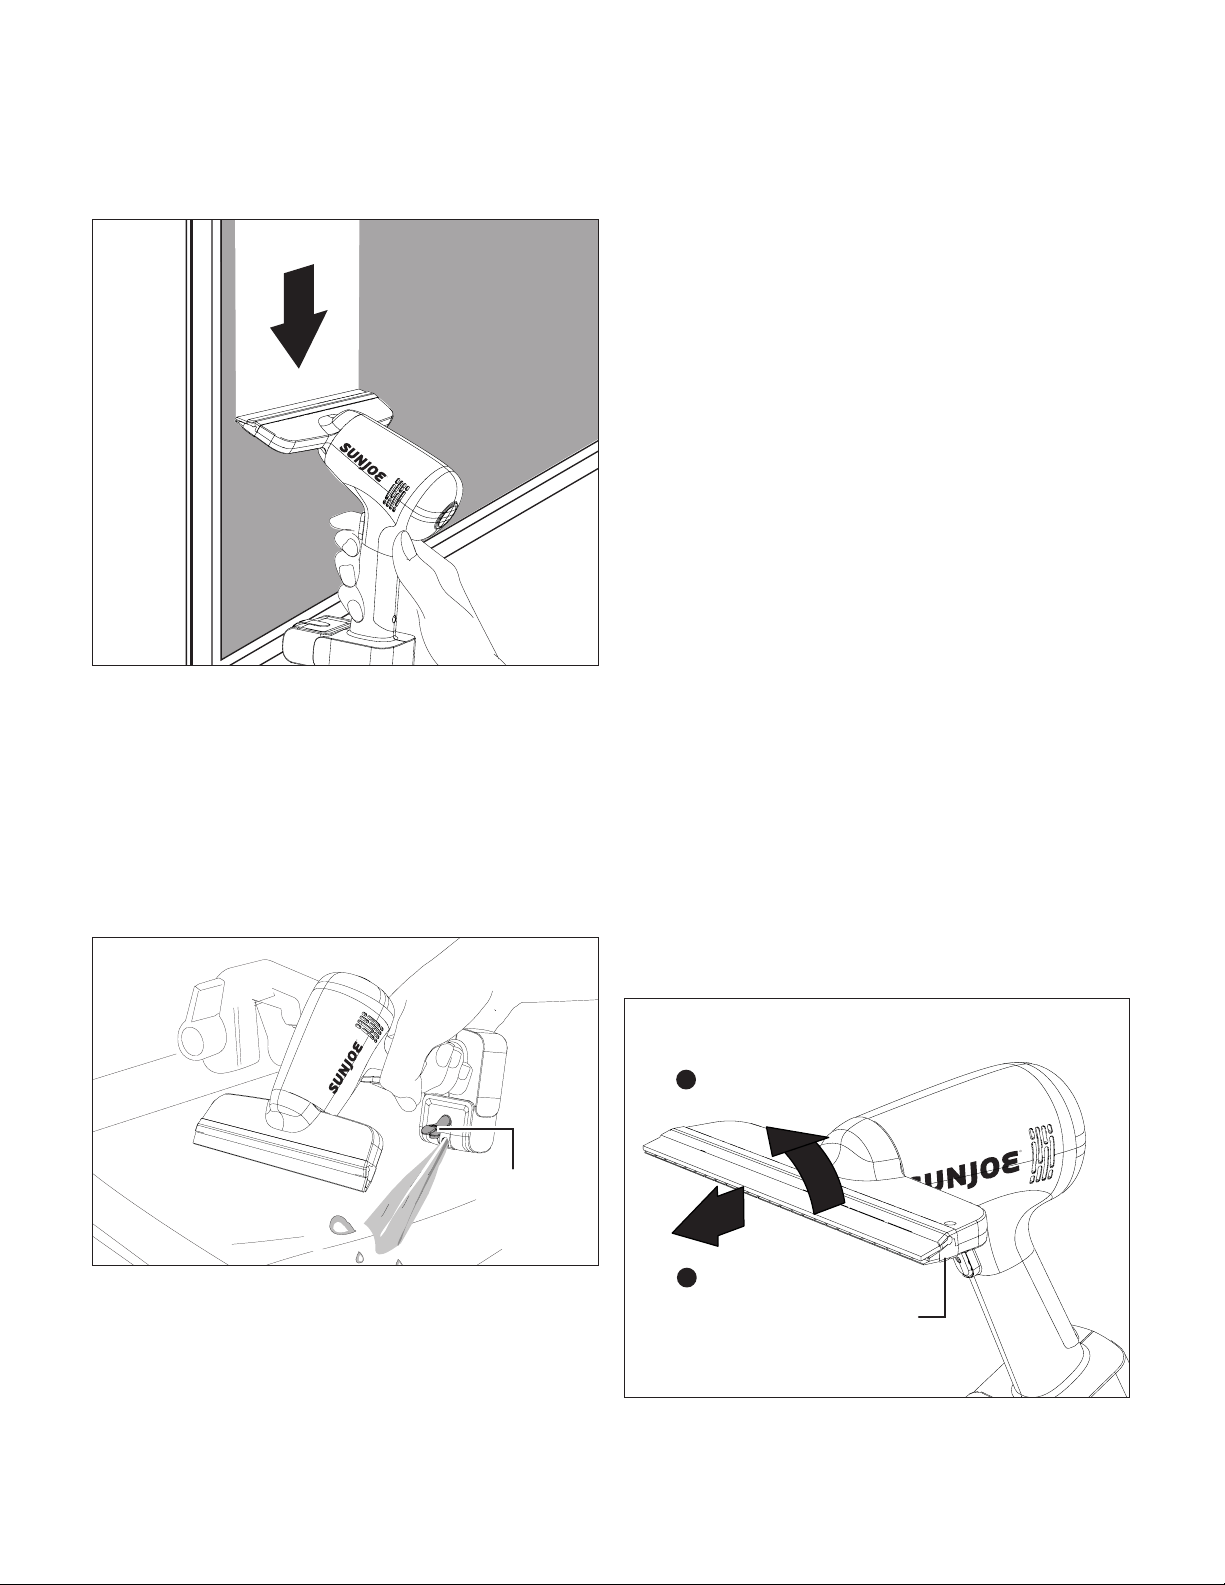
2. Pull out the drain outlet stopper, and tilt the appliance to
drain the liquid debris from the drain outlet (Fig. 6)
3. After draining is done, reinsert the outlet stopper.
mWARNING! Only operate the appliance until the MAX
mark of the waste water tank has been reached. Switch o the
appliance and empty the waste water tank.
Operation Tips
• Do not press the appliance too forcefully but rather allow it
to glide over the surface.
• During operation, make sure the air outlet is not blocked.
Block air outlet may result in overheating and cause
damage to the unit.
• The cordless window vacuum cleaner is equipped with
overheating protect. When the temperature is too high
during operation, the circuit will be cut o. Wait until it
cools down before switch on the unit and resume working.
• During operation, ensure the surface is wet by spraying
sucient uid onto the surface.
• Clean the squeegee blade regularly.
• Turn o the unit after vacuuming, before cleaning and
maintenance. Empty the waste water tank, clean and dry
before storage.
• The cleaning should not be done in direct sunlight or
excessive heat.
Maintenance
To order genuine replacement parts or accessories for the
Sun Joe
®
AJWV100 cordless window vacuum, please visit
sunjoe.com or contact the Snow Joe
®
+ Sun Joe
®
customer
service center at 1-866-SNOWJOE (1-866-766-9563).
mWARNING! To reduce the risk of re, electric shock
or injury, turn power OFF before performing maintenance or
troubleshooting.
Cleaning
1. Turn o the vacuum cleaner.
2. Remove the nozzle assembly by slightly twisting it
counterclockwise and pulling it out from the unit (Fig. 7).
R
Fig. 5
R
Fig. 6
Drain
outlet
stopper
R
Fig. 7
Nozzle assembly
Twist counterclockwise
1
Pull out
2
7
Loading ...
Loading ...
Loading ...