Loading ...
Loading ...
Loading ...
8
RETROFIT INSTALLATION
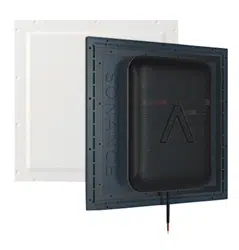
1. Remove the included cutout template that is taped
to the front of each speaker.
2. Locate the studs in your install location and mark
the centers of the studs/joists. Position and ax the
template so that it is perfectly centered on both left
and right studs.
3. Mark around the template and remove.
NOTE: We highly recommend you keep the
cutout template. It is an important tool that will
help identify the measurement locations for the
Sonance DISC system during the finish validation
phase.
4. Before proceeding, perform an obstruction survey
to be certain that there are no studs, conduit, pipes,
HVAC ducts, pocket doors, etc. in the wall cavity
that will interfere with the speaker.
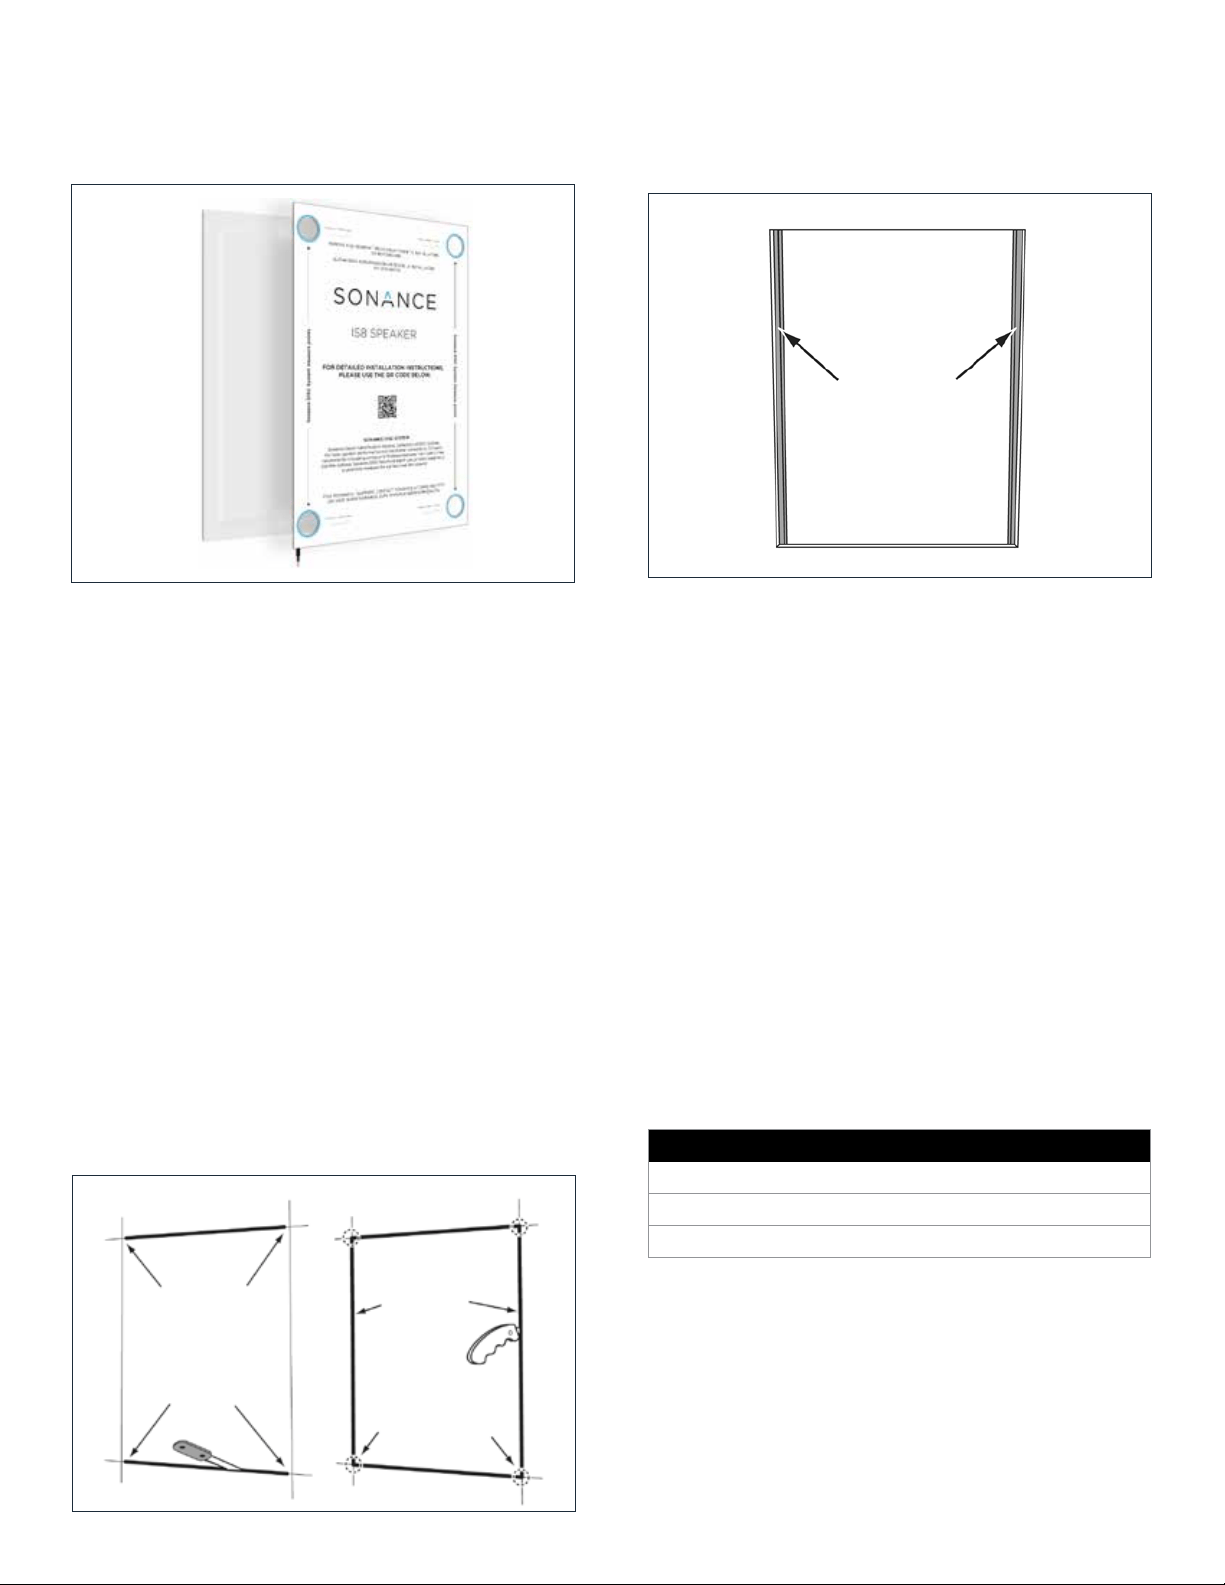
5. Cut the drywall using a drywall saw along the
top and bottom and a utility knife along the
stud centerlines. An oscillating power saw is
recommended for faster, cleaner results.
6. Remove drywall from opening. This should expose
only 3/4” (19mm) of each stud/joist or half of the
stud/joist surface. Remove any exposed drywall
nails or screws.
7. Test-fit the speaker into the opening, verifying that
the center diaphragm area is even with the drywall
edges. If necessary, trim the edges of the drywall to
properly accommodate the speaker.
8. Run speaker wire from the amplifier and audio
component location to the cut out holes for your
speakers. See wiring chart on page 4.
9. We recommend that you reinforce the top and
bottom joint locations with a face-block-oriented
2x4 or 3/4” (19mm) plywood. See the construction
diagrams on pages 6–7 and STEP 2 on page
9. Ensure there is a flush, level surface around
the full perimeter of the speaker location before
proceeding.
10. OPTIONAL: Secure the sound-isolating enclosure
(sold separately) to the back of your IS speaker.
11. Proceed to STEP 9 on page 10.
Use drywall saw to
cut along top and
bottom lines up
to inside edges of
studs.
Use utility knife
to cut along stud
centerlines.
Use utility knife to
complete horizontal
cuts.
SOUND-ISOLATING ENCLOSURE PART NUMBERS
IS-ENCL-S IS6 93488 Each
IS-ENCL-M IS8/IS10W 93489 Each
IS-ENCL-L IS10 93490 Each
Half (3/4” or 19mm)
of each stud/joist
should be exposed.
Loading ...
Loading ...
Loading ...