Loading ...
Loading ...
Loading ...
20 | English
1 609 92A 1LB | (16.11.15) Bosch Power Tools
Adjusting the Spraying Capacity (see figure G)
(PAINTVolume)
– To adjust the requested spraying capacity, turn the thumb-
wheel 5:
–: Min. spraying capacity,
+: Max. spraying capacity.
Dampening wallpaper
To make it easier to remove old wallpaper, you can spray
warm water on the wallpaper (max. 55 °C).
Use the grey nozzle cap 8 to do so.
Work Breaks and Transport (see figures H–I)
A carrying handle 21 and a carrying strap 22 are fitted to the
base unit to enable easy transport of the fine-spray system.
You can hang the base unit 19 across your shoulder during
work using the carrying strap 22.
The spray gun 1 can be put down on a flat work surface during
breaks. No spray material can leak out.
Always put the spray gun upright on a flat surface when
it is filled with spray material. Spray material can leak
out from a spray gun if it is lying down.
Maintenance and Service
Maintenance and Cleaning
Before any work on the machine itself, pull the mains
plug.
Thoroughly clean the individual parts of the fine-spray
system after each use, especially all paint-carrying
components. Proper cleaning is a prerequisite for fault-
less and safe operation of the spray gun. No warranty
claims will be accepted if cleaning has not been done at all
or has not been done properly.
If the replacement of the supply cord is necessary, this has to
be done by Bosch or an authorized Bosch service agent in or-
der to avoid a safety hazard.
Cleaning the Air Filter (see figure J)
The air filter 26 must be cleaned occasionally. The air filter
must be replaced if it is heavily soiled.
– Open the air filter cover 23.
– Remove the air filter 26.
– Light soiling:
Tap the air filter 26 to empty it.
or
Heavy soiling:
Clean the air filter 26 under running water and then leave it
dry thoroughly to prevent mould from forming.
or
Replace the air filter 26.
– Reinsert the air filter.
– Close the air filter cover 23 again.
Cleaning the Fine-spray System (see figure K)
Always clean the spray gun and the container with the respec-
tive diluting agent (paint thinner or water) for the spray mate-
rial being used.
Never clean the nozzle and air holes in the spray gun with
pointed objects.
– Switch the base unit 19 off.
– Remove the air hose 17 both from the base unit 19 and
from the spray gun 1 (quarter turn of the bayonet lock 18
counterclockwise; pull the bayonet lock 18 out of the port
4/24).
– Clean the base unit if necessary with a cloth moistened
with diluting agent and then remove the base unit 19 and
the air hose 17 from the immediate cleaning environment.
– Press the trigger switch 6 on the spray gun so that the
spray material can flow back into the container.
– Unscrew the container 7 and empty the remaining spray
material back into the original spray material.
– Fill the container 7 halfway with the diluting agent (solvent
or water) and fit it to the spray gun 1 again.
– Shake the spray gun several times.
– Unscrew the container 7
and empty the container com-
pletely into an empty material tin.
– Remove the union nut 3, the air cap 2, the gasket 11, the
nozzle cap used 9/8 with the O-ring 10 and the suction
tube 12 with the container seal 14.
When doing so, ensure that the O-ring 10 remains on the
nozzle cap.
– Clean all paint-carrying parts in a bucket with diluting agent
using a standard washing-up brush.
Also clean the paint channel 16 of the spray gun 1.
– Check if the suction tube 12 and the container seal 14 are
free of spray material and undamaged.
If required, clean the container seal 14 again with diluting
agent.
Clean the ventilation hole 15 using a suitable object.
– Clean the outside of the container and the spray gun with a
cloth moistened in paint thinner.
– Before mounting, allow all components to dry thoroughly.
– Reassemble the fine-spray system in reverse order.
Slide the container seal 14 upward again into the groove of
the suction tube 12.
Ensure that the container seal is positioned precisely all
around in the suction tube groove in order to seal the spray
gun correctly.
Make sure that you slide the suction tube 12 all the way
back onto the paint channel 16.
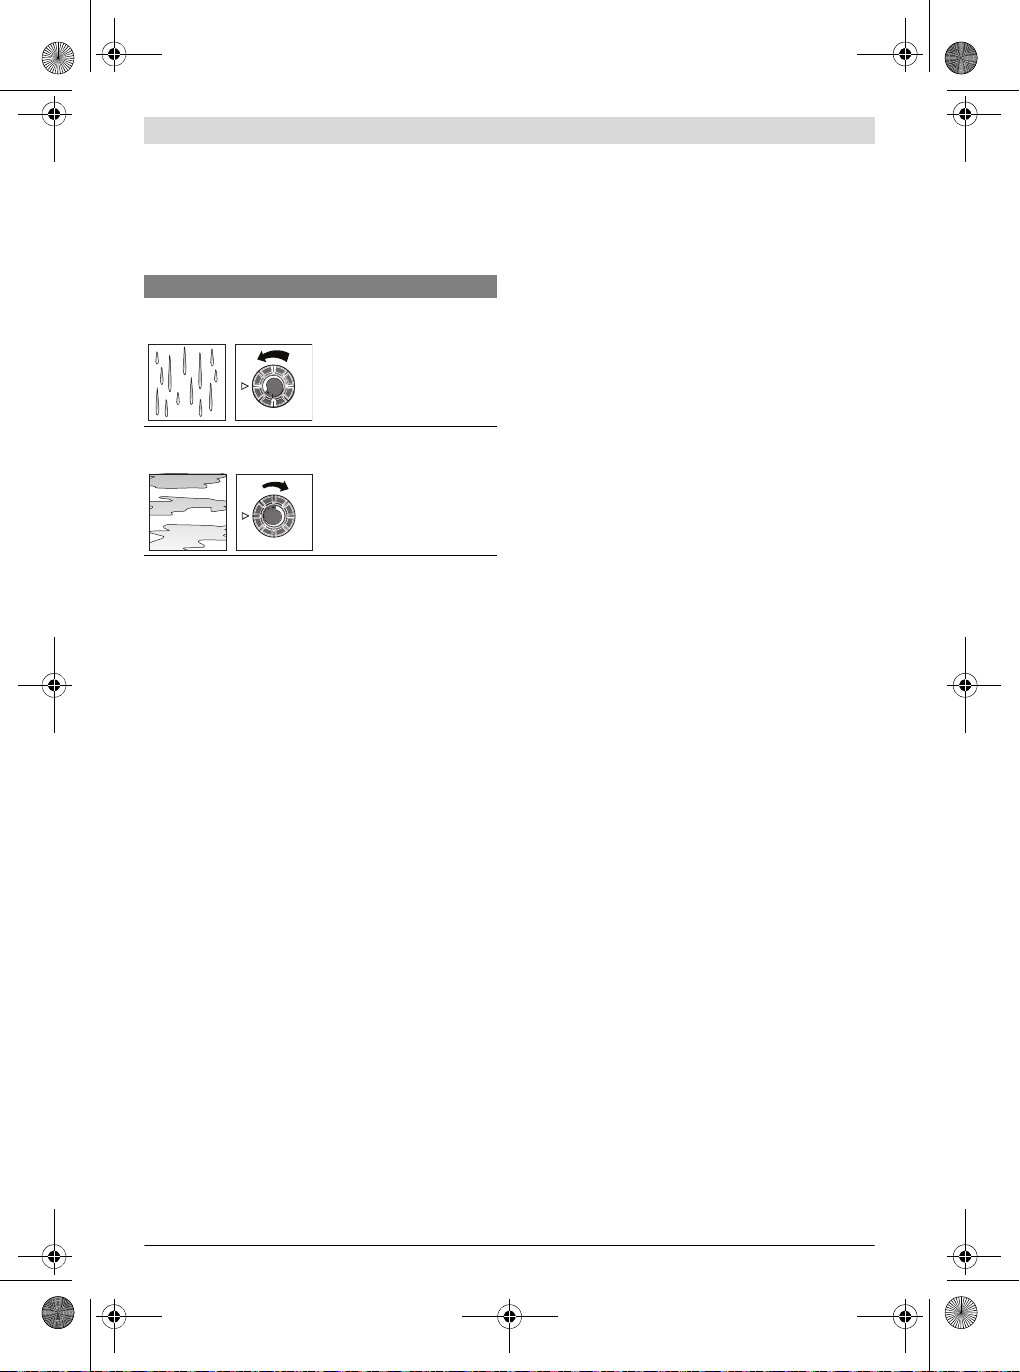
Spraying capacity Adjustment
Too much material on target ar-
ea:
The spraying capacity must
be reduced.
– Turn the thumbwheel 5 in
direction –.
Not enough material on target
area:
The spraying capacity must
be increased.
– Turn the thumbwheel 5 in
direction +.
OBJ_BUCH-2216-004.book Page 20 Monday, November 16, 2015 9:14 AM
Loading ...
Loading ...
Loading ...