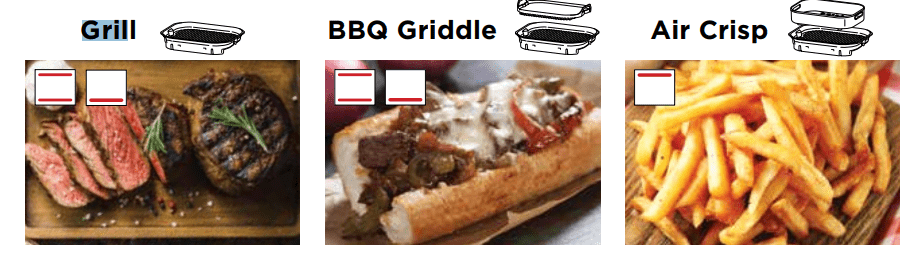
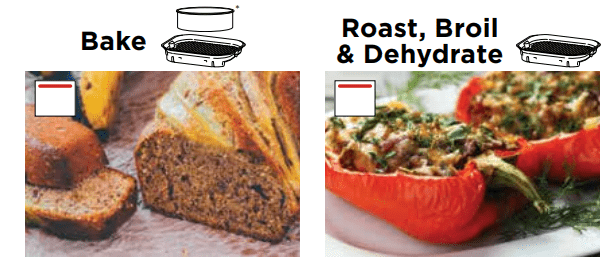
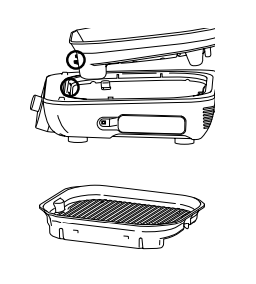
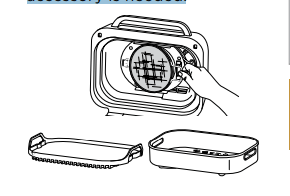
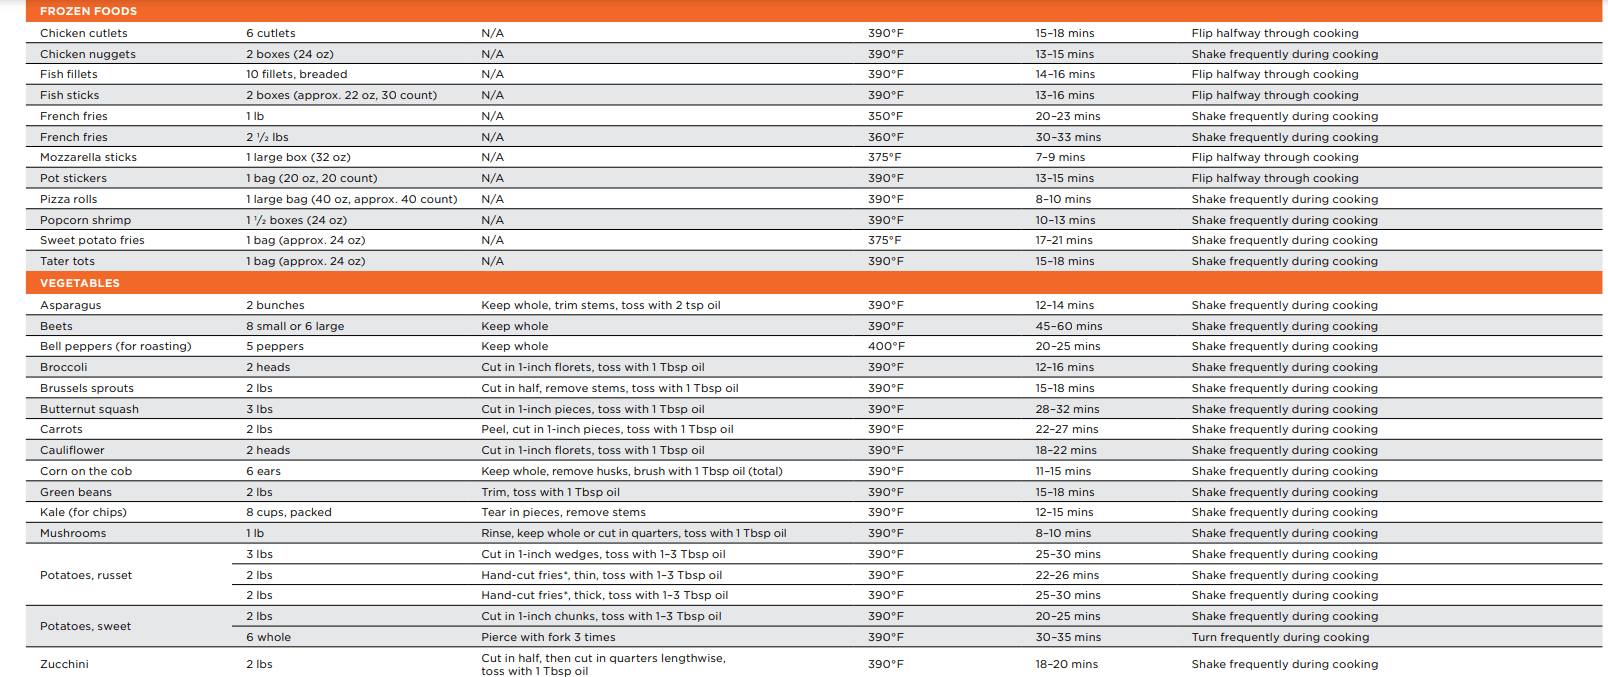
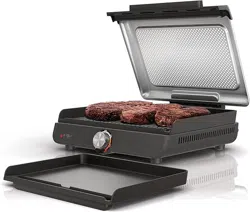
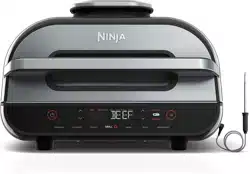
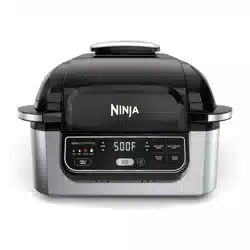
Ninja IG651 Foodi Smart XL Pro 7-in-1 Indoor Grill and Griddle
Product's Documents
Below are documents related to this product, you can read online or download:
- Owner's manual - (English) Read Online | Download pdf