Loading ...
Loading ...
Loading ...
18 | English
F 016 L81 577 | (28.9.17) Bosch Power Tools
when it is running but not actually doing the job. This may sig-
nificantly reduce the exposure level over the total working
period.
Identify additional safety measures to protect the operator
from the effects of vibration such as: maintain the tool and the
accessories, keep the hands warm, organise work patterns.
Mounting and Operation
Initial Operation
For Your Safety
Before any work on the machine itself (e. g.
maintenance, tool change, etc.) as well as during
transport and storage, remove the battery from the
power tool. There is danger of injury when unintentionally
actuating the On/Off switch with the locking button.
The blades continue to move for a fraction of a second
after the hedge trimmer is switched off.
Do not touch the moving blades.
Do not activate switches until battery is fully attached.
Inserting/Removing the Battery
(see figures D+K)
Note: Use of batteries not suitable for the machine can lead to
malfunctions of or cause damage to the power tool.
Insert the charged battery 13 onto the telescopic handle.
Make sure that the battery is fully fitted.
Remove the battery 13 from the power tool by pressing the
battery unlocking button 14 and moving the battery towards
cutting blade.
Battery Charging
Do not use other battery chargers. The supplied battery
charger is designed for the Lithium-Ion battery in your
garden product.
Observe the mains voltage! The voltage of the power
supply must correspond with the data given on the
nameplate of the battery charger. Battery chargers
marked with 230 V can also be operated with 220 V.
The battery is equipped with temperature monitoring that
allows charging only in the temperature range between 0 °C
and 45 °C. In this manner, a high battery service life is
achieved.
Note: The battery supplied is partially charged. To ensure full
capacity of the battery, completely charge the battery in the
battery charger before using your power tool for the first time.
The lithium-ion battery can be charged at any time without
reducing its service life. Interrupting the charging procedure
does not damage the battery.
The “Electronic Cell Protection (ECP)” protects the lithium-
ion battery against deep discharging. When the battery is run
down or discharged, the garden product is shut off by means
of a protective circuit: The garden product no longer
operates.
Do not continue to press the On/Off
switch after the garden product has
been automatically switched off. The battery can be
damaged.
Observe the notes for disposal of the battery.
Charging Procedure
The charging procedure starts as soon as the mains plug of
the battery charger is plugged into the socket outlet and the
battery is inserted into the charging compartment .
Due to the intelligent charging method, the charging
condition of the battery is automatically detected and the
battery is charged with the optimum charging current,
depending on battery temperature and voltage.
This gives longer life to the battery and always leaves it fully
charged when kept in the charger for storage.
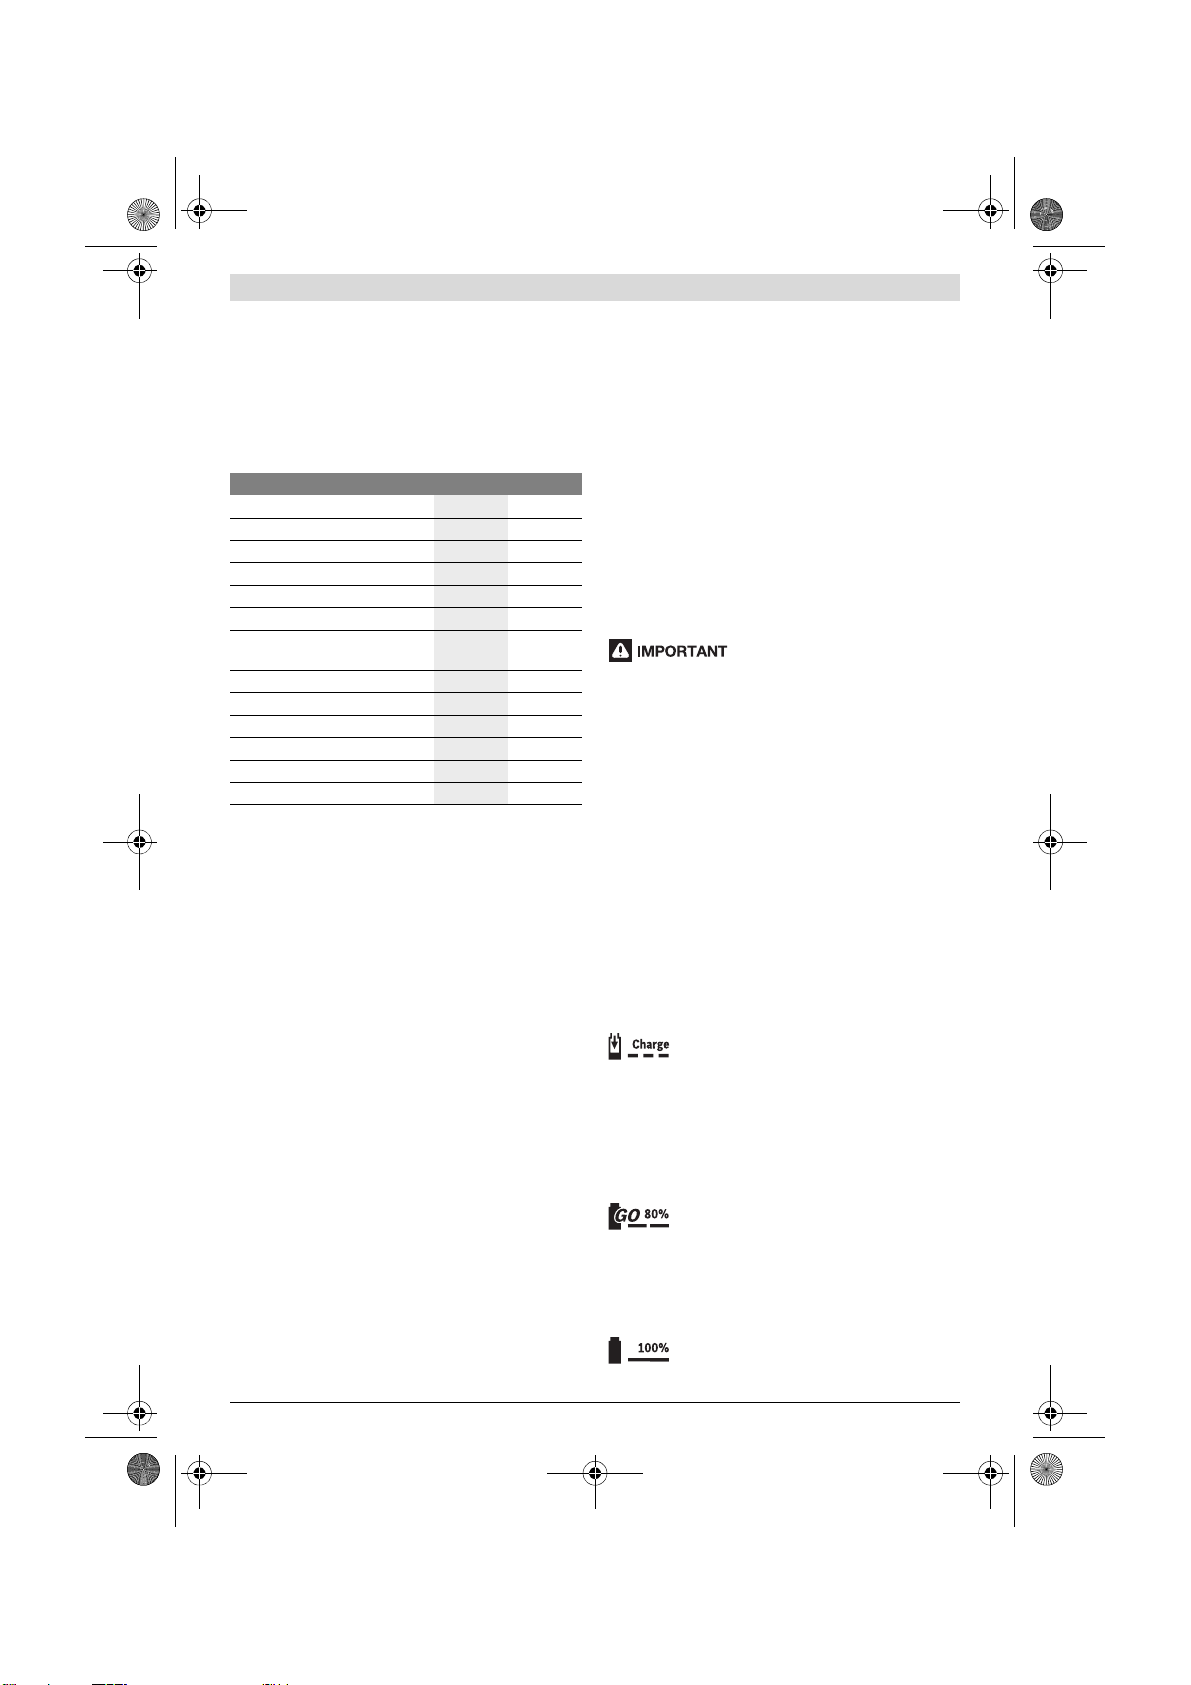
Meaning of the Indication Elements (AL 1830 CV)
(Fast) Flashing of the Green Battery Charge
Indicator
The rapid-charging procedure is indicated by
fast flashing of the green battery charge
indicator .
Note: The rapid-charging procedure is only possible when the
battery temperature is within the allowable charging
temperature range, see section “Technical Data”.
(Slow) Flashing of the Green Battery Charge
Indicator
When the charging condition of the battery is
80 %, the green battery charge indicator
flashes slowly.
The battery can be removed for immediate use.
Continuous Lighting of the Green Battery Charge
Indicator
Continuous lighting of the green battery
charge indicator indicates that the battery is
fully charged.
Action Figure Page
Product features
A 320
Delivery scope
B 321
Tool assembly
C 321
Inserting the battery
D 321
Attaching the harness
E 322
Adjusting the telescopic height
F 322
Removing the blade protector
Lubricating the blade
G 323
Adjusting the pivoting head
H 323
Switching on and off
I 324
Working advice
J 324–325
Removing the battery
K 326
Maintaining and storing the tool
L 326
Selecting accessories
327
OBJ_BUCH-3148-001.book Page 18 Thursday, September 28, 2017 10:53 AM
Loading ...
Loading ...
Loading ...