Loading ...
Loading ...
Loading ...
Track your progress: You can track your daily steps, join a
friendly competition with your connections, and meet your
goals.
Share your activities: You can connect with friends to follow
each other's activities or post links to your activities on your
favorite social networking sites.
Manage your settings: You can customize your device and
user settings on your Garmin Connect account.
Using the Garmin Connect App
After you pair your device with your smartphone (Pairing Your
Smartphone, page 1), you can use the Garmin Connect app to
upload all of your activity data to your Garmin Connect account.
1
Verify the Garmin Connect app is running on your
smartphone.
2
Bring your device within 10 m (30 ft.) of your smartphone.
Your device automatically syncs your data with the Garmin
Connect app and your Garmin Connect account.
Using Garmin Connect on Your Computer
The Garmin Express application connects your device to your
Garmin Connect account using a computer. You can use the
Garmin Express application to upload your activity data to your
Garmin Connect account and to send data, such as workouts or
training plans, from the Garmin Connect website to your device.
You can also install device software updates and manage your
Connect IQ apps.
1
Connect the device to your computer using the USB cable.
2
Go to www.garmin.com/express.
3
Download and install the Garmin Express application.
4
Open the Garmin Express application, and select Add
Device.
5
Follow the on-screen instructions.
Customizing Your Device
Changing the Watch Face
You can choose from several preloaded watch faces or use a
Connect IQ watch face that is downloaded to your device
(Connect IQ Features, page 3). You can also edit an existing
watch face (Editing a Watch Face, page 16) or create a new
one (Creating a Custom Watch Face, page 16).
1
From the watch face, hold .
2
Select Watch Face.
3
Swipe right or left to scroll through the available watch faces.
4
Tap the touchscreen to select the watch face.
Editing a Watch Face
You can customize the style and data fields for the watch face.
1
From the watch face, hold .
2
Select Watch Face.
3
Swipe right or left to scroll through the available watch faces.
4
Swipe up to edit a watch face.
5
Select an option to edit.
6
Swipe up or down to scroll through the options.
7
Press to select the option.
8
Tap the touchscreen to select the watch face.
Creating a Custom Watch Face
You can create a new watch face by selecting the layout, colors,
and additional data.
1
From the watch face, hold .
2
Select Watch Face.
3
Swipe left, and select .
4
Swipe up or down to scroll through the background options,
and tap the screen to select the displayed background.
5
Swipe up or down to scroll through the analog and digital
dials, and tap the screen to select the displayed dial.
6
Swipe up or down to scroll through the accent colors, and tap
the screen to select the displayed color.
7
Select each data field you want to customize, and select the
data to display in it.
A white border indicates the customizable data fields for this
dial.
8
Swipe left to customize the time markers.
9
Swipe up or down to scroll through the time markers.
10
Press .
The device sets the new watch face as your active watch
face.
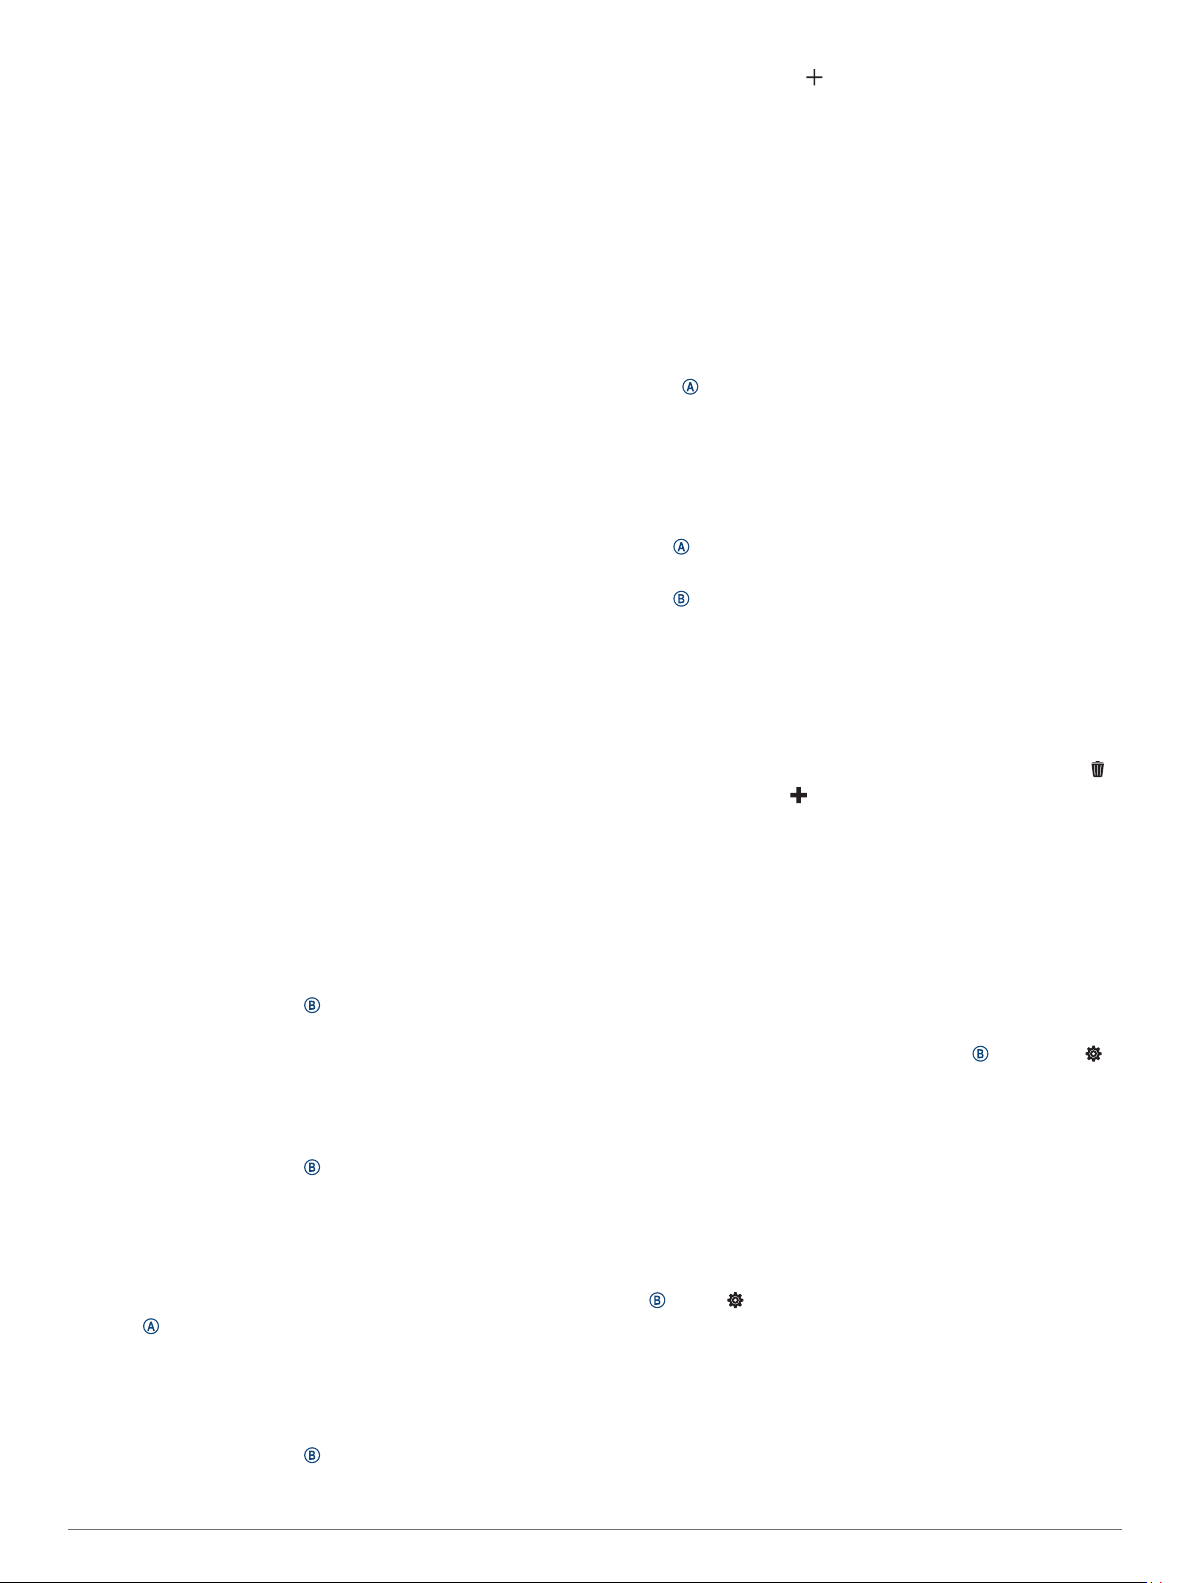
Customizing the Controls Menu
You can add, remove, and change the order of the options in the
controls menu (Using the Controls Menu, page 1).
1
Hold .
The controls menu appears.
2
Hold .
The controls menu switches to edit mode.
3
Select the shortcut you want to customize.
4
Select an option:
• To change the location of the shortcut in the controls
menu, select the location where you want it to appear, or
drag the shortcut to a new location.
• To remove the shortcut from the controls menu, select .
5
If necessary, select to add a shortcut to the controls menu.
NOTE: This option is available only after you remove at least
one shortcut from the menu.
Setting Up a Shortcut Control
You can set up a shortcut to your favorite control, such as your
Garmin Pay wallet or the music controls.
1
From the watch face, swipe right.
2
Select an option:
• If this is the first time you are setting up a shortcut, swipe
up, and select Setup.
• If you previously set up a shortcut, hold , and select >
Shortcut.
3
Select a shortcut control.
When you swipe right from the watch face, the shortcut control
appears.
Activities and App Settings
These settings allow you to customize each preloaded activity
app based on your needs. For example, you can customize data
screens and enable alerts and training features. Not all settings
are available for all activity types and vary by watch model.
Hold , select > Activities & Apps, select an activity, and
select the activity settings.
Alerts: Sets the training alerts for the activity (Alerts, page 17).
Auto Lap: Sets the options for the Auto Lap
®
feature (Auto Lap,
page 17).
Auto Pause: Sets the device to stop recording data when you
stop moving or when you drop below a specified speed
(Using Auto Pause
®
, page 18).
16 Customizing Your Device
Loading ...
Loading ...
Loading ...