Loading ...
Loading ...
Loading ...
16 | English
1 609 92A 1M8 | (11.1.17) Bosch Power Tools
Practical Advice
The following tips are for performing length or mitre cuts (90°/45°).
Operation
Cutting tiles
Preparing for Operation
When the sawing station is to be used for cutting tiles, the ad-
ditional PTC 1 kit is to be used.
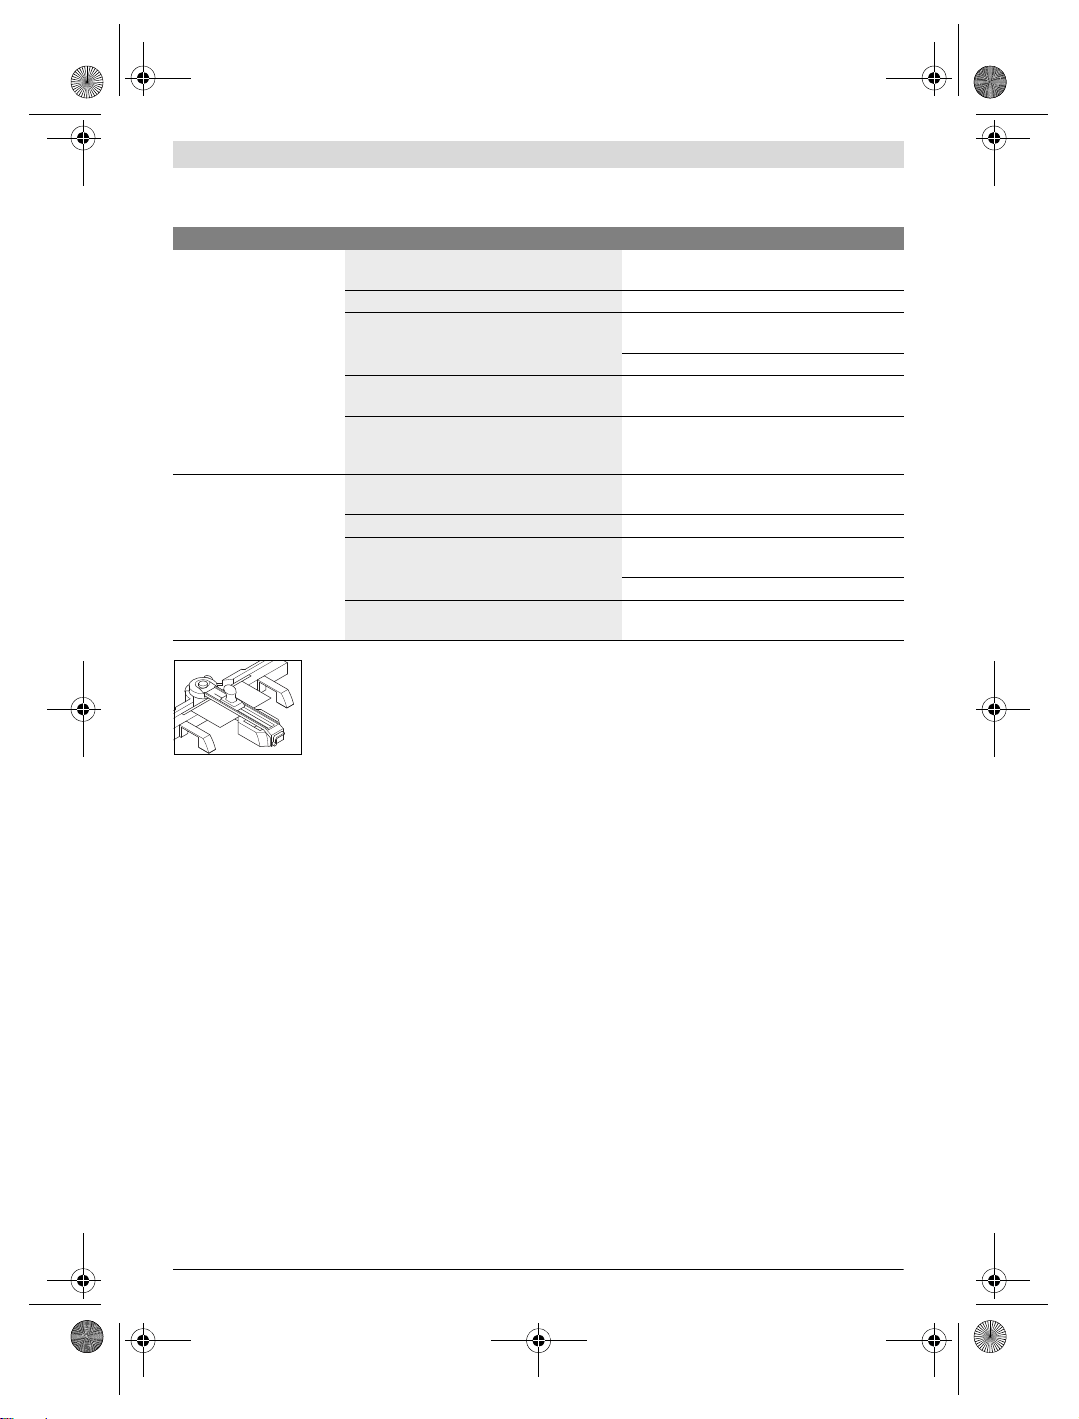
The stop 15 is supplied as two parts, folded together.
Before using for the first time, put the two parts of the stop 15
together, so that they cannot be taken apart afterwards.
Lengthway Cuts (see figures F1–F3)
Loosen the locking knob 3 a few turns.
Turn the locking lever 10 of the guide rail leftward and fold the
guide rail 4 upward.
Place stop 15 centred in the groove of bridge 8 and slide it
flush into base unit 1.
Mark the desired cutting line on the workpiece.
Place down the workpiece with the visible side up, flat against
the stop 15.
Fold the guide rail 4 down and align the workpiece cutting line
to the scale of the stop 15.
Press down the guide rail 4 in the area of the workpiece with
your flat hand.
Tighten the locking knob 3.
Lock the guide rail 4 with locking lever 10.
Diagonal Cuts (see figure G)
The mitre angle can be set in the range from 45° (left side) to
45° (right side).
Loosen locking knob 12.
Turn the guide rail 4 left or right until the angle indicator 13 in-
dicates the requested mitre angle.
Tighten the locking knob 12 again.
For swift and precise adjustment of standard mitre angles,
the guide rail engages at 0° and 45°.
For additional worksteps, see “Lengthway Cuts” on page 16.
Working Advice
Cutting Tiles (see figures H1–H3)
Insert the tile cutter 14 into the sawing slot of the guide rail 4
above stop 15.
The arrow on the tile cutter must face you.
Pull the tile cutter 14 over the complete tile with uniform pres-
sure.
Remove the tile cutter 14 from the guide rail 4.
Turn the locking lever 10 of the guide rail leftward and fold the
guide rail 4 upward.
Problem Cause Corrective Measure
Cut runs out of centre
Guide rail 4 not affixed Affix guide rail according to height of workpiece;
provide for firm clamping of the workpiece
Saw blade too thin Use the provided saw blade T144DP
Sawing feed too high (apply less feed with pow-
er tool)
Saw through workpiece applying less and uni-
form feed
Do not apply pressure against the side stops 5
Angle adjustment of base plate to saw chain in-
correct
Align base plate to saw chain and retighten
Saw blade does not run in guide roller
(see figure E)
Adjust guide roller in such a manner that the saw
blade is guided (see operating instructions of
the jigsaw)
Wood surface unsatisfactory
after cut
Workpiece was sawn with the visible side facing
up
Saw workpiece with the visible side facing down
(see figure A3)
Saw blade worn Insert new saw blade
Sawing feed too high (apply less feed with pow-
er tool)
Saw through workpiece applying less and uni-
form feed
Do not apply pressure against the side stops 5
Sawing was carried out with orbital action
switched on
Switch orbital action off
OBJ_BUCH-1219-003.book Page 16 Wednesday, January 11, 2017 1:29 PM
Loading ...
Loading ...
Loading ...