Loading ...
Loading ...
Loading ...
36
Chapter 7
USB Settings
Computer
1 ) Open the Windows Explorer (or go to Computer, only for Windows
users) or open a web browser.
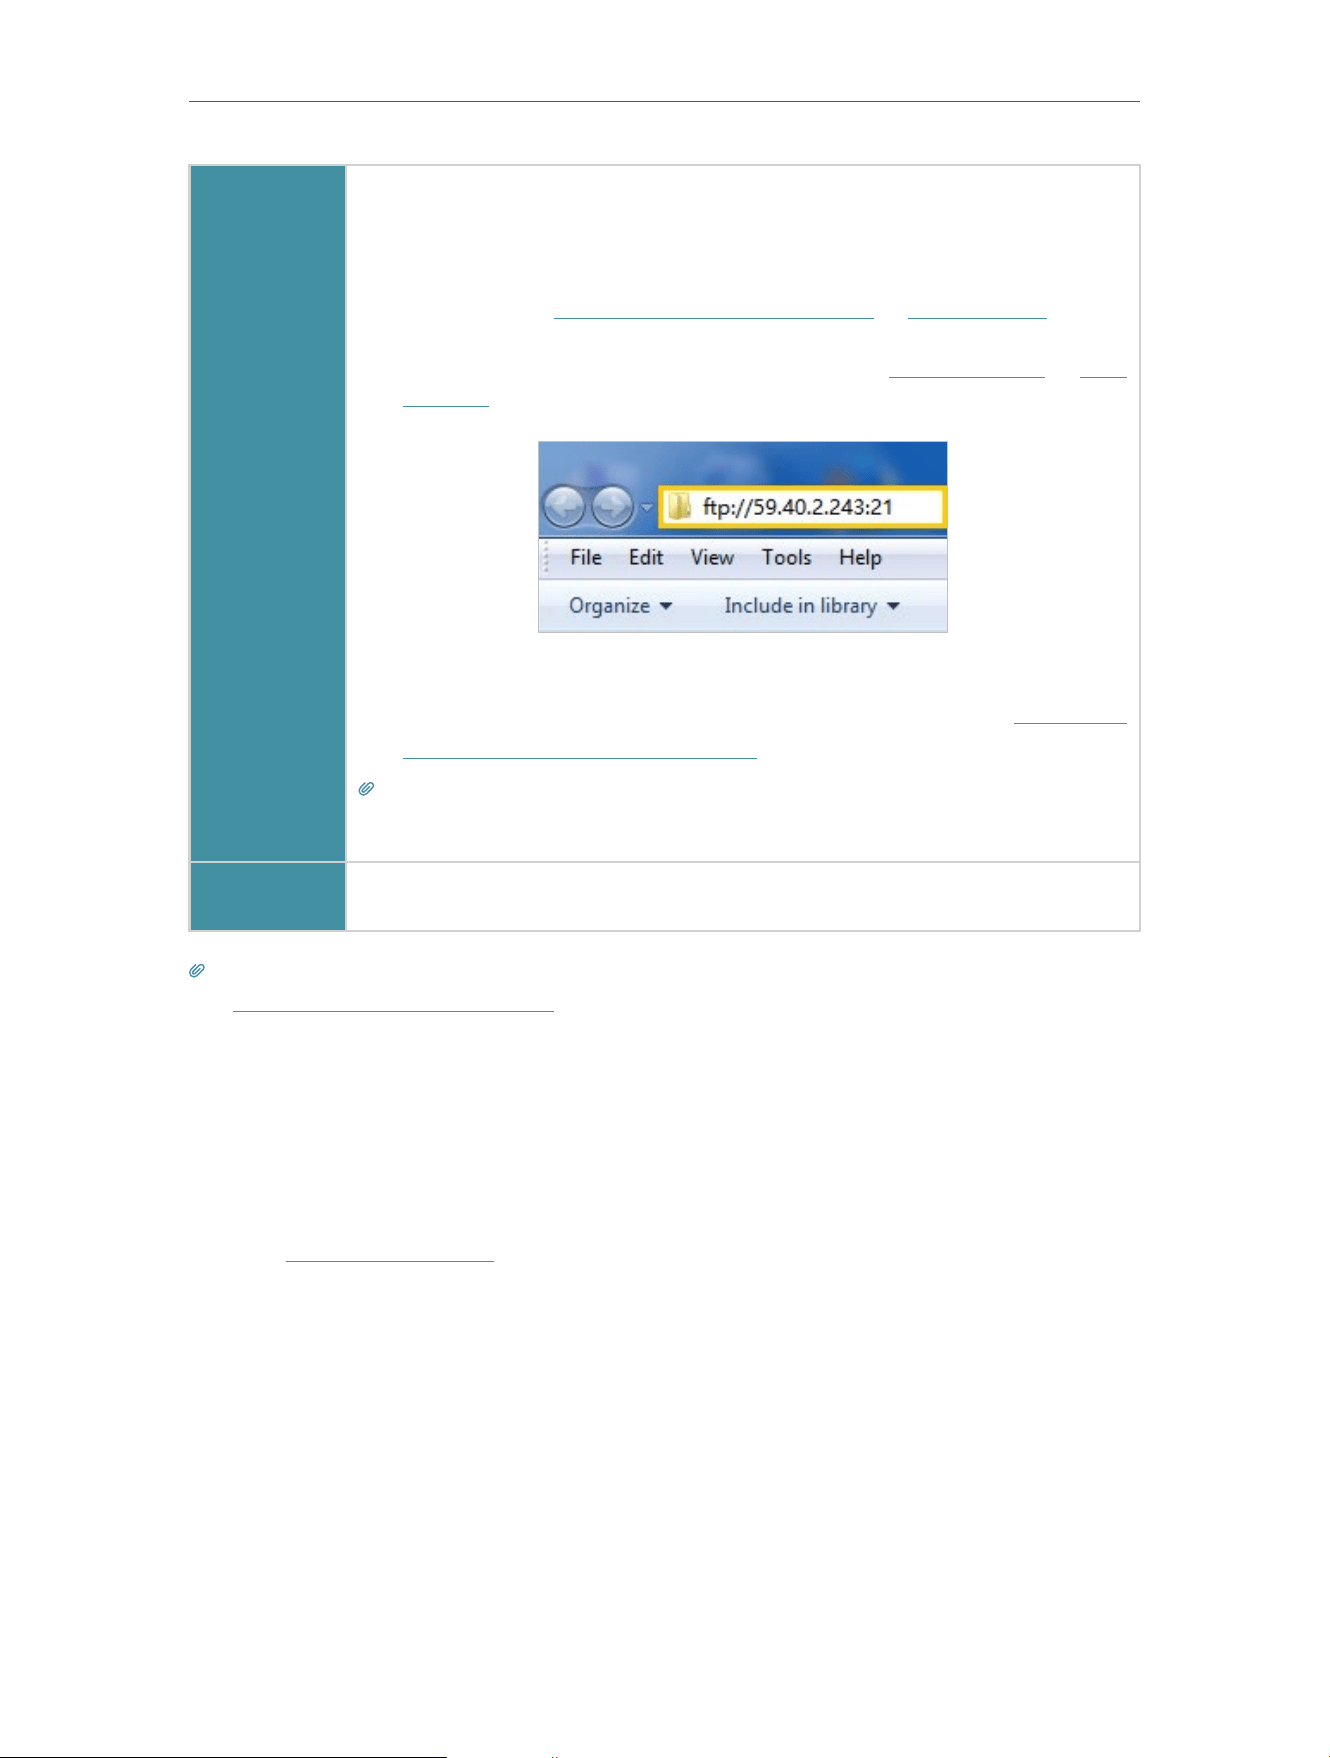
2 ) Type the server address in the address bar:
Type in ftp://<WAN IP address of the router>:<port number> (such
as ftp://59.40.2.243:21). If you have specified the domain name
of the router, you can also type in ftp://<domain name>:<port
number> (such as ftp://MyDomainName:21)
3 ) Press Enter on the keyboard.
4 ) Access with the username and password you set in To Set up
Authentication for Data Security.
Tips:
You can also access the USB disk via a third-party app for network files management, which can
resume broken file transfers.
Tablet
Use a third-party app for network files management.
Tips:
Click Set Up a Dynamic DNS Service Account to learn how to set up a domain name for you router.
7. 1. 3. Customize the Access Settings
By default, all the network clients can access all folders on your USB disk. You can
customize your sharing settings by setting a sharing account, sharing specific contents
and setting a new sharing address on the router’s web management page.
1. Visit http://tplinkwifi.net, and log in with your TP-Link ID or the password you set for
the router.
2. Go to Advanced > USB Sharing > USB Storage Device > Access Address page.
• To Customize the Address of the USB Storage Device
You can customize the server name and use the name to access your USB storage
device.
1. On the Access Address part, make sure Network Neighborhood is ticked, and enter
a Network/Media Server Name as you like, such as MyShare, then click Save.
Loading ...
Loading ...
Loading ...