Loading ...
Loading ...
Loading ...
21
STEP 4 - LEVEL THE DRYER
1. Place the dryer in its nal location. Take care not to crush or kink the exhaust
vent. Make sure that all four feet are rmly in contact with the oor and that the
dryer rests solidly in position.
NOTE: For a gas dryer, make sure that there are no kinks in the exible gas line.
2. Using a carpenter’s level, check that the dryer is level from side to side and from
front to back.
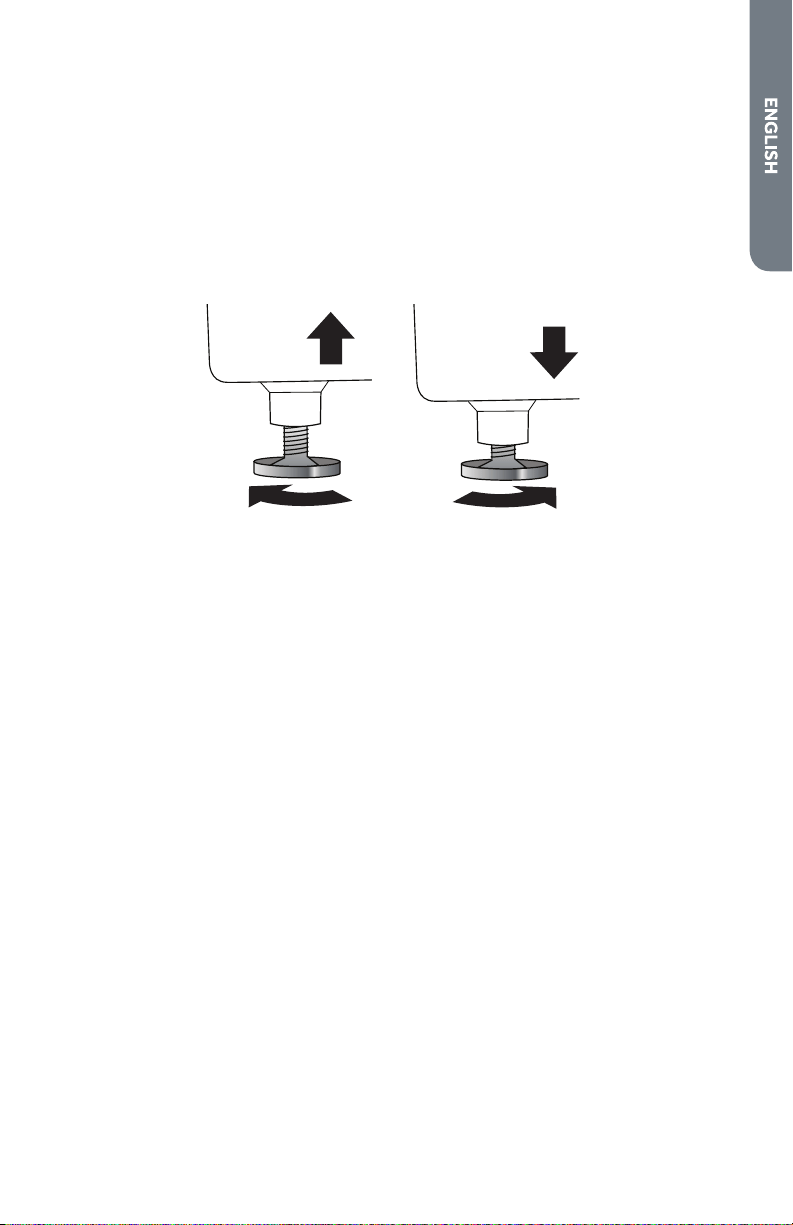
3. If the dryer is not level, adjust the leveling feet. Turn clockwise to extend (raise
the dryer) or counterclockwise to retract (lower the dryer).
STEP 5 - COMPLETE THE INSTALLATION
1. Plug the dryer power cord into an appropriate outlet.
2. Resume power to the outlet. Check that the circuit breaker is switched on.
3. Dispose of/recycle all packaging materials.
4. Make sure the dryer area is clean and free from combustible materials, gasoline,
and other ammable vapors. Also see that nothing (such as boxes, clothing, etc.)
obstructs the ow of combustion and ventilation air through the louvered panel
located on the rear of the dryer.
5. Test dryer operation by selecting a Timed Dry heated cycle. See the “Operating
Instructions” section.
NOTE: On gas dryers, before the burner will light, it is necessary for the gas line
to be bled of air. If the burner does not light within 45 seconds, the rst time the
dryer is turned on, the safety switch will shut o the burner. If this happens, turn
the dryer to “OFF” and wait 5 minutes before making another attempt to light
the burner.
Loading ...
Loading ...
Loading ...